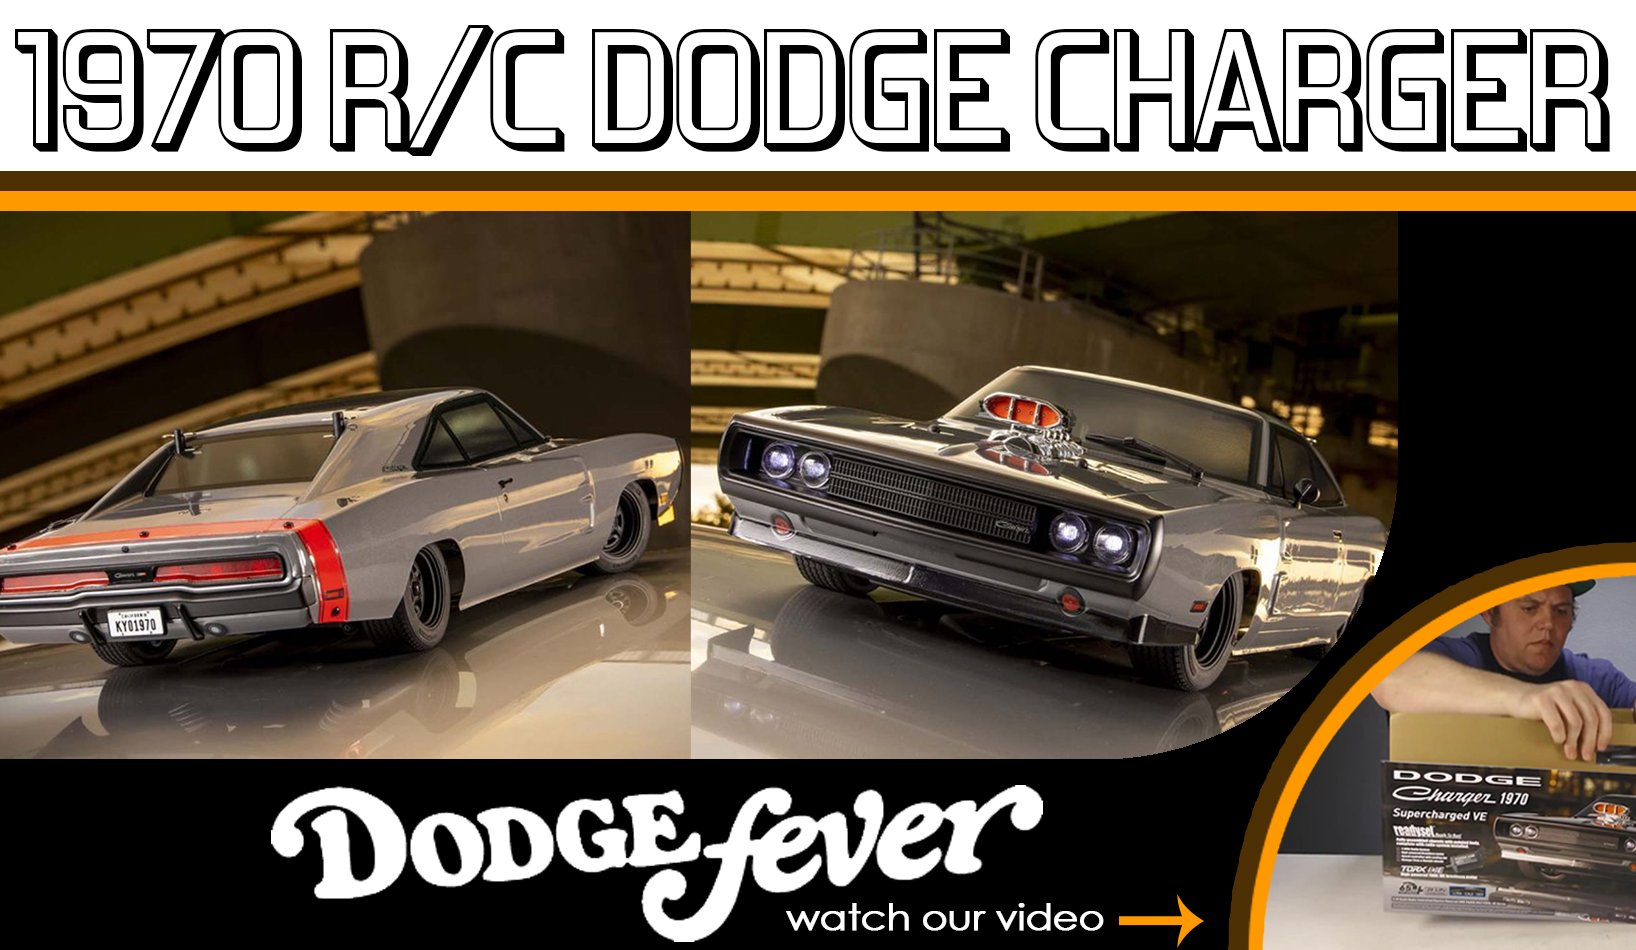
Review - Kyosho Fazer Mk2 1970 Dodge Charger Supercharged RC Car
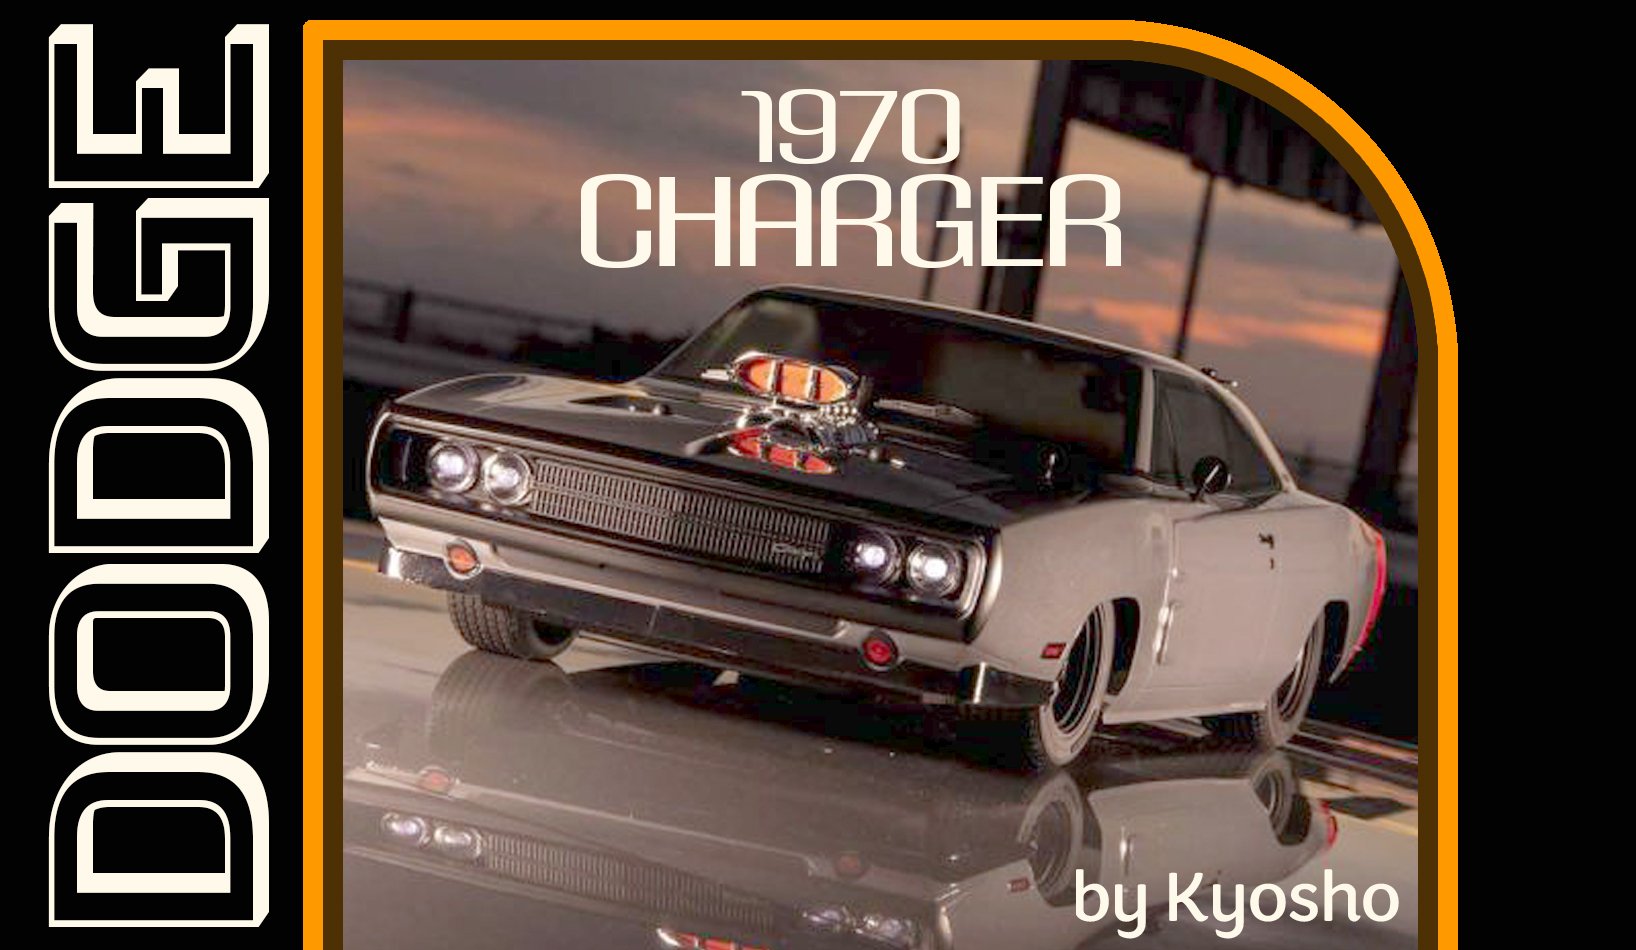
Drum roll please…presenting the Kyosho 1970 Dodge Charger Supercharged ReadySet. It's a 1/10 scale on-road RC car featuring the iconic American muscle car body with electric headlight covers, brushless electronics, and more. We take it out of the box, do some driving, and see how fast it goes.
Unboxing the Kyosho 1970 Dodge Charger RC Car
The Dodge Charger RC car comes ready to go right out of the box, fully assembled with programmed electronics and a fully decorated and painted body. However, batteries are not included, it requires a two-cell LiPo, and the transmitter requires four AA's.
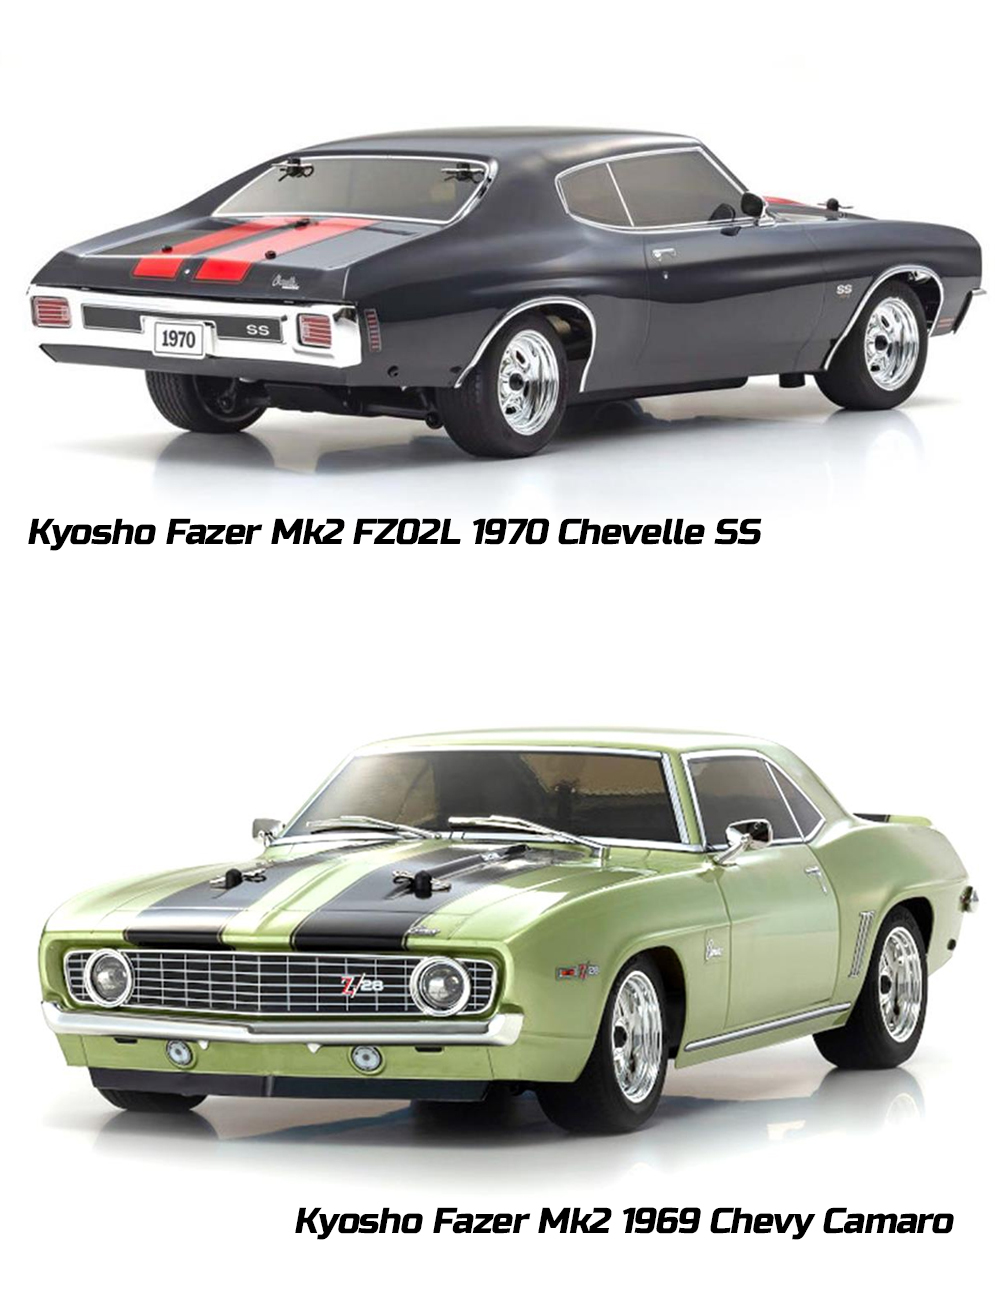
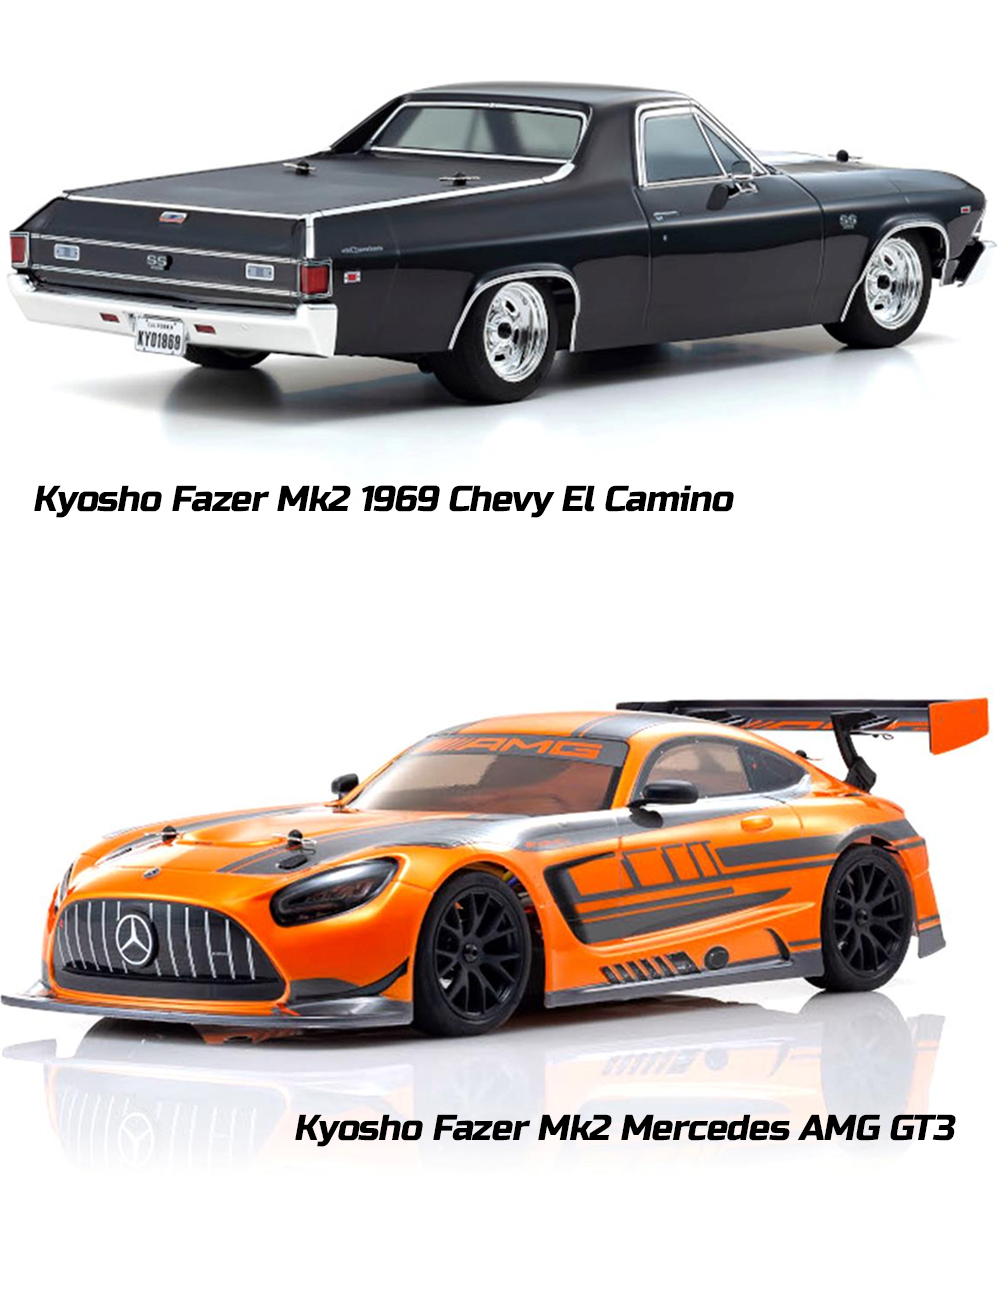
This new car is not exactly a first of its kind because Kyosho has been offering scale realistic on-road cars in many body styles for several years, and they all use the same Mk2 chassis platform.
What makes this Mk2 different?
What's new is that Kyosho has equipped this car with high-performance brushless electronics for the first time, which are a lot more powerful than the brushed electronics that come with the other cars.
As a result, this on-roader costs more money than the other models, but it will be faster and offer more scale functionality.
Let's Check Out the Vintage Kyosho 1970 Dodge Charger Body

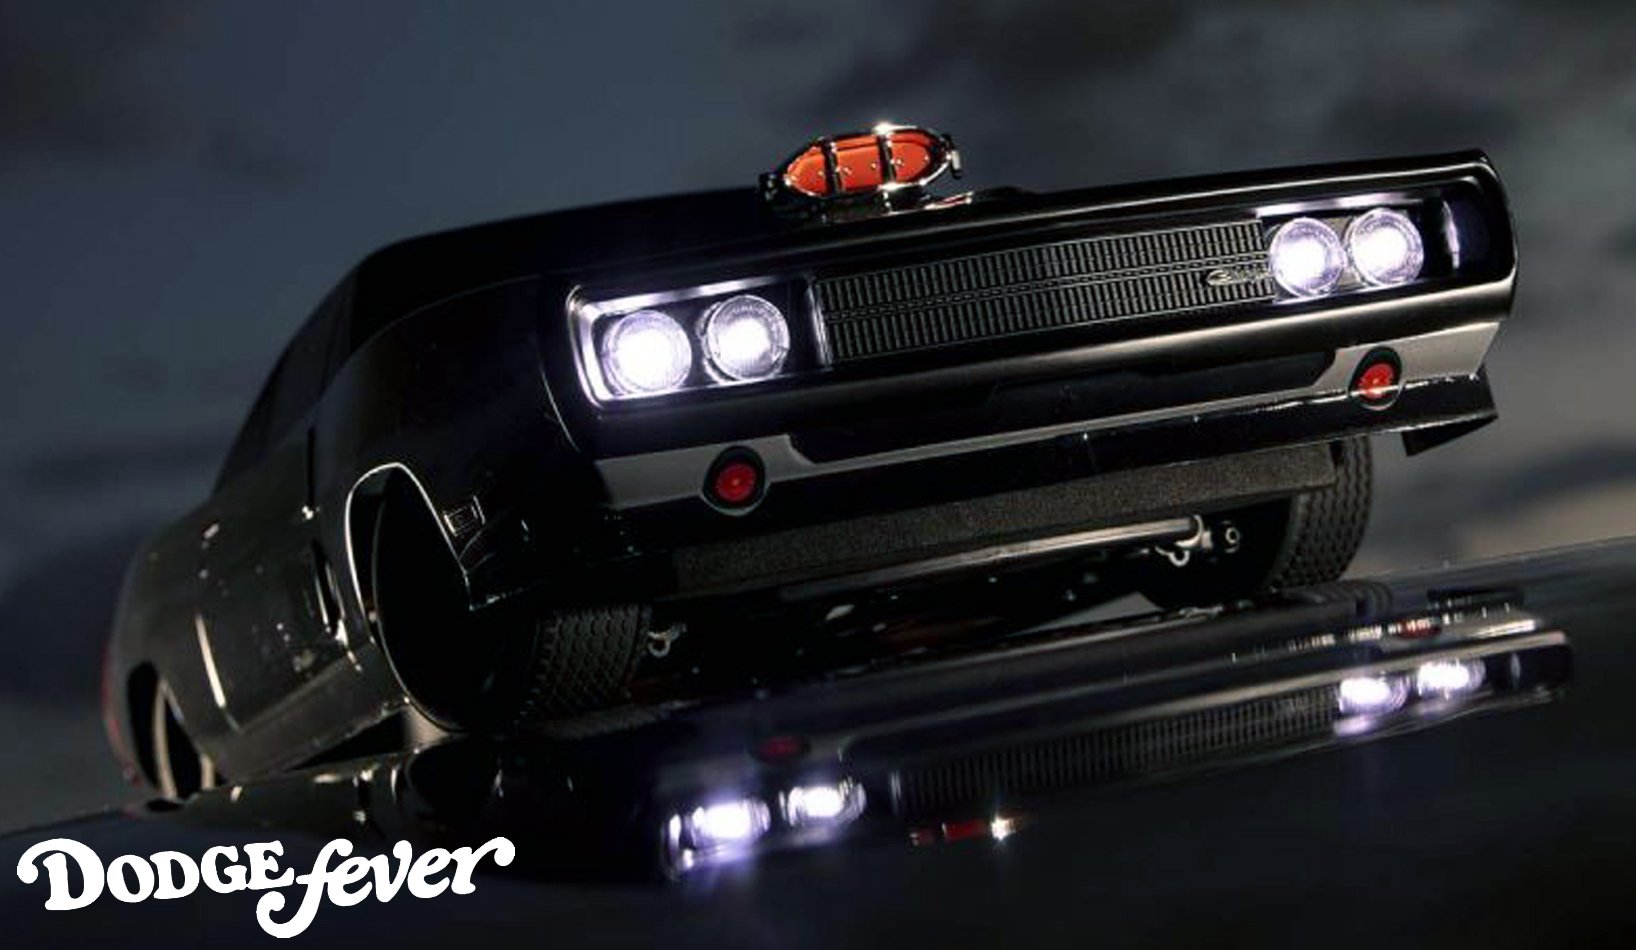
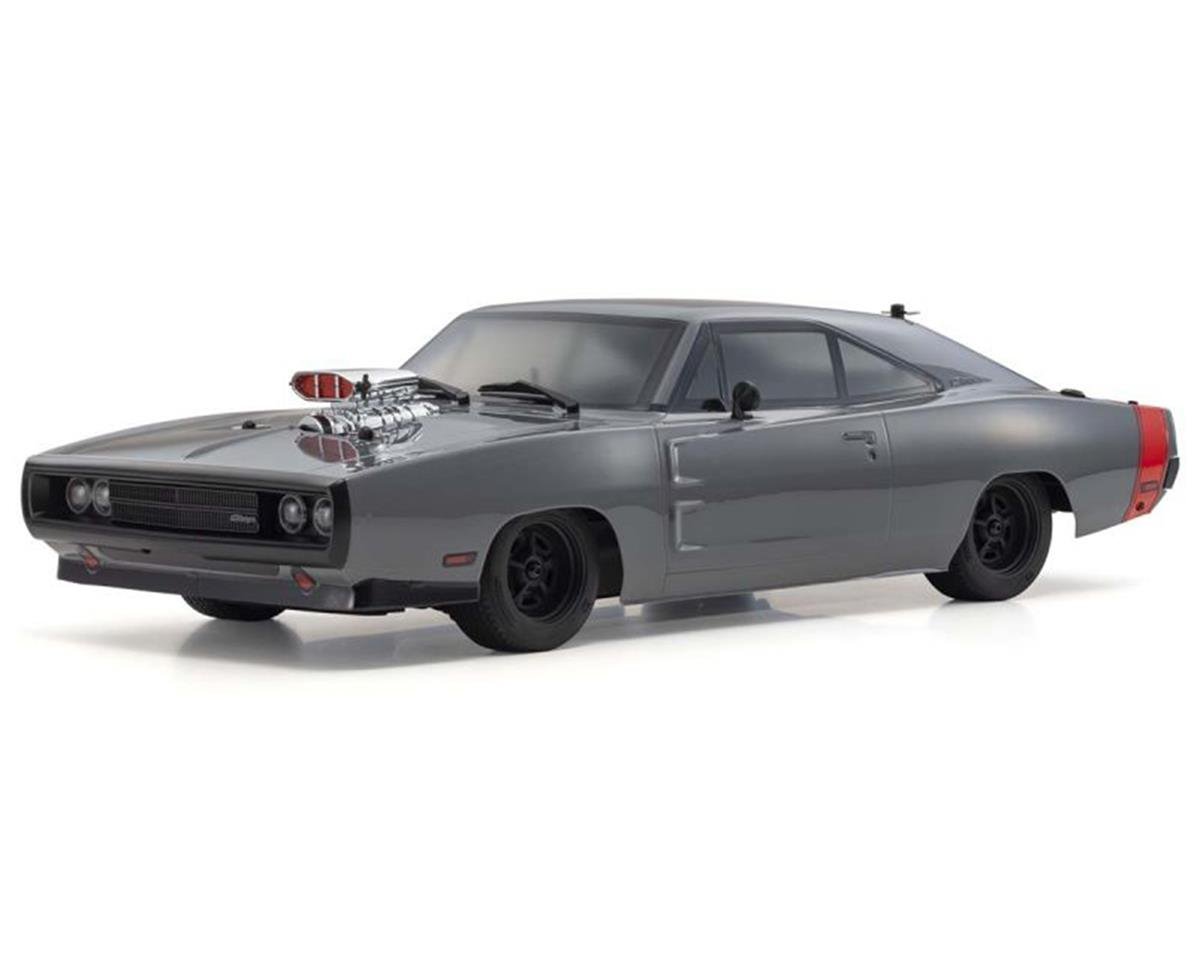
The 1970 Dodge Charger body looks fantastic and is every bit for the car collector as it is for the RC enthusiasts.
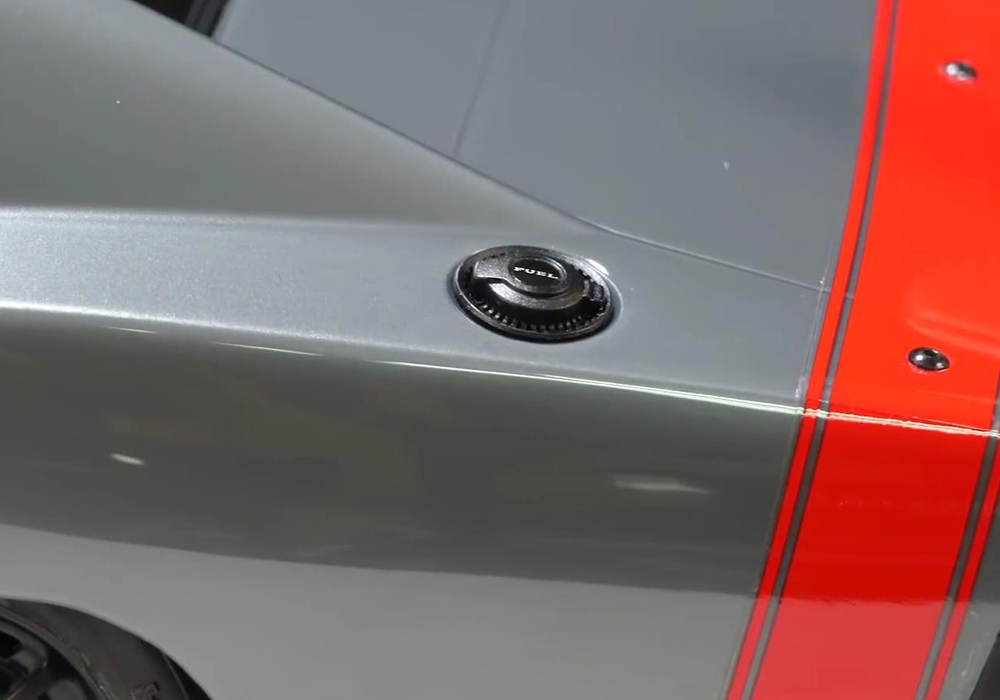
Dodge fans know that 1970 was the last year the second generation body style was produced. It was marketed as a luxury sports car with defining features like the fastback roofline, undivided grille, hidden headlights, and racing fuel cap.
It may be over fifty years later, but the RC car version is still pretty dynamite and looks darn near like the real thing. The overall body shell is made from a flexible lexan material with accessories and details added on using molded plastic or decals.
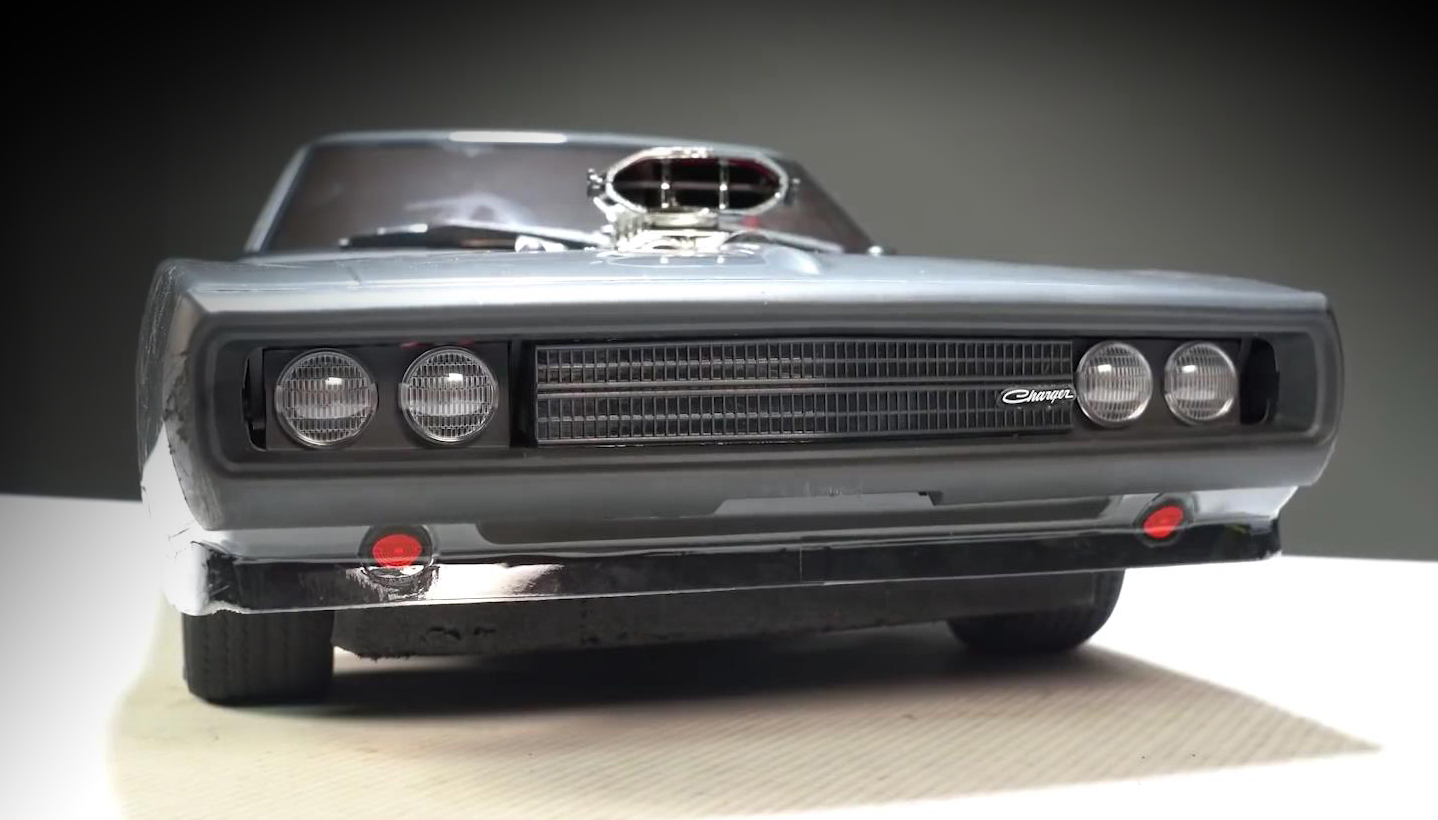
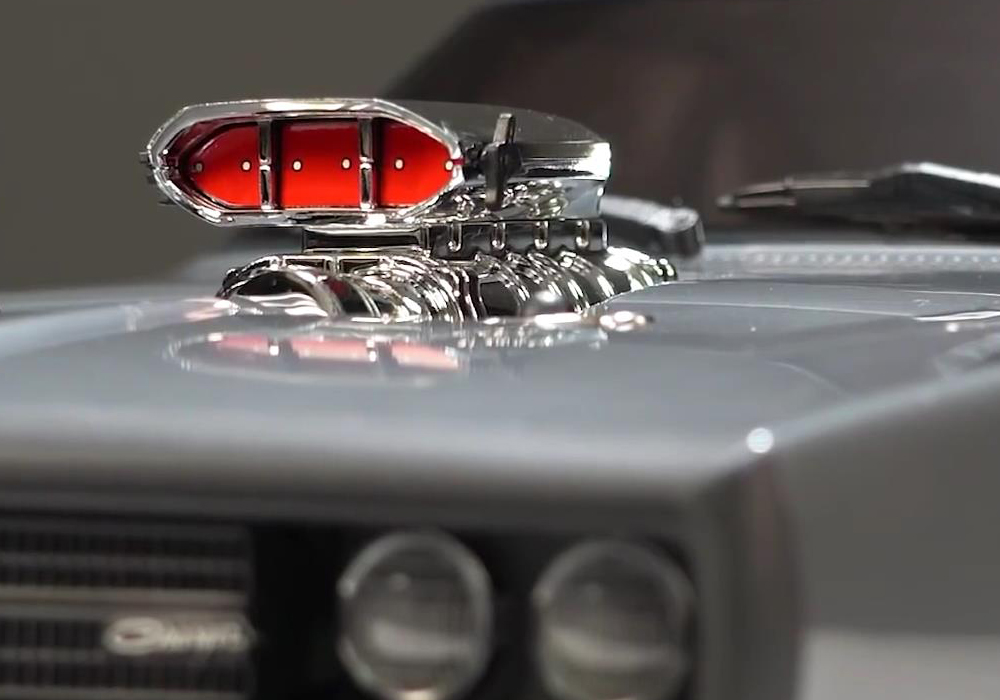
One of the coolest detail is the full-length squared-off front grille, with it's vertical teeth, it was nicknamed the Electric Shaver—we see where it gets its name. Unfortunately, the headlight covers are locked in their open position, and they do not function unless you add a sub-micro servo, which we'll talk about later.

Decals are used for the Dodge branding, blinkers, and lip. The headlights are hard plastic, functional lenses that can be equipped with two 5mm LEDs on each side. Kyosho conveniently offers LED light kits in a few combinations with white and red color options in two or four light strings.
Moving up the scale body is the supercharger air compressor. It is a hard plastic chrome piece that looks fantastic, and it is attached to the chassis for extra strength. The butterfly valves open and close by hand. Behind the supercharger, you'll find hard plastic molded non-functioning windshield wipers.
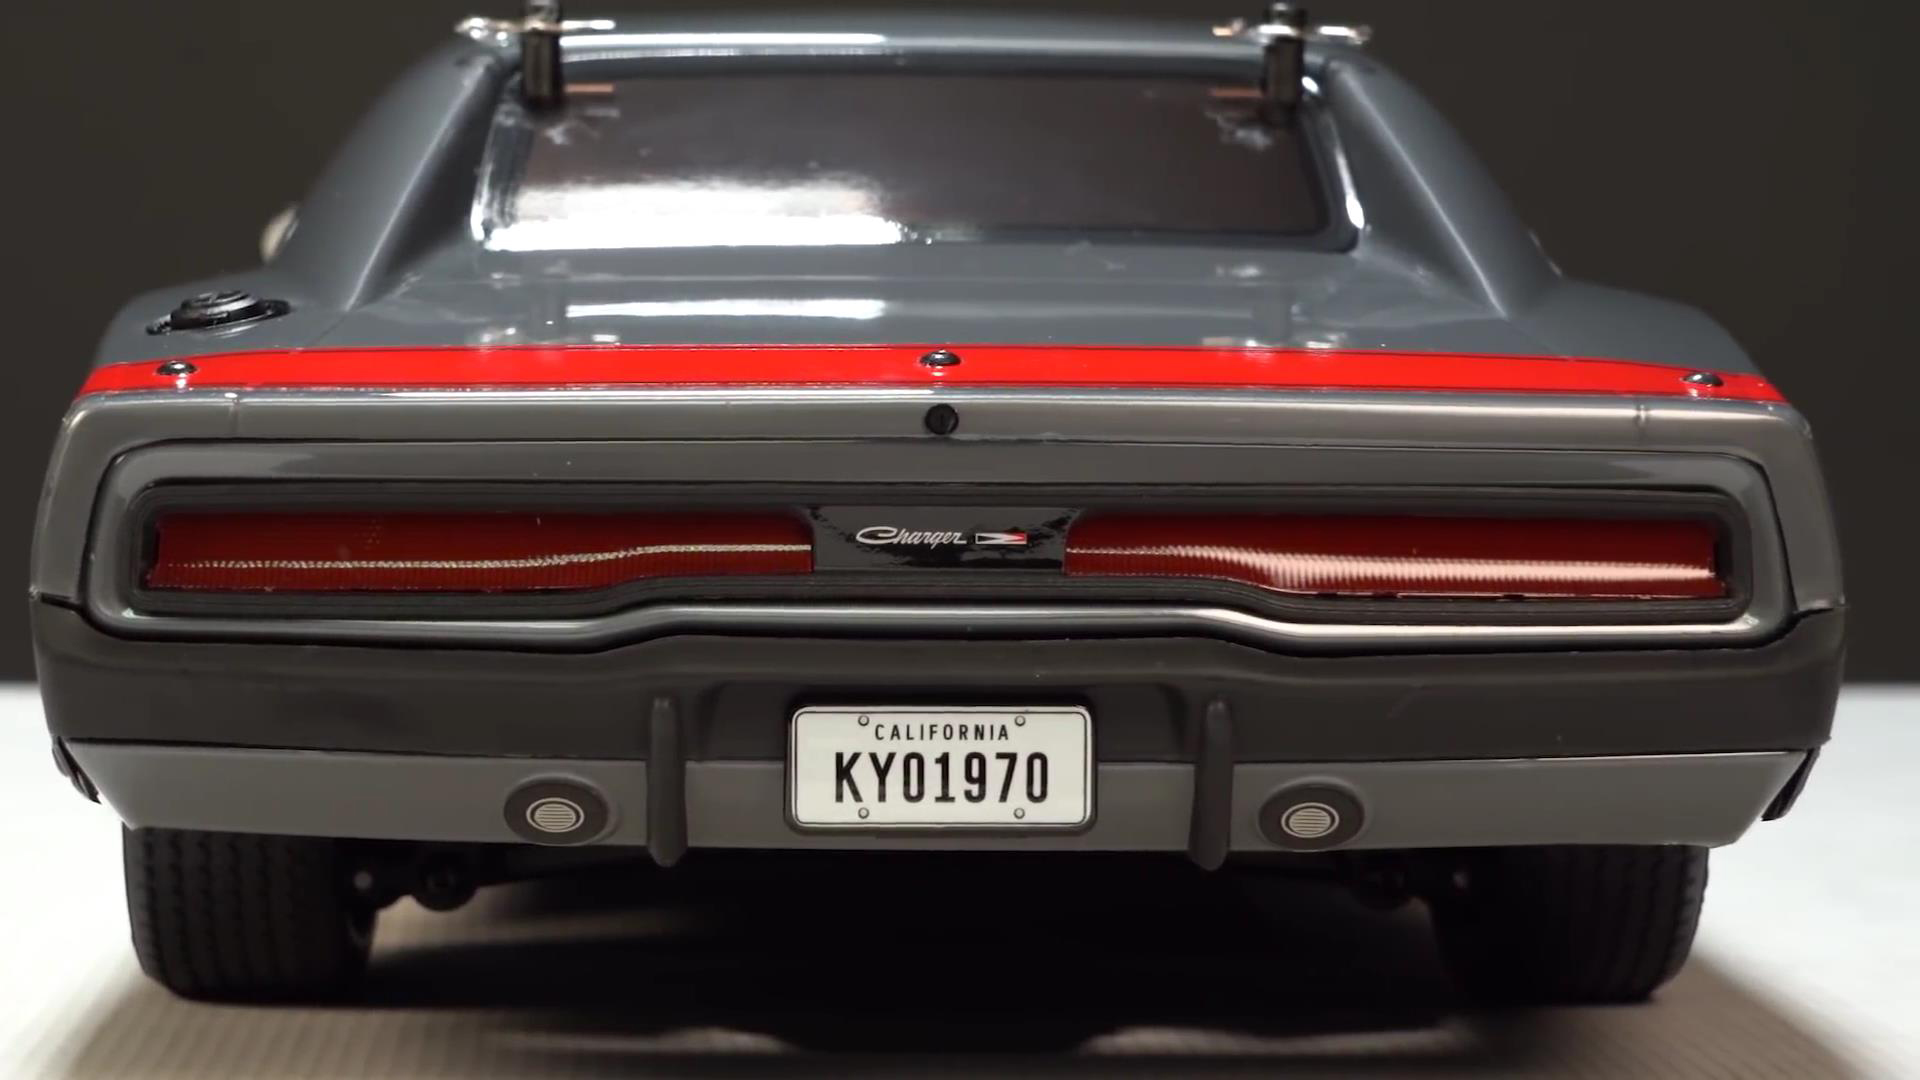
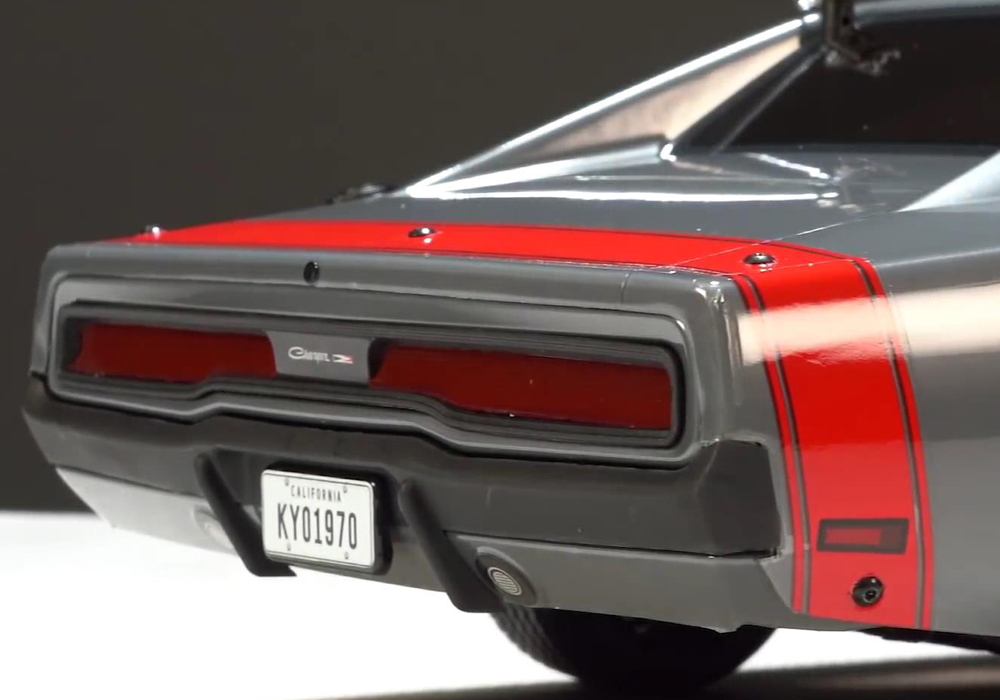
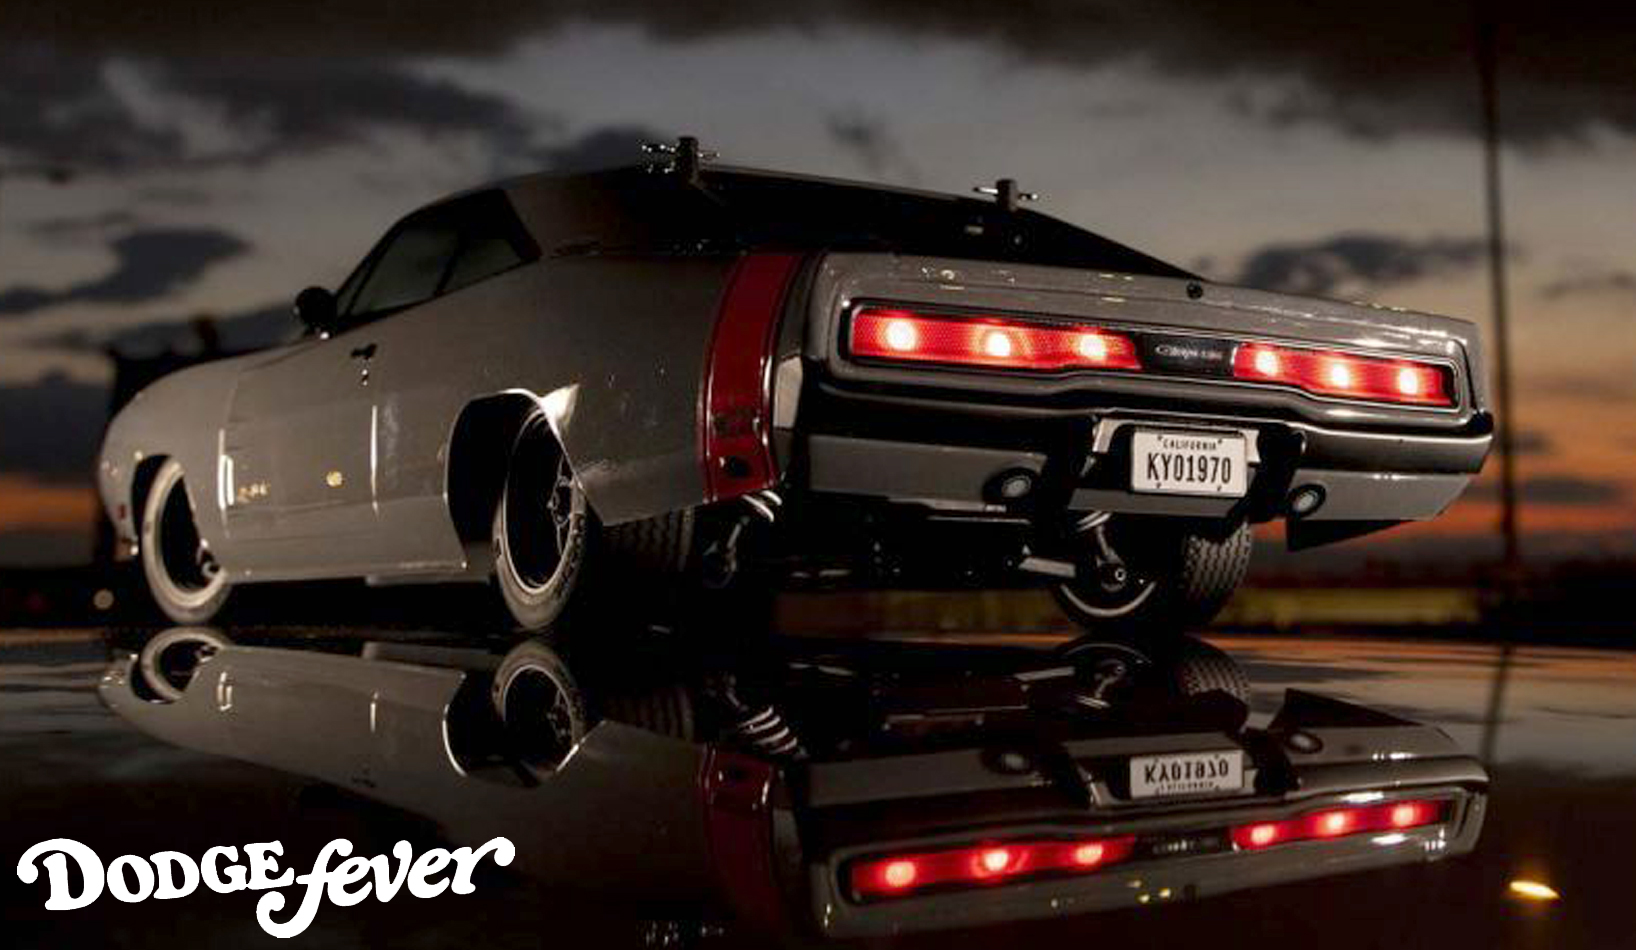
Surrounding the windshield and other windows are tinted decals that double as a black window trim. The door locks and handles are decals, and the side mirrors are molded hard plastic featuring little reflective decals. Moving towards the back, you'll find more Dodge Charger branded decals, red racing stripes, and a hard plastic molded racing-style fuel cap.

You can see the button head screws that secure the rear-end to the lexan body. It is robust with a hard plastic molded light section featuring long taillights that accept 5mm LEDs. And you can equip three LEDs on each side for a total of six LEDs in the back. Combine that with the front-end LED options, and that's ten LEDs this body can accept to create the ultimate scale body.
So how fast is the brushless 1970 Dodge Charger?
Well, to test this, we charged up a two-cell LiPo battery, grabbed our GPS speed meter, and set off to do some passes. After a few minutes back and forth, we achieved a top speed of 37 mph. The car felt like it was geared conservatively and had a lot of torque on the bottom end.
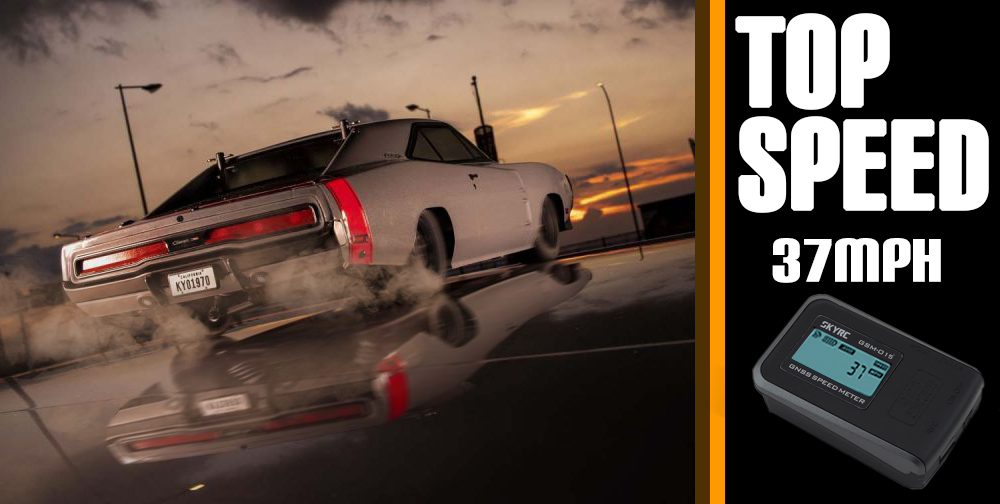
Learn more about the SkyRC GPS speed meter.
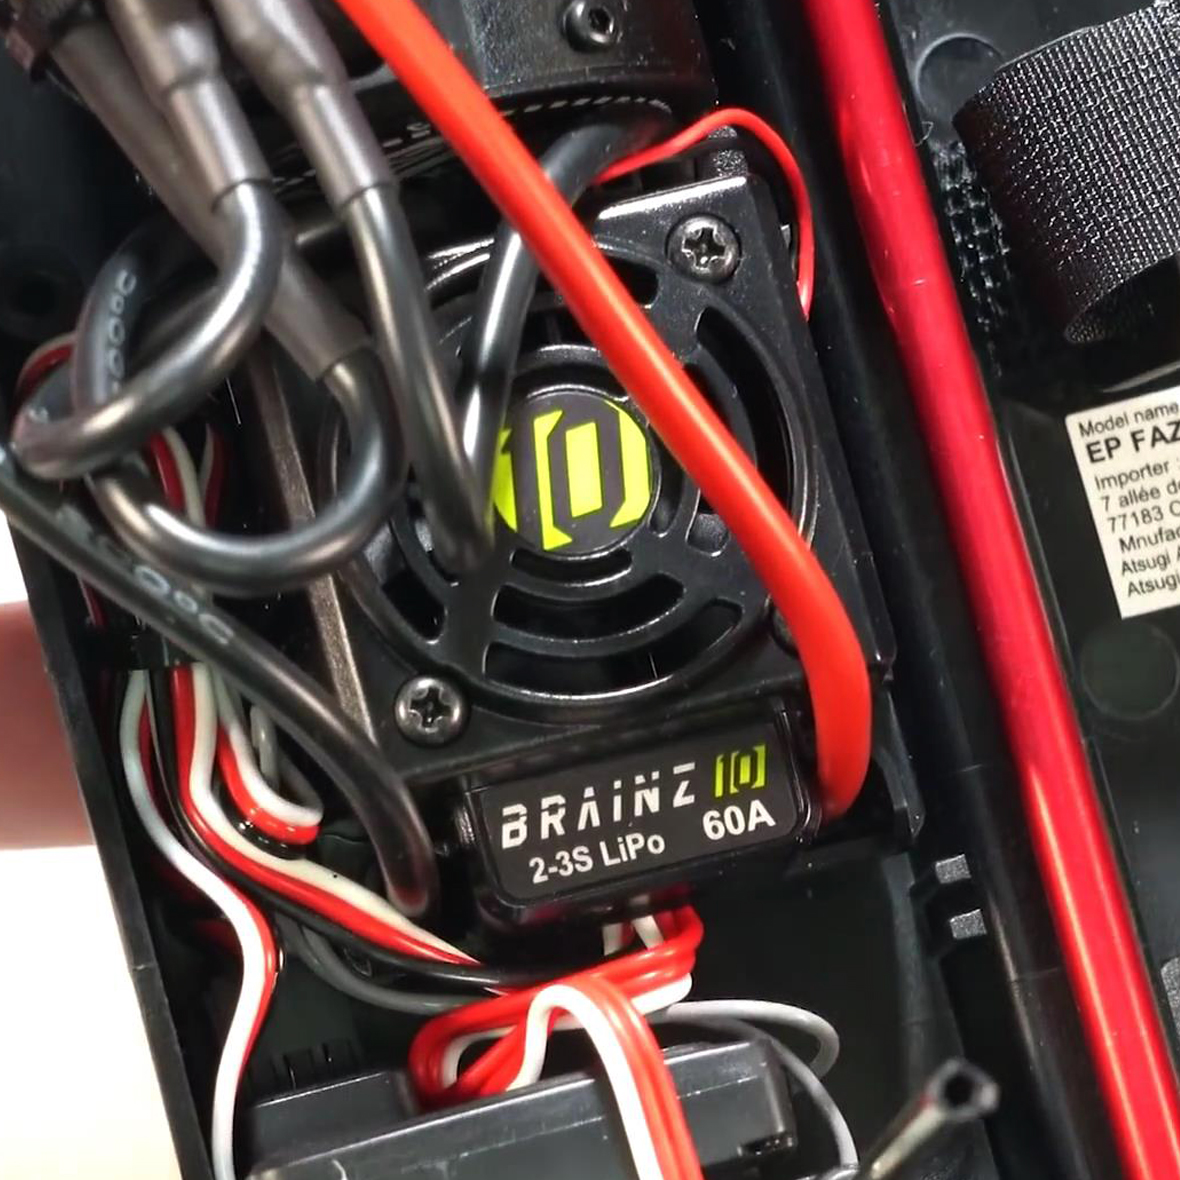
What's inside the Dodge Charger

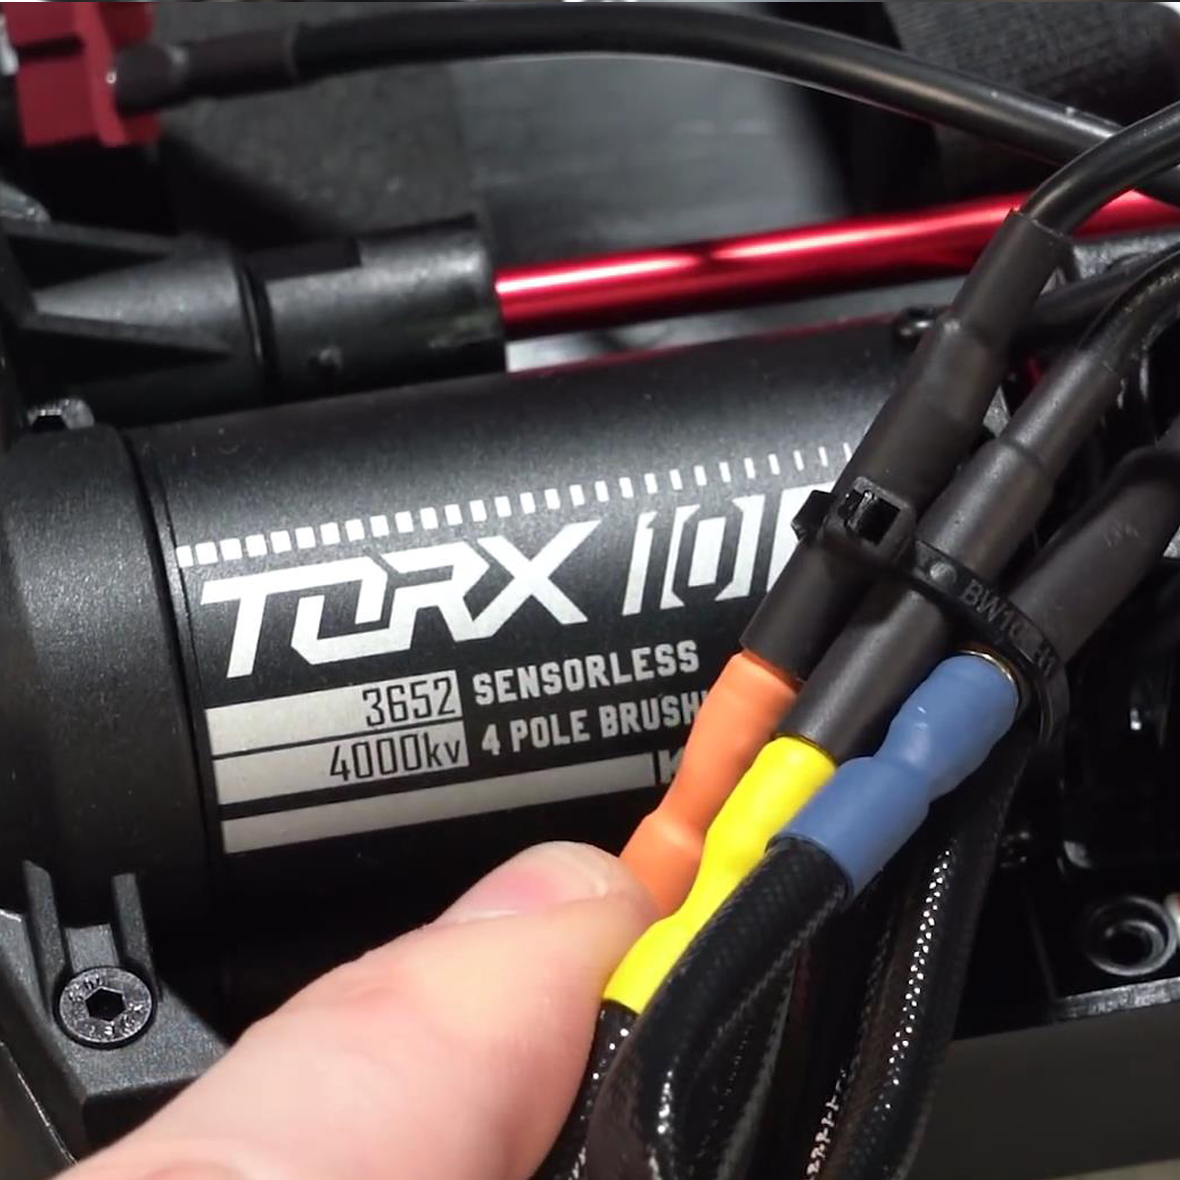
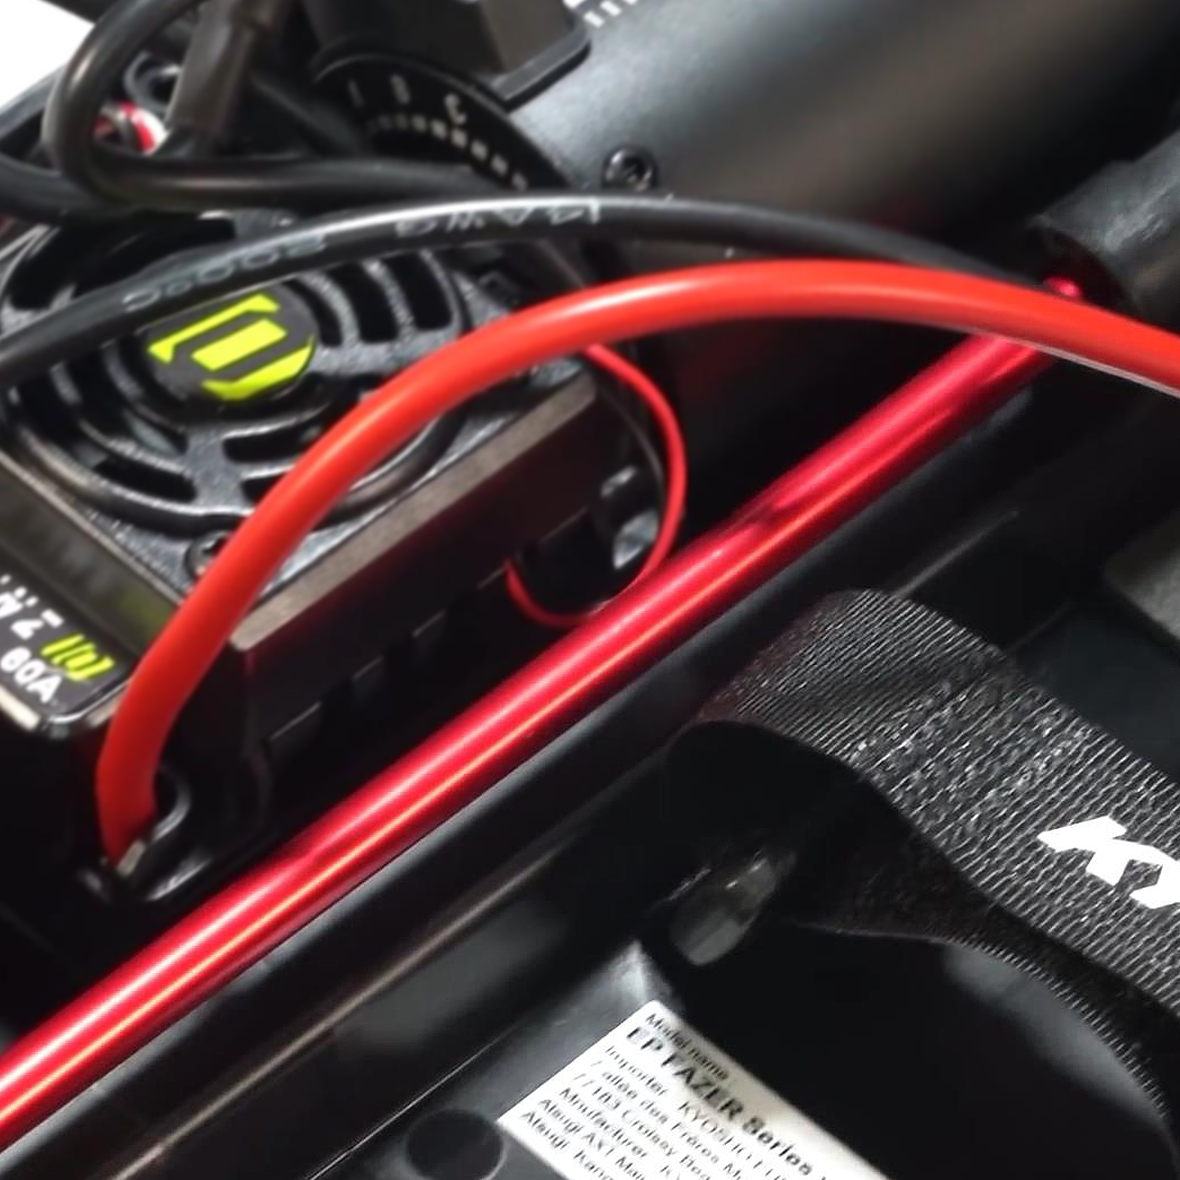
The included ESC is the Brainz 1060 amp, and it's two and three-cell LiPo battery compatible. On the other hand, the motor is a 4000kv TORX 10E four-pole, and it's only two-cell LiPo compatible, but it is equipped with an upgraded center pinion gear to handle that brushless system.
One other upgrade on this car is the optional red aluminum center driveshaft. That's normally a hop-up sold separately, but it's included to handle the high-powered brushless system.
Our first impressions after driving the Kyosho Dodge Charger
Our speed runs were the first chance to drive the car and give it a shakedown. The steering, when you initially steer, is twitchy. It has a lot more initial steering than some of the older FAZER's, and we wonder if it's from some of the extra weight from that blower being up top—the car is really torquey.
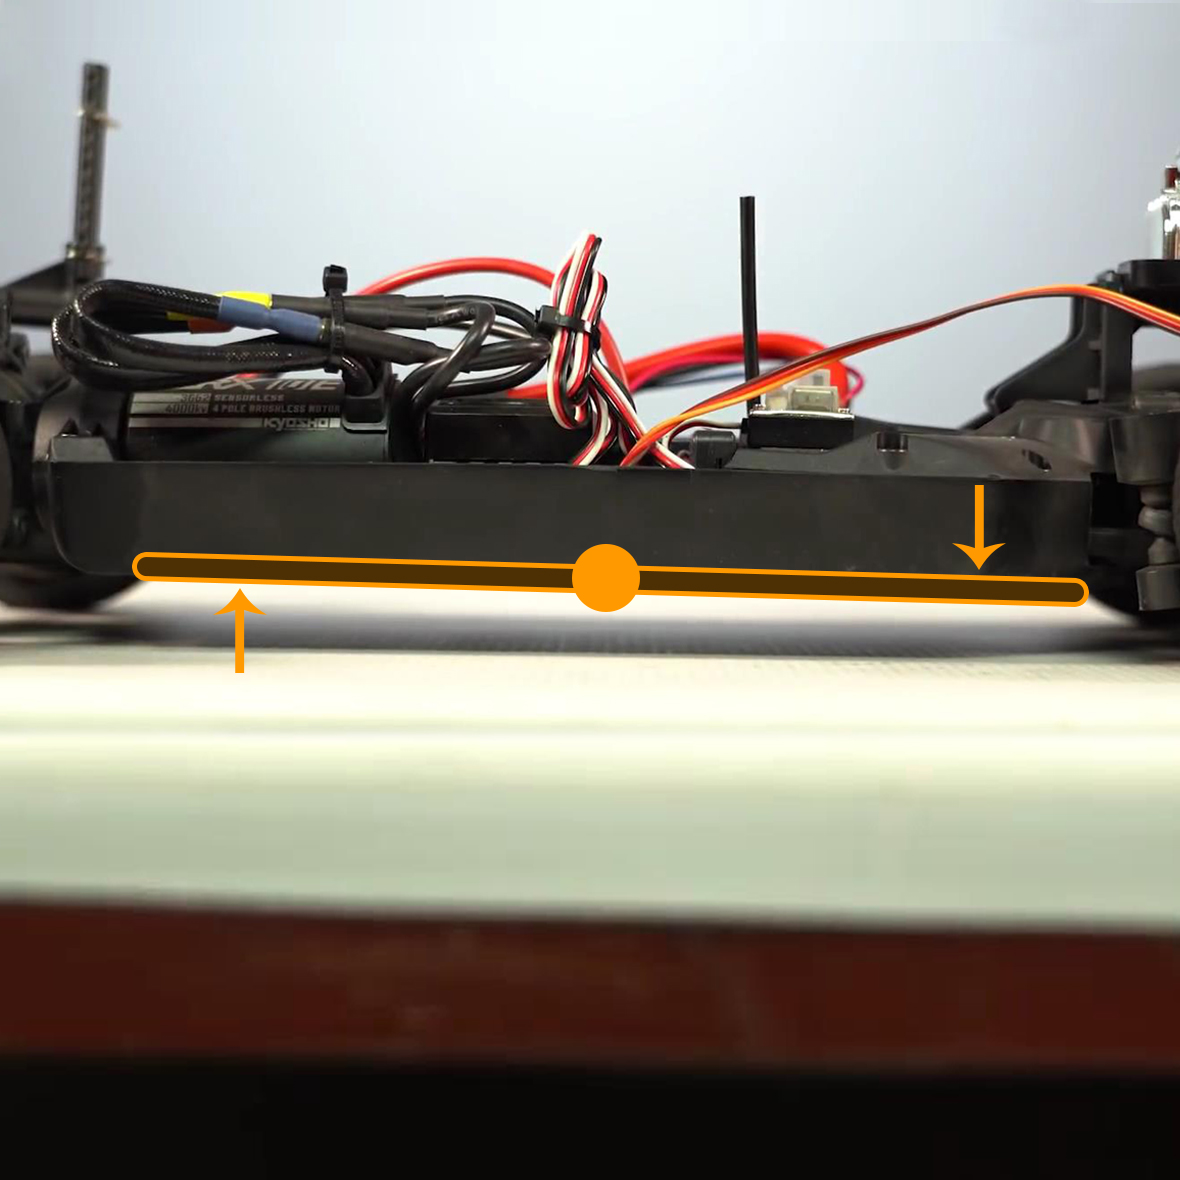
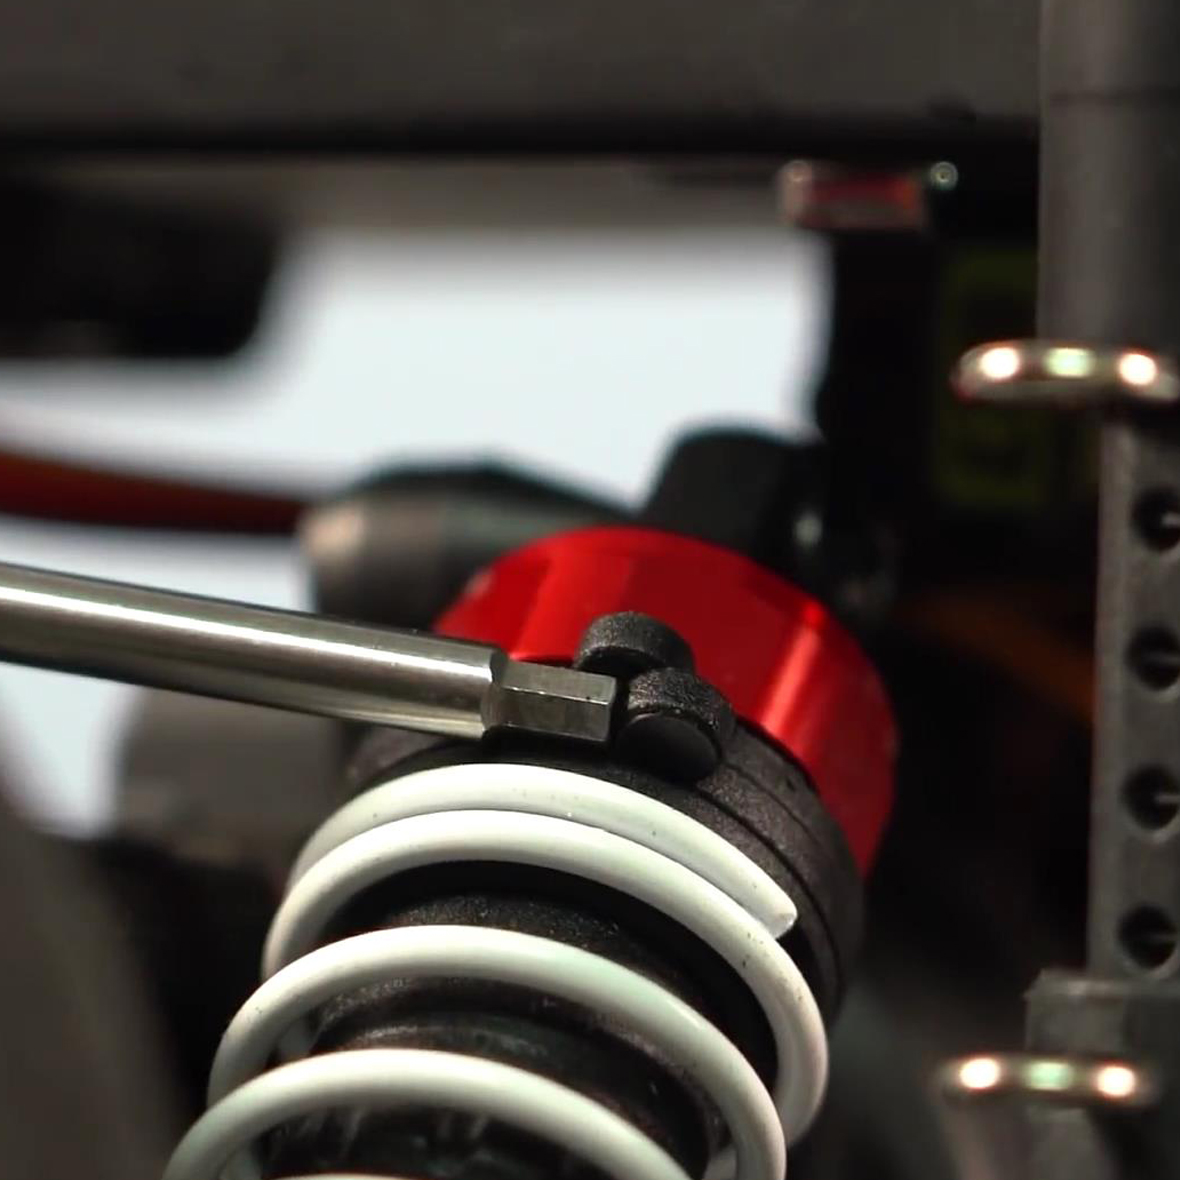
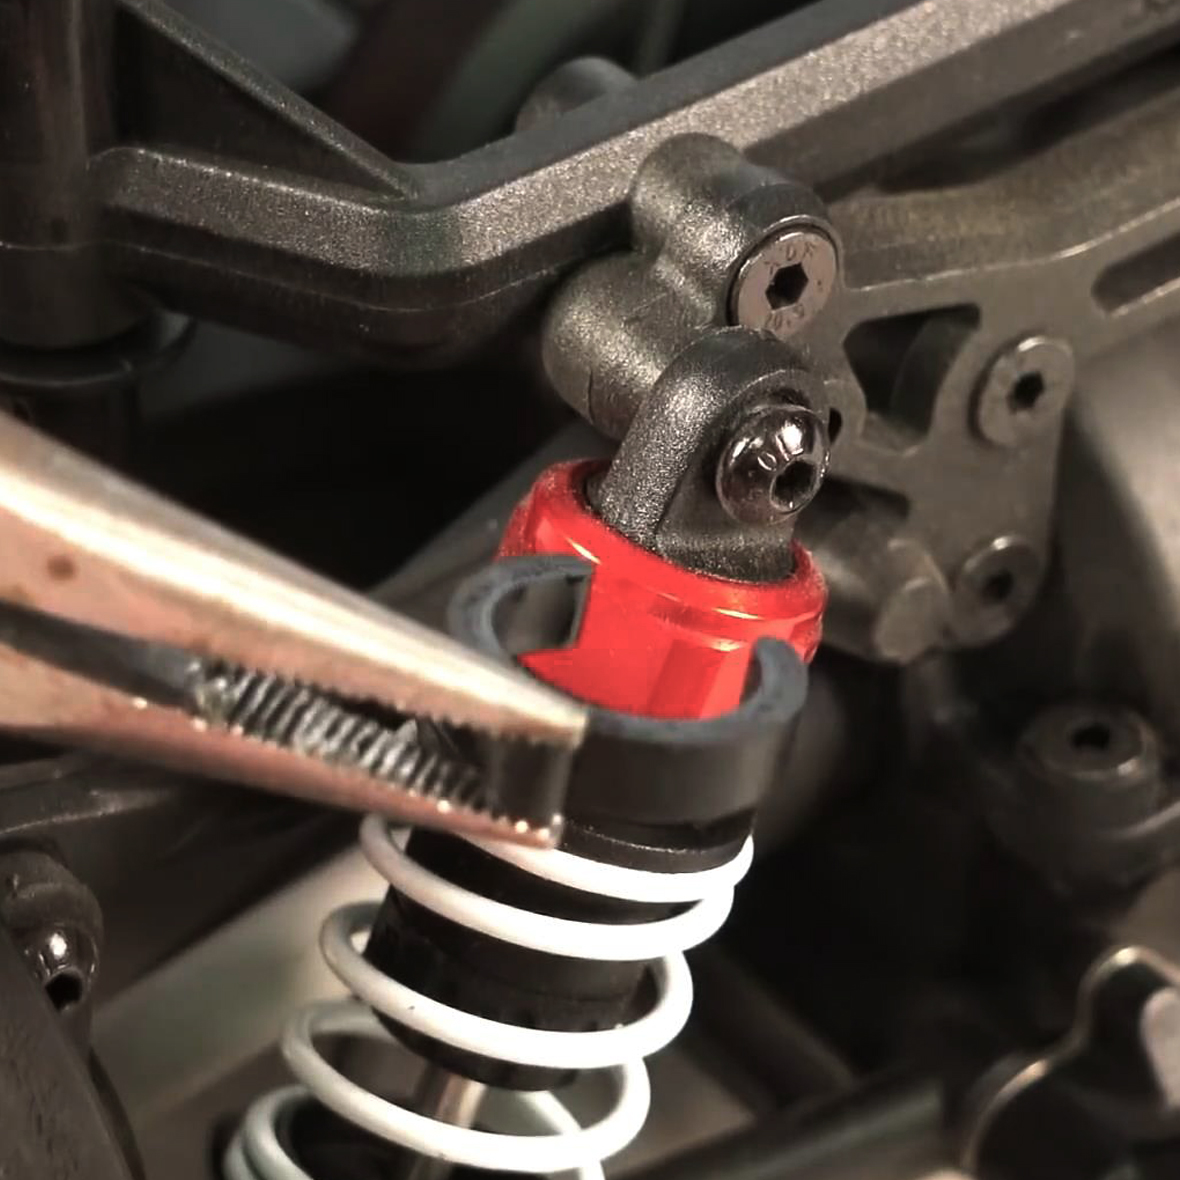
After adding the battery to the car, we achieved our driving weight and ride height, and the front does slope down a little bit. But there is an easy remedy to level this out by adding some of these clips onto the shocks. You can add clips to the front to raise it or remove some from the rear to lower it. These adjustments are a simple and convenient way to experiment with tuning. The end goal is to make the car easy and comfortable to drive.
Kyosho 1970 Dodge Charger RC Car Upgrades
Some of you may have seen the Drifter series that we've been doing recently, and as a result, we have a bunch of drift carpet tires. The Dodge Charger is not designed to be a proper drift car, but it'll get sideways and power slide around pretty well with the right tires. It may not be winning any trophies at the local drift competition, and the steering angles are relatively shallow for control drifting, but it's fun to do. It's just another element of what's possible with the car.
The optional Kyosho KRG-331 receiver with a built-in steering gyro with adjustable gain is another upgrade to make drifting better. These steering gyros can help quite a bit with getting sideways or if you just want a little extra stability in loose conditions.

Yokomo Drift RC Tires
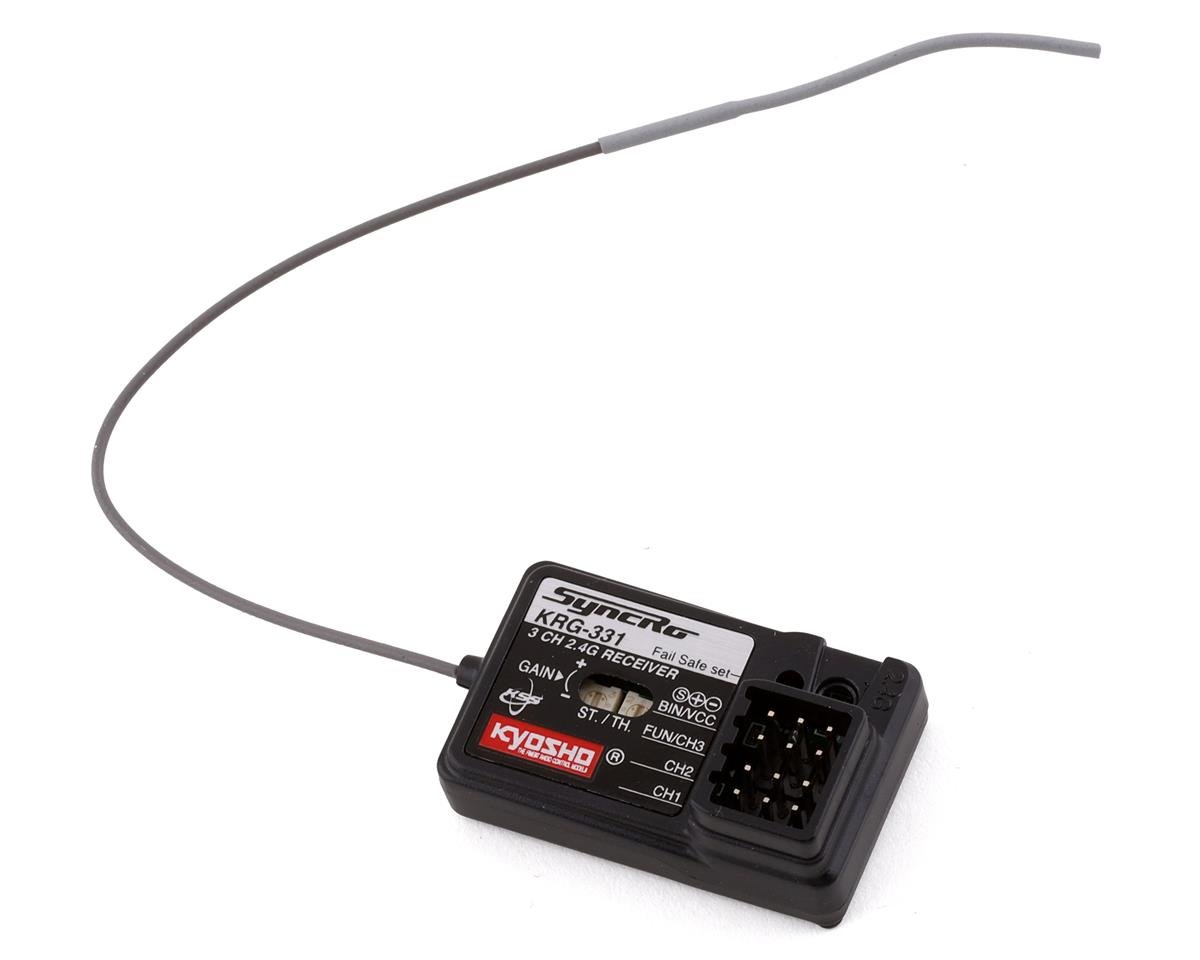
KRG-331 receiver

GT Wheel Set
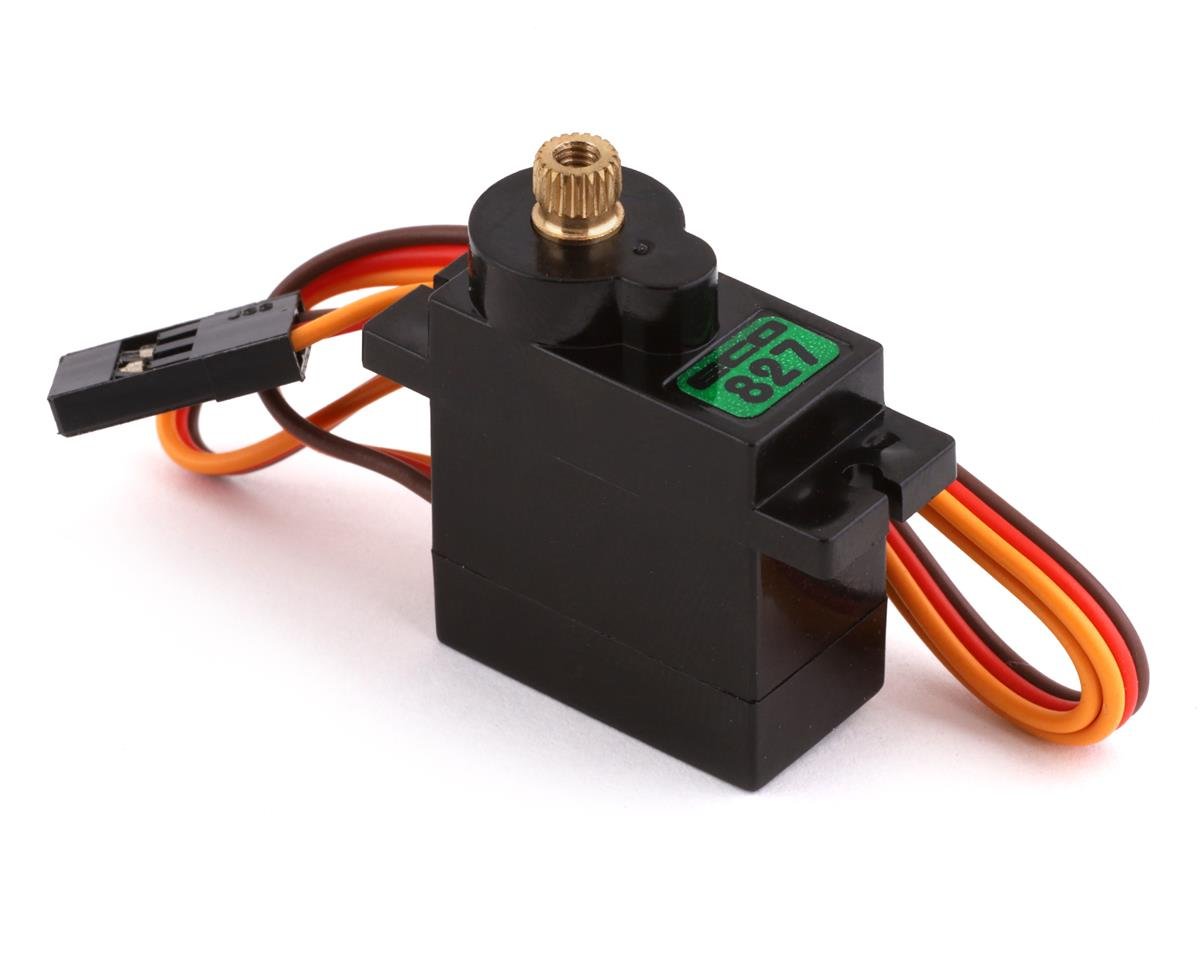
Sub-Micro Servo
These may not be proper for the era of this vehicle, but the MST GT white wheel set looks super cool? They give it sporty beach cruiser vibes, and we're really digging it. That look ties in well to the last piece of scale realism for the Dodge Charger.
One of the best upgrades you can make to the Charger is adding a sub-micro servo under the supercharger to control the electronic headlight covers. Then you can open and close them using a third channel switch on the transmitter. Set-up is relatively simple, and it is outlined in the user manual.
Here is how we added the electronic headlight feature on our Dodge Charger.
First, we grabbed the manual and the bag of extra parts that were included with the car. First, we removed the locking screws from the flaps to allow them to move freely. Second, we screwed the included connecting post to each flap—so they would move together. Third, we installed a control arm to the connecting post, and it's locked in place with a body clip. Fourth, we removed the supercharger from the chassis by removing the lower body clips from the body posts, unclipping the back, and pulling straight up.
Then we checked the Eco Power 827 servo fitment before installing it—and it fits perfectly. Before we mount it, we want to correctly connect the servo to power and orient the spline position before installing the control arm. We plugged in the new servo to channel three on our receiver with the polarity matching the other plugs and turned on the transmitter and the car.
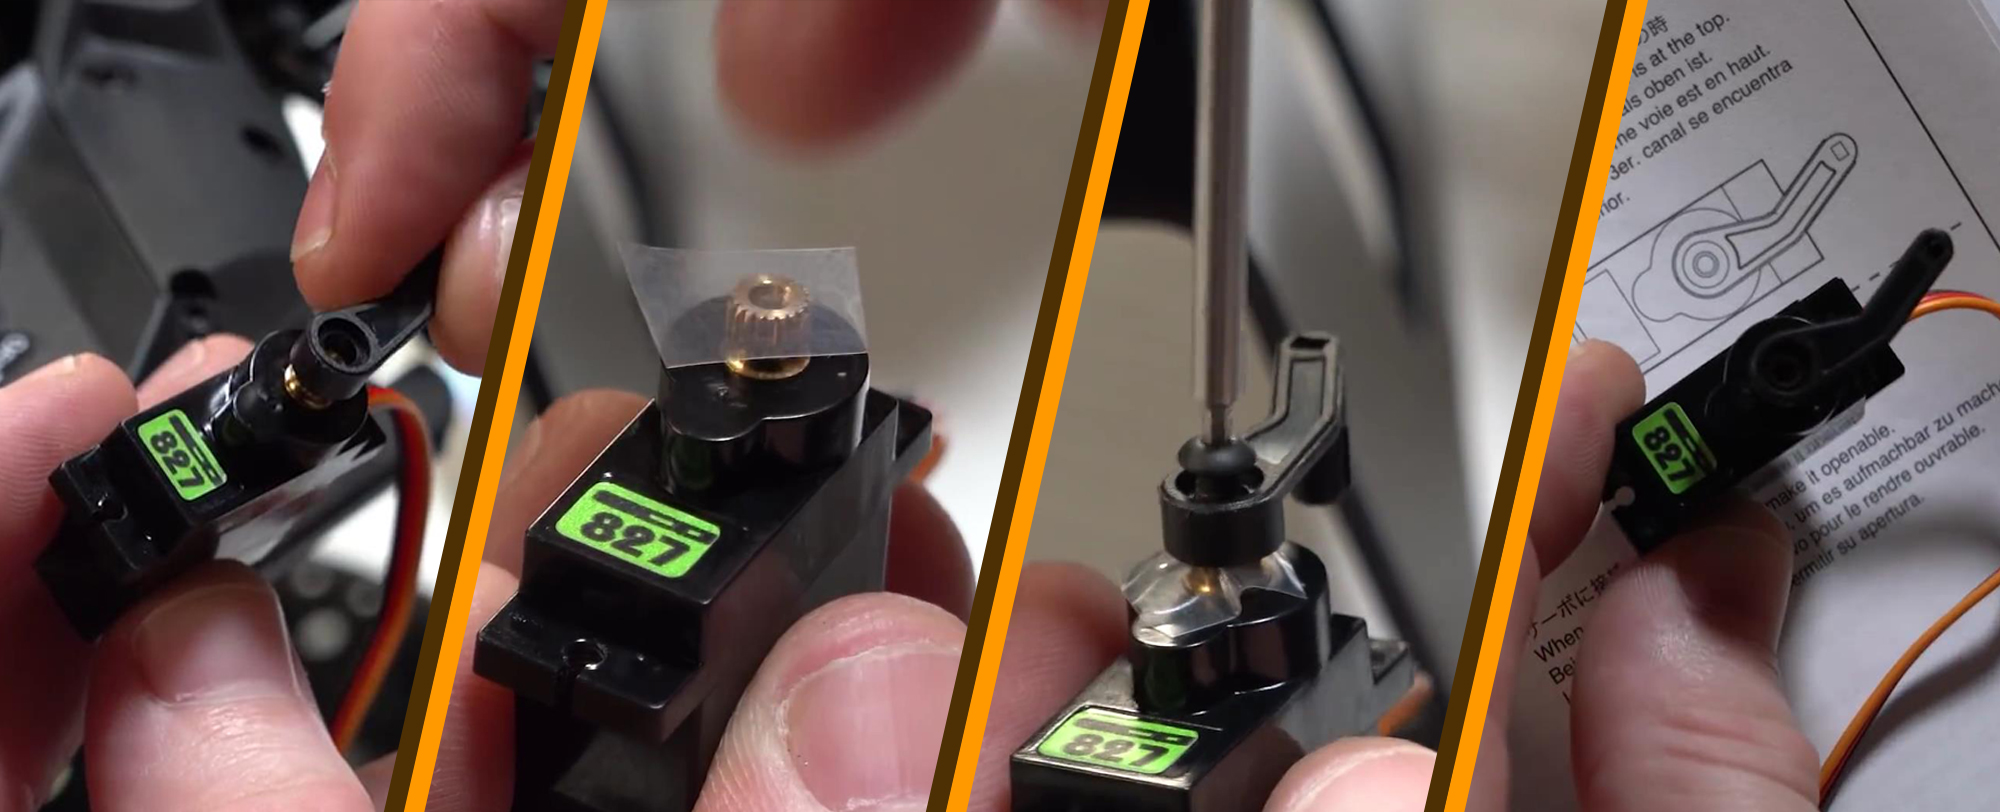
The control arm installs in the orientation shown above with the third channel button on the transmitter at the top setting, see your user manual. Something to note is that the spline count for that included horn is unknown, and with our sub-micro servo, the horn fits loosely—it didn't have a nice snug fit. So to remedy this, we cut out these little plastic squares that we mounted on the spline underneath the horn. (This solution does not work on heavy load applications because it will strip out. But for this application, it's okay.) It creates a much snugger and tighter fit when it's all sandwiched together.
With the control arm installed on the servo, we can mount the servo to the supercharger base and reinstall the base to the chassis. There's one last control arm that secures to the existing arm in the body with an O-ring and a screw. It provides some adjustable length to fine-tune the movement.
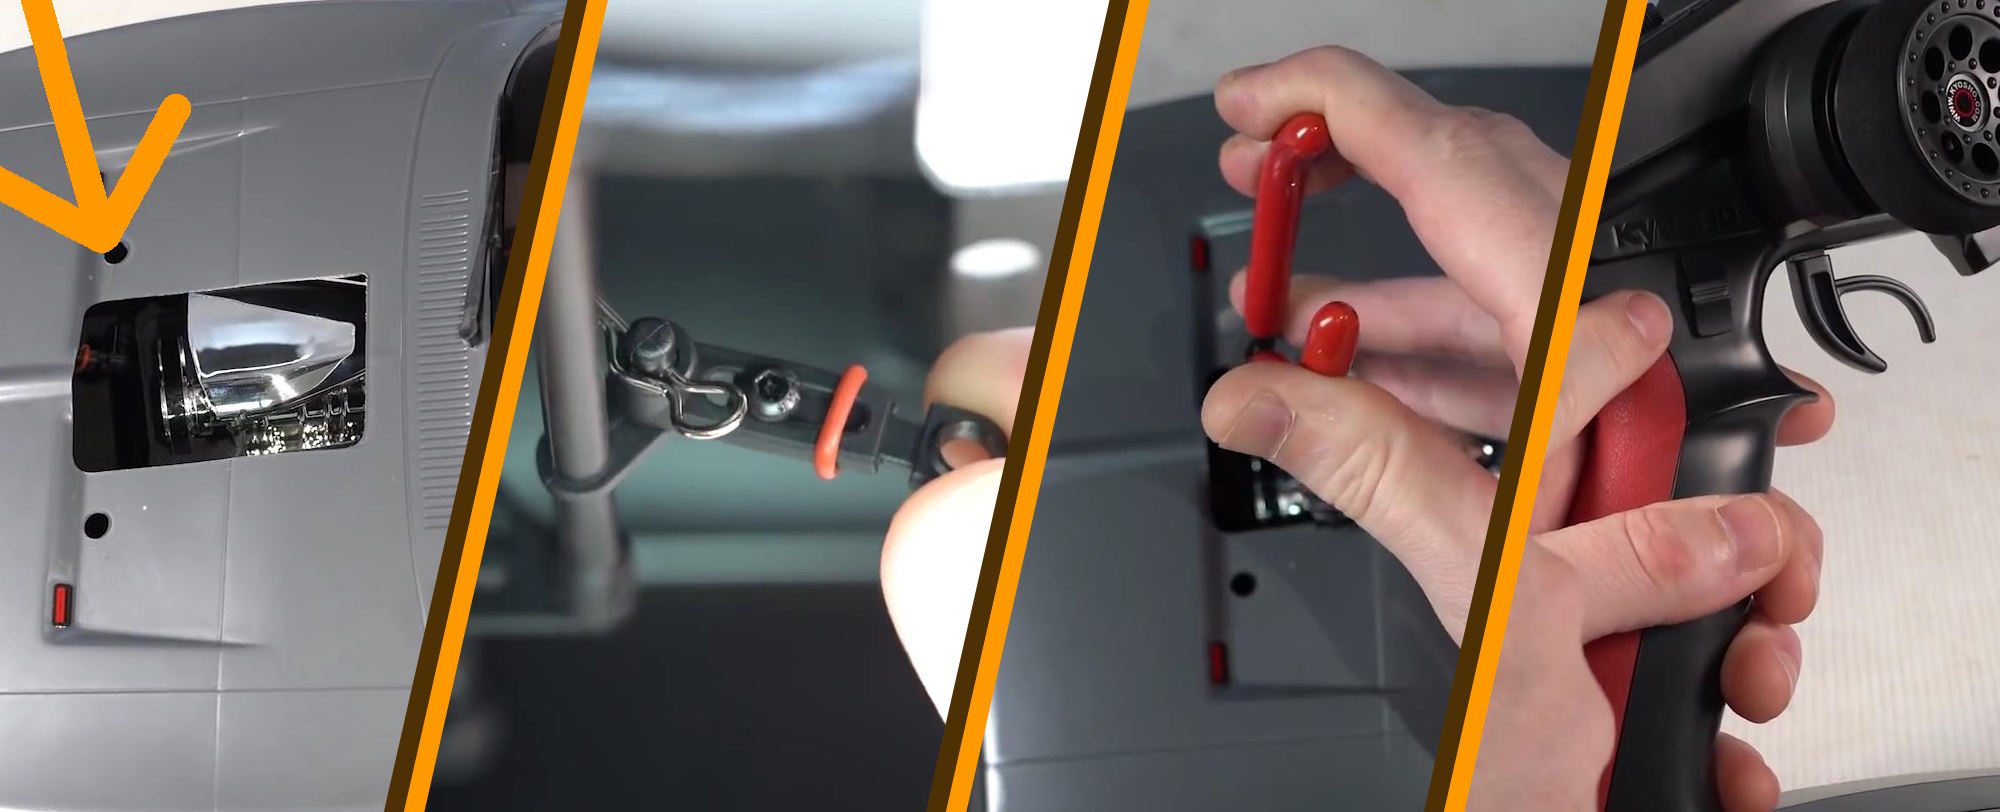
Once installed, the procedure to mount the body is slightly different because you first have to connect the headlight covers. We found that pushing down the front of the body to make the control arm more accessible worked best. Then we linked the arm on the body with the arm in the car with a body clip, using needle-nose pliers. After that, we just secured the body like normal, turned on our Charger, and had a blast.
Watch Brett's Review
Featured Items
Kyosho EP Fazer Mk2 FZ02L VE 1970 Dodge Charger Supercharged ReadySet KYO34492T1
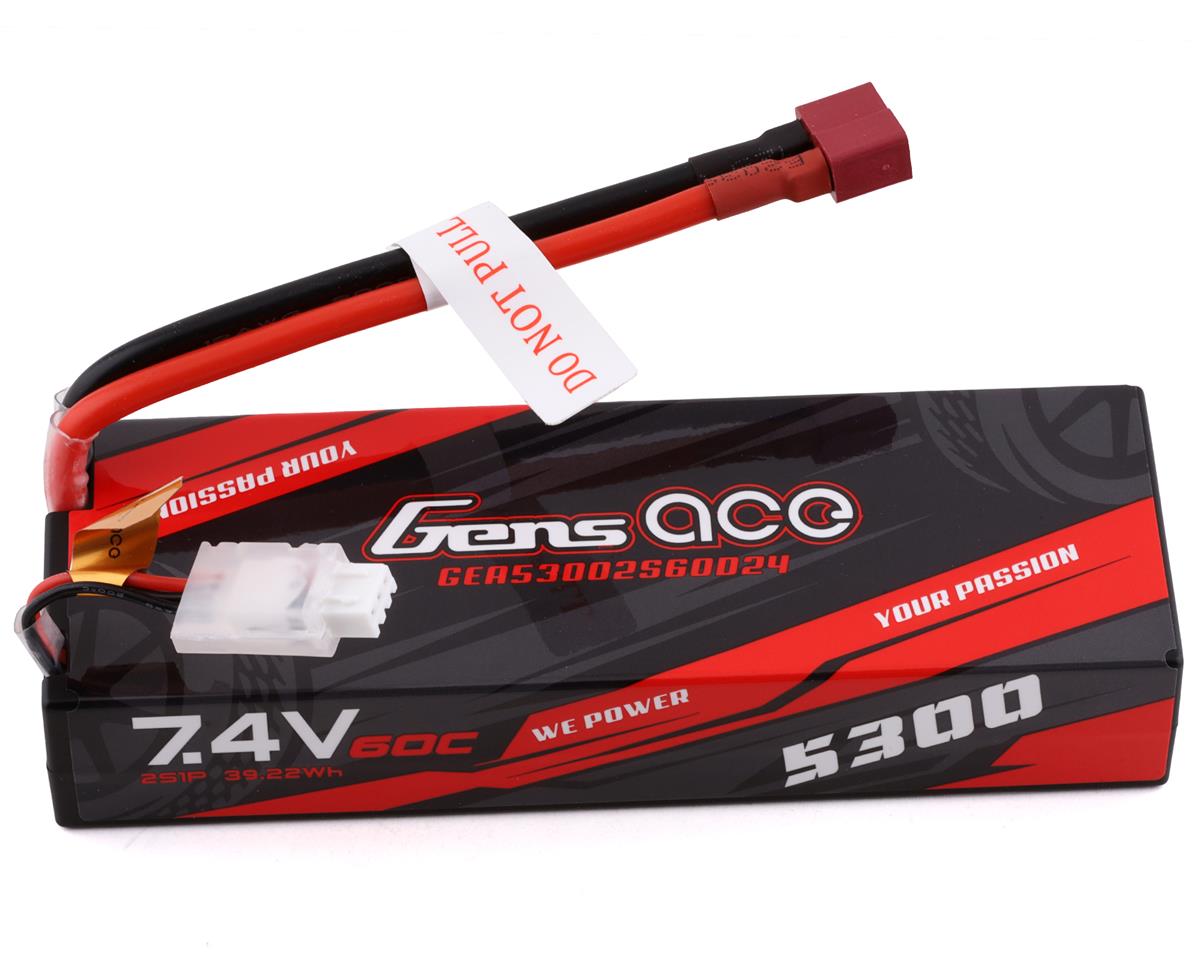
Gens Ace 2s LiPo Battery 60C (7.4V/5300mAh) w/T-Style Connector GEA53002S60D24
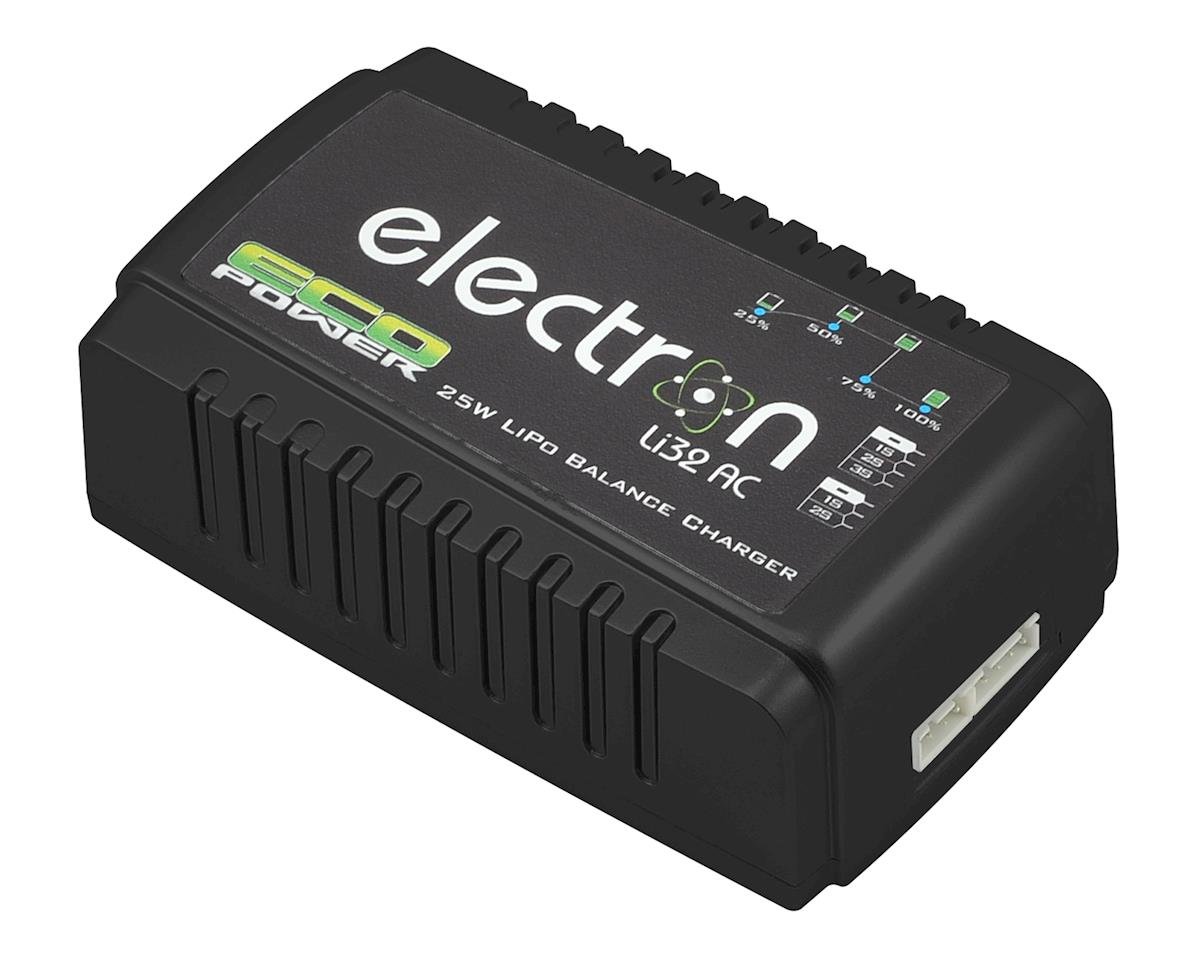
EcoPower Electron Li32 AC LiPo Balance Battery Charger (2-3S/2A/25W) ECP-1004
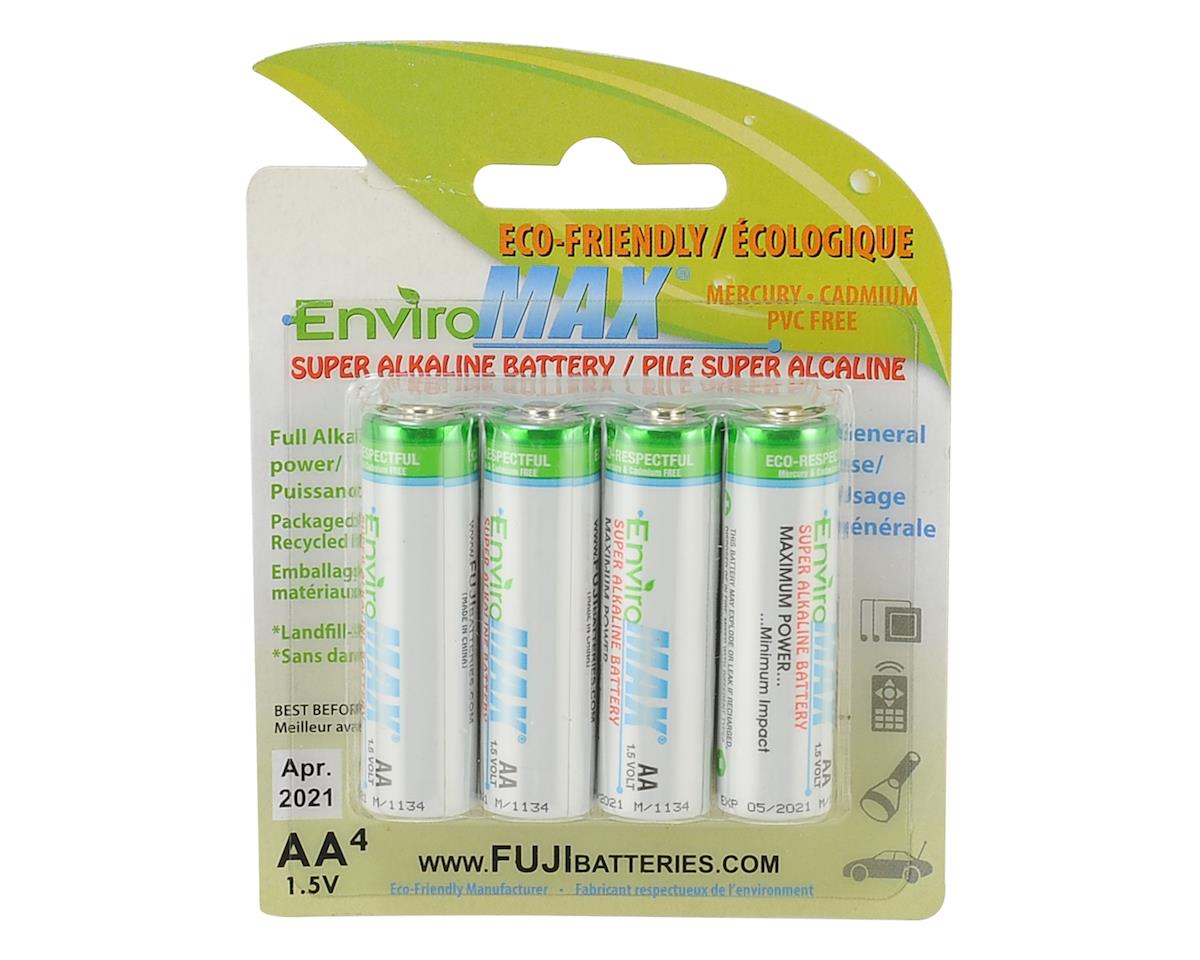
Fuji EnviroMAX AA Super Alkaline Battery FUG4300BP4
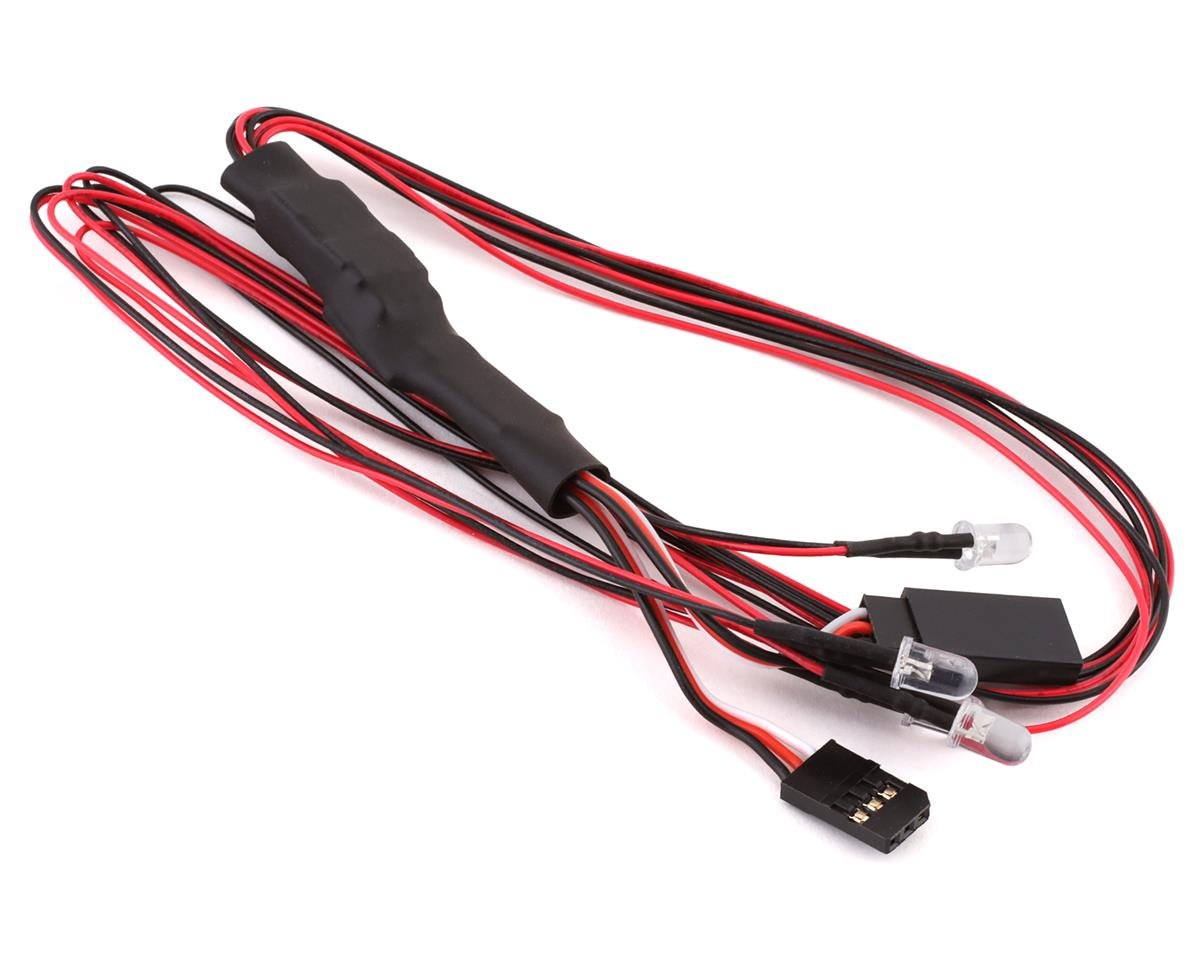
Kyosho Fazer FZ02 4-LED Light Set KYO97054-4B
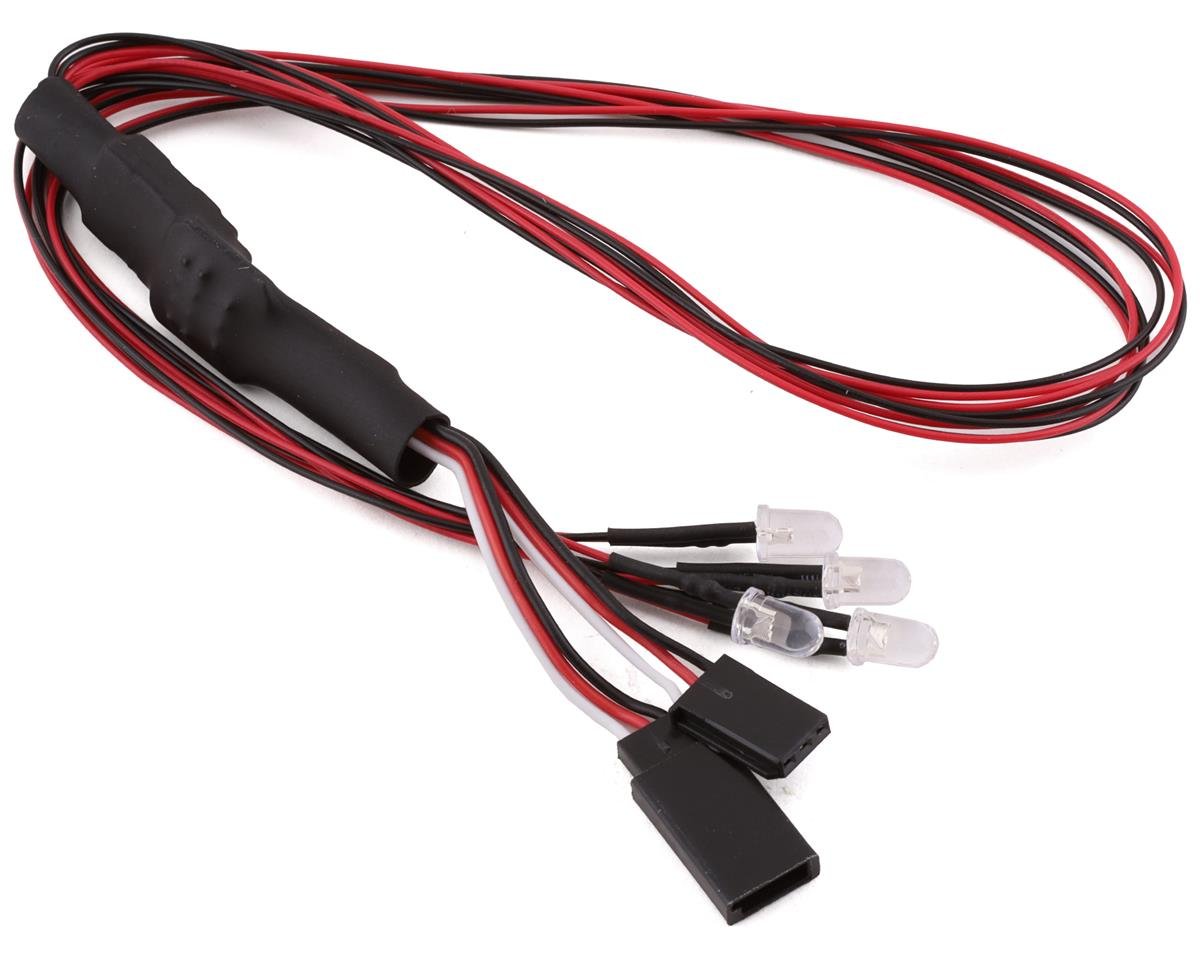
Kyosho Fazer FZ02 4-LED Light Set KYO97054-4R
EcoPower 827 12g Digital Metal Gear Micro Servo (High Voltage) ECP-827
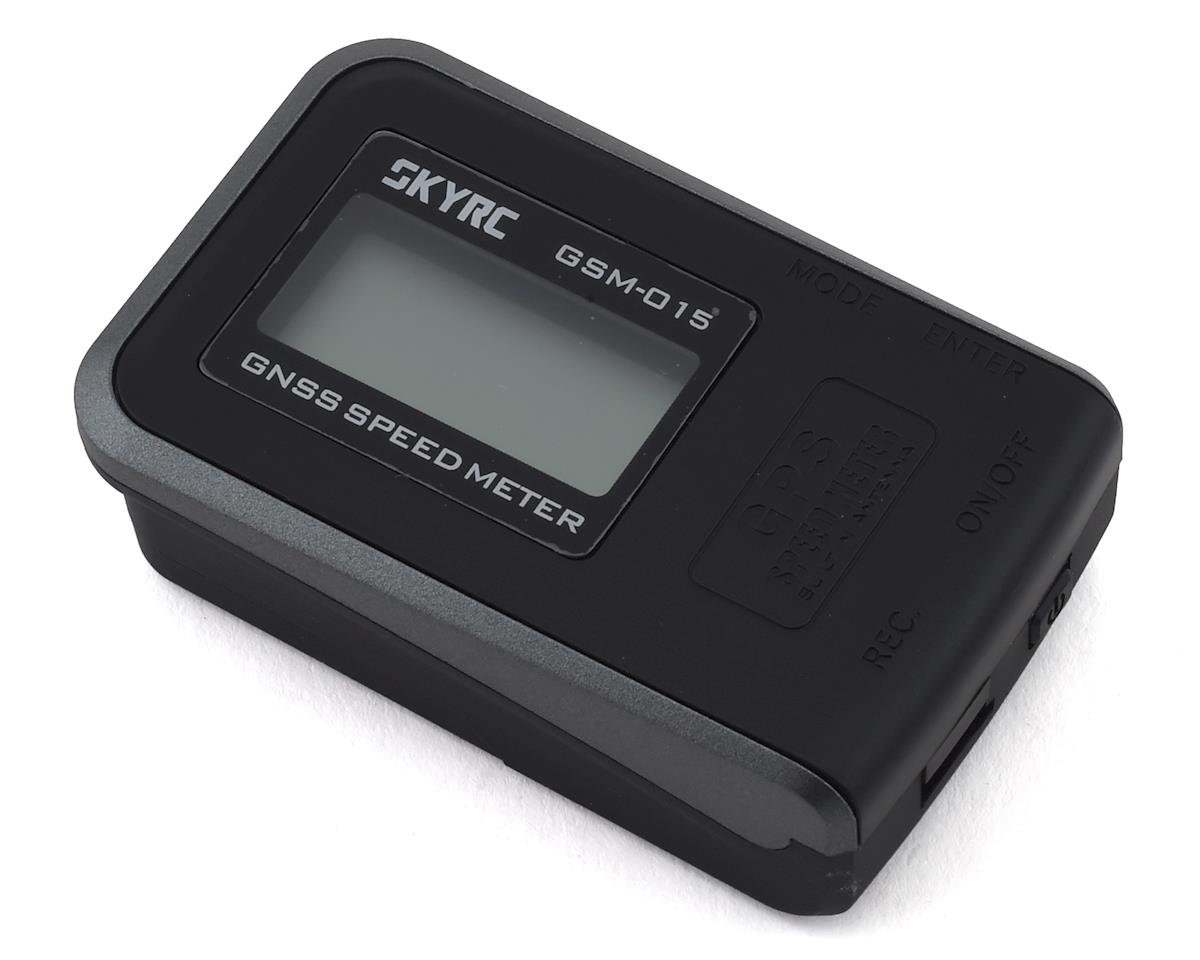
SkyRC GPS Speed Meter & Data Logger SKY-500024-01
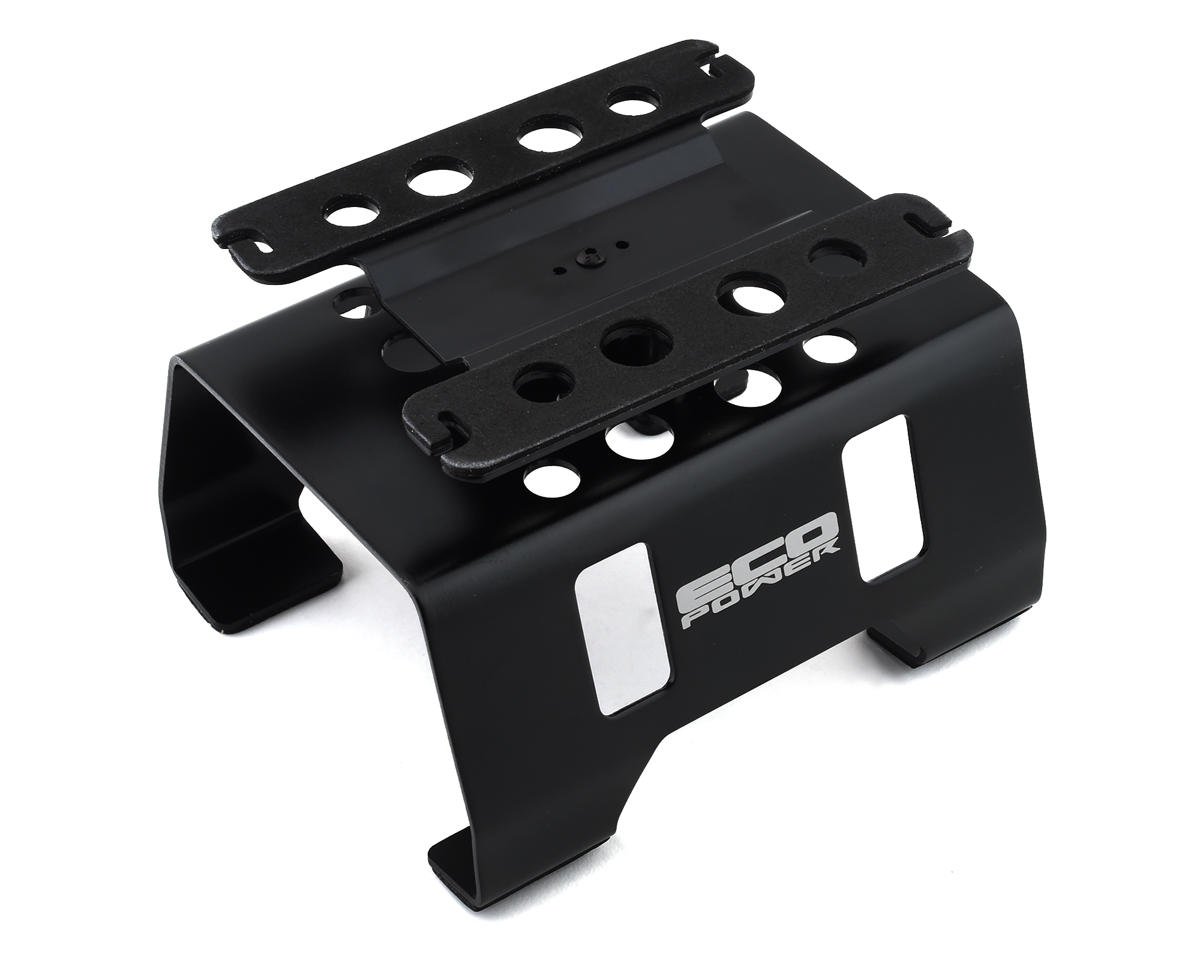
EcoPower Rotating 1/10 & 1/8 Aluminum Car Stand w/Shock Holder ECP-3001
Yokomo DRC Competition Drift Tire (4) (for Carpet Surface) YOKZR-DRC
MKyosho Syncro KRG-331 Receiver KYO82146
EcoPower 827 12g Digital Metal Gear Micro Servo ECP-827
MST GT Wheel Set (White/White) (4) (Offset Changeable) MXS-832109W

Excel Needle Nose Pliers w/Side Cutter (5") EXL55580