MST RMX 2.0 RTR Learning to Drift Series - Part 3
Relocating Weight & Drift Night
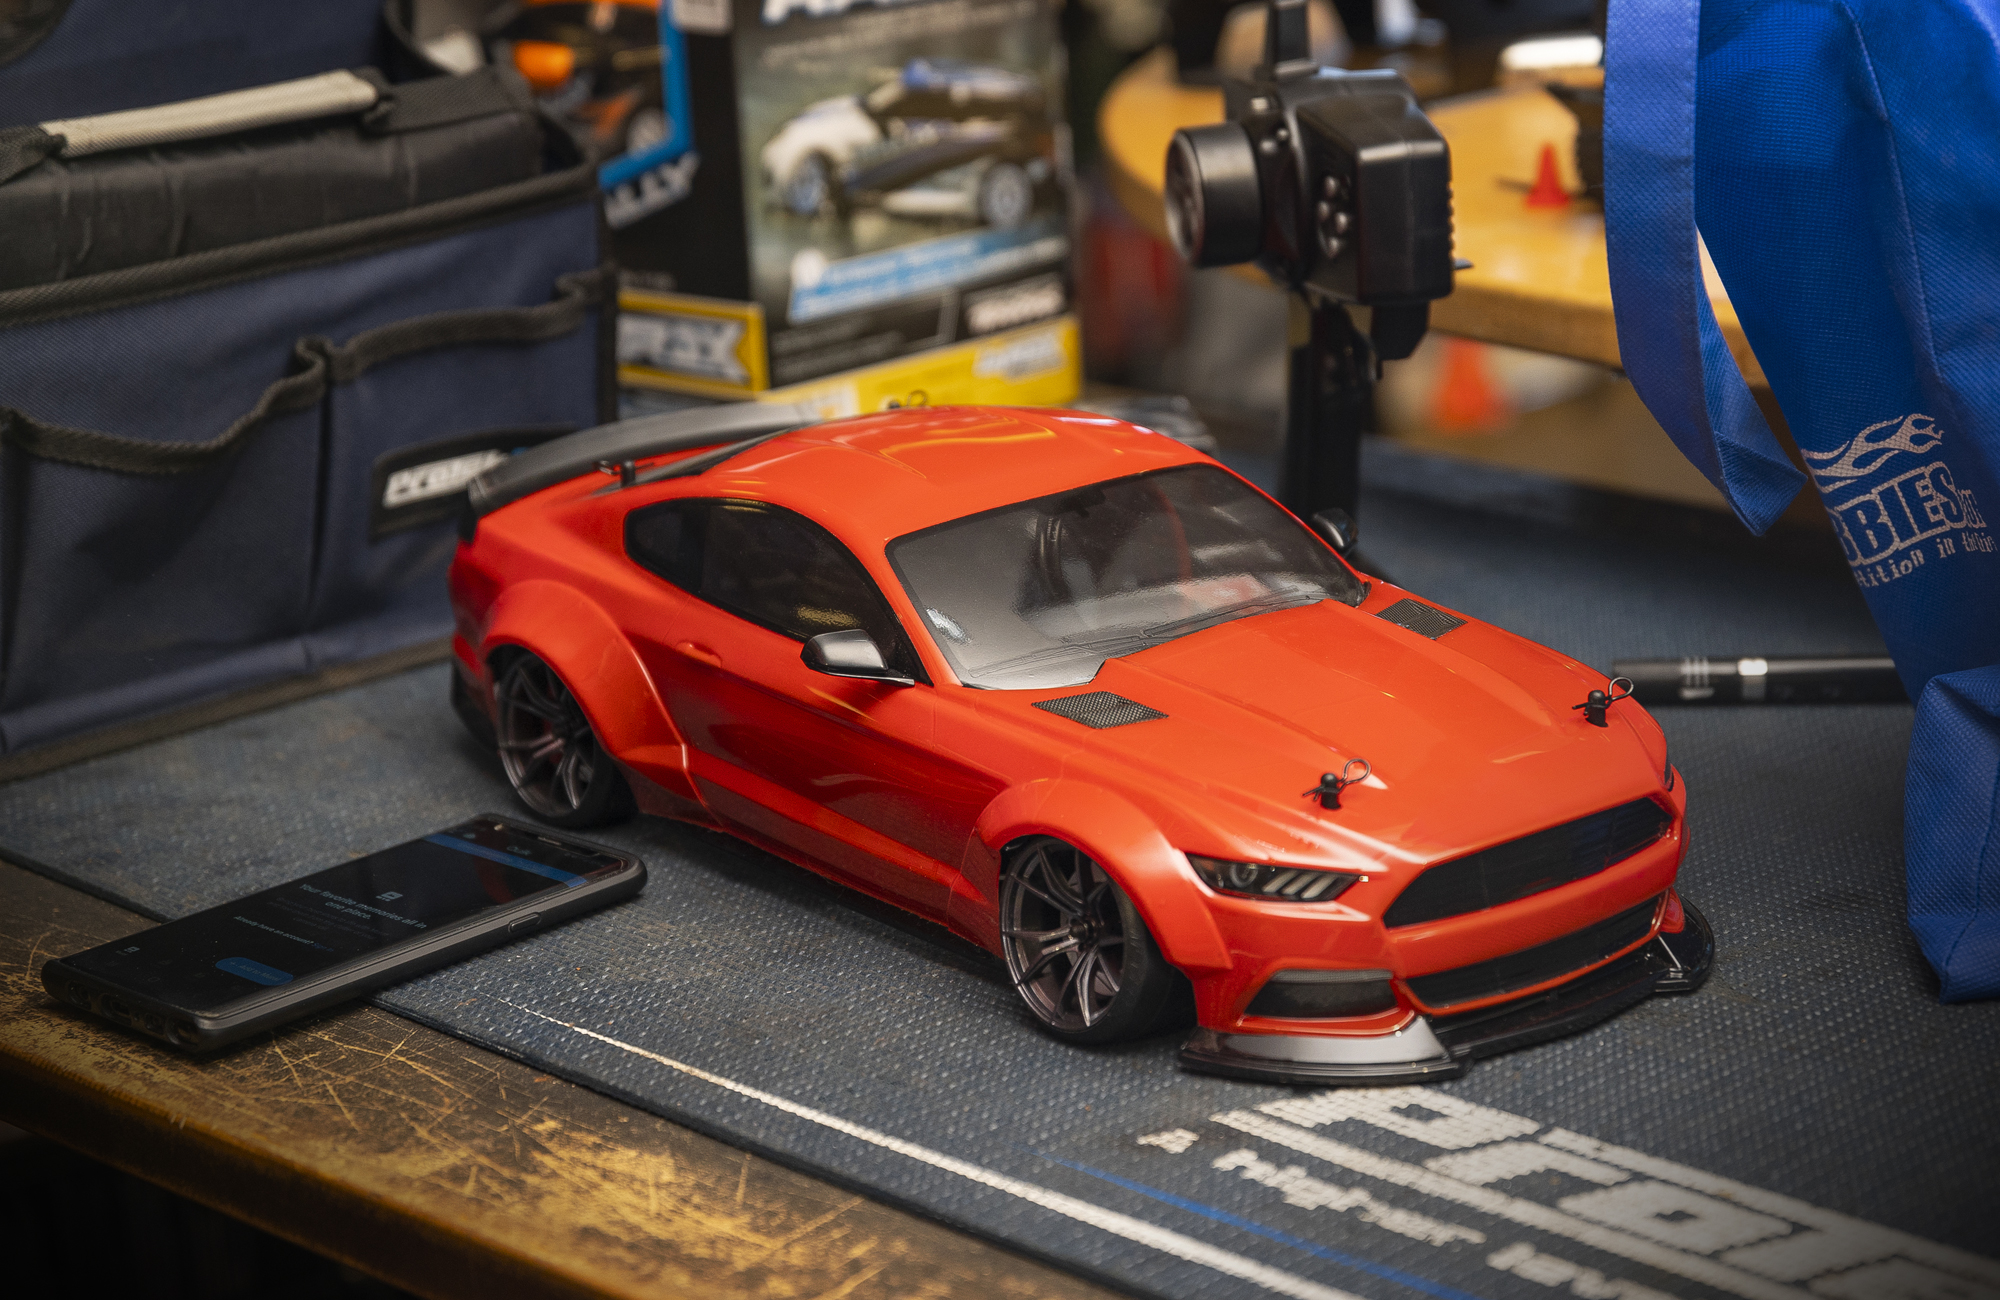
We are back with part three of our drifter build series featuring the MST RMX 2.0 RTR drift car. Our local hobby shop had a Drift Night, and we prepped the car for its first show. But first, we were curious what happens if you move the ESC to the back of the car, or what happens if you move the motor to raise the center of gravity?

Welcome to part three…
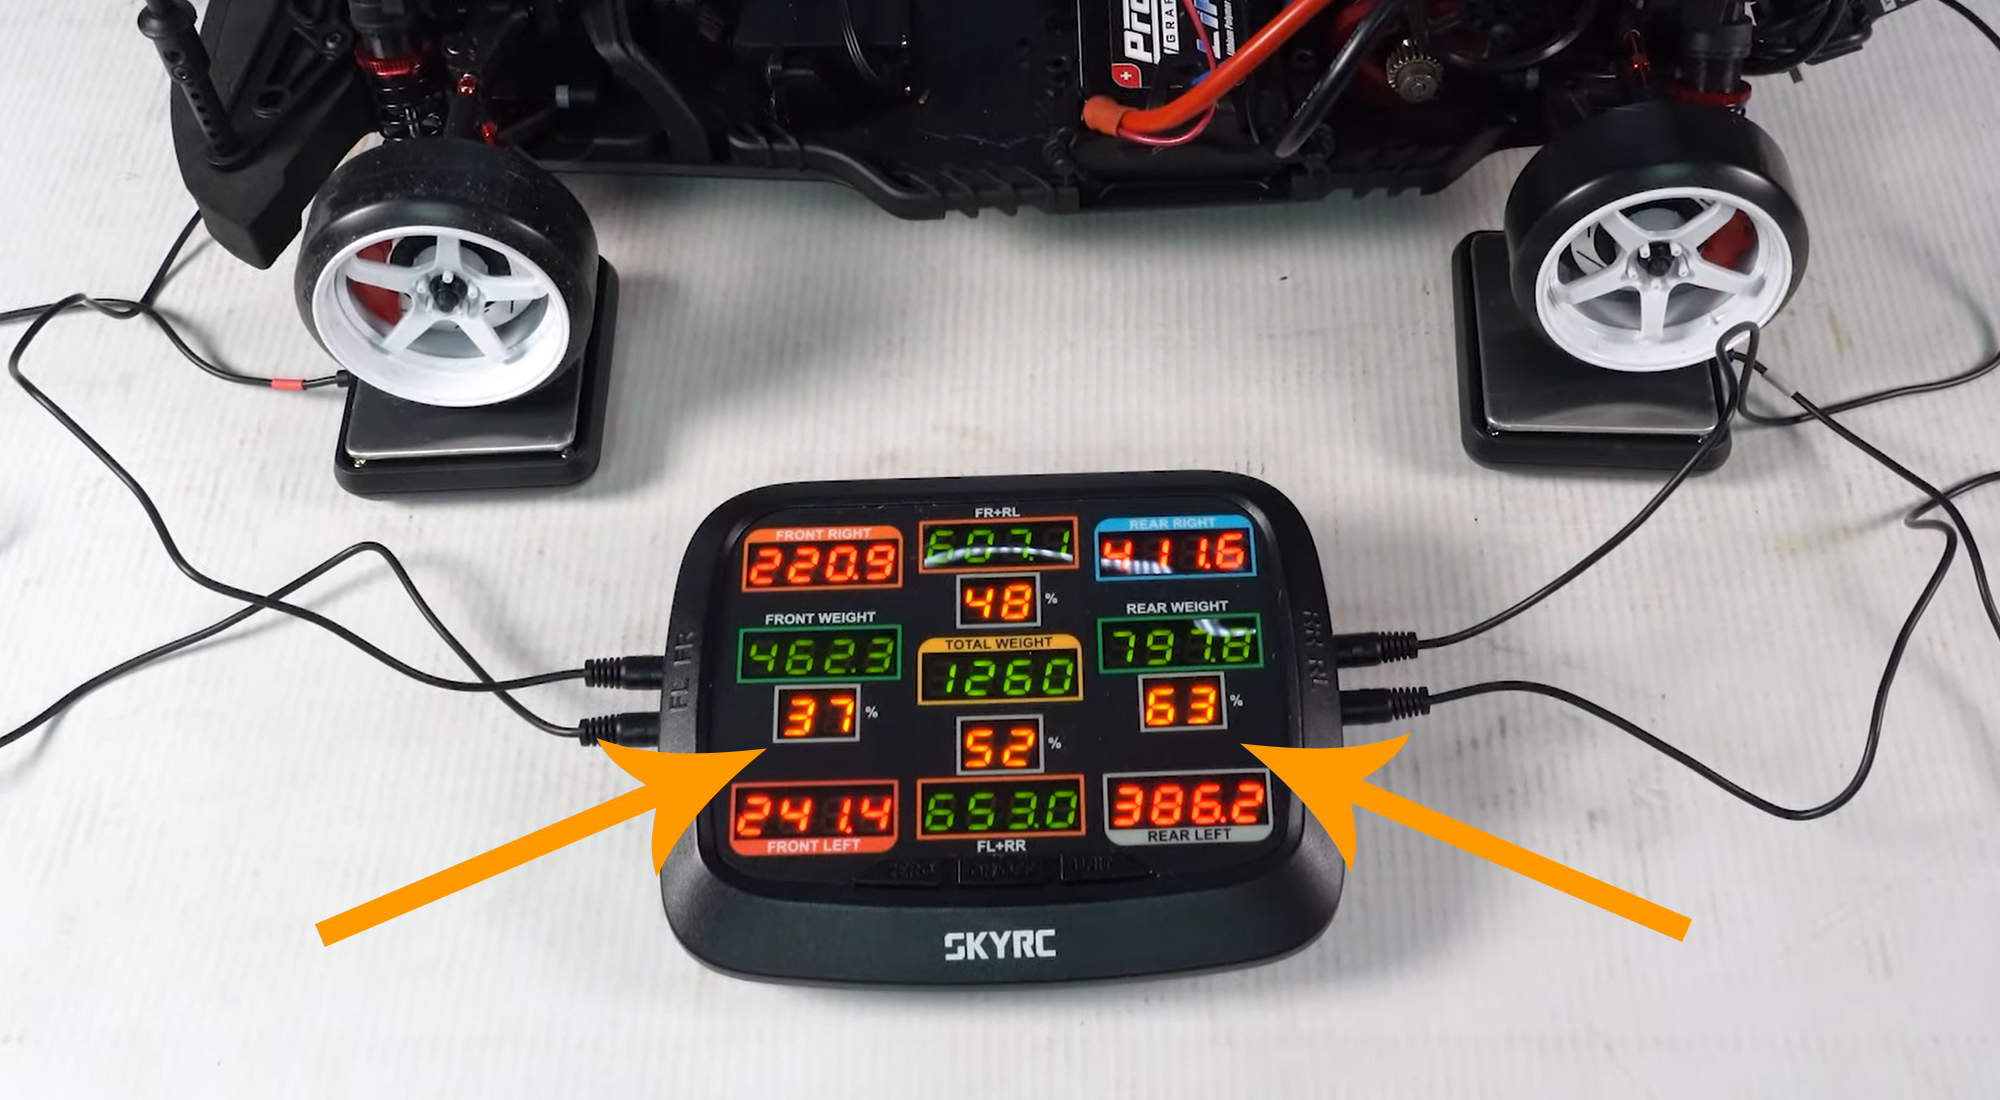
Chassis weight is critical for drifters, especially where that weight is in the chassis. For example, if we view our RMX on the corner weight scale, the front of the car represents 43% of the chassis weight, and the rear is 57% when equipped with a low-CG shorty battery.

Some drift drivers have told us that the car weight should be 50/50, while others have remarked that most of the weight should be in the rear. The truth is: it depends on the car, your tires, traction levels, and your driving style. The ideal setup varies on the conditions, so running experiments is essential.
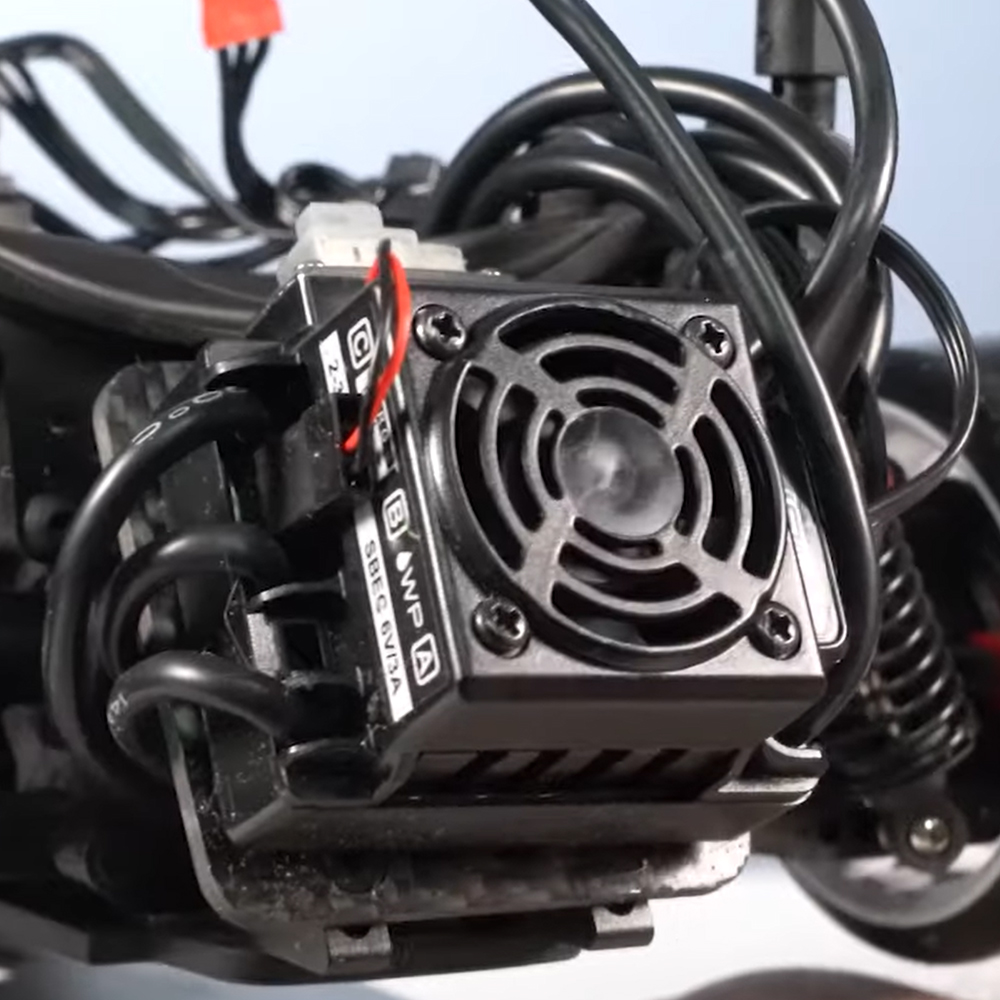
For us, we needed to move weight back. So there were a few experiments we wanted to try, with the first being a complete relocation of the brushless speed controller to the back of the car. We got this upgrade idea from the guys at Scale Science, and it looks promising for shifting more weight to the back.
Moving the ESC for heavier rear end weight bias.
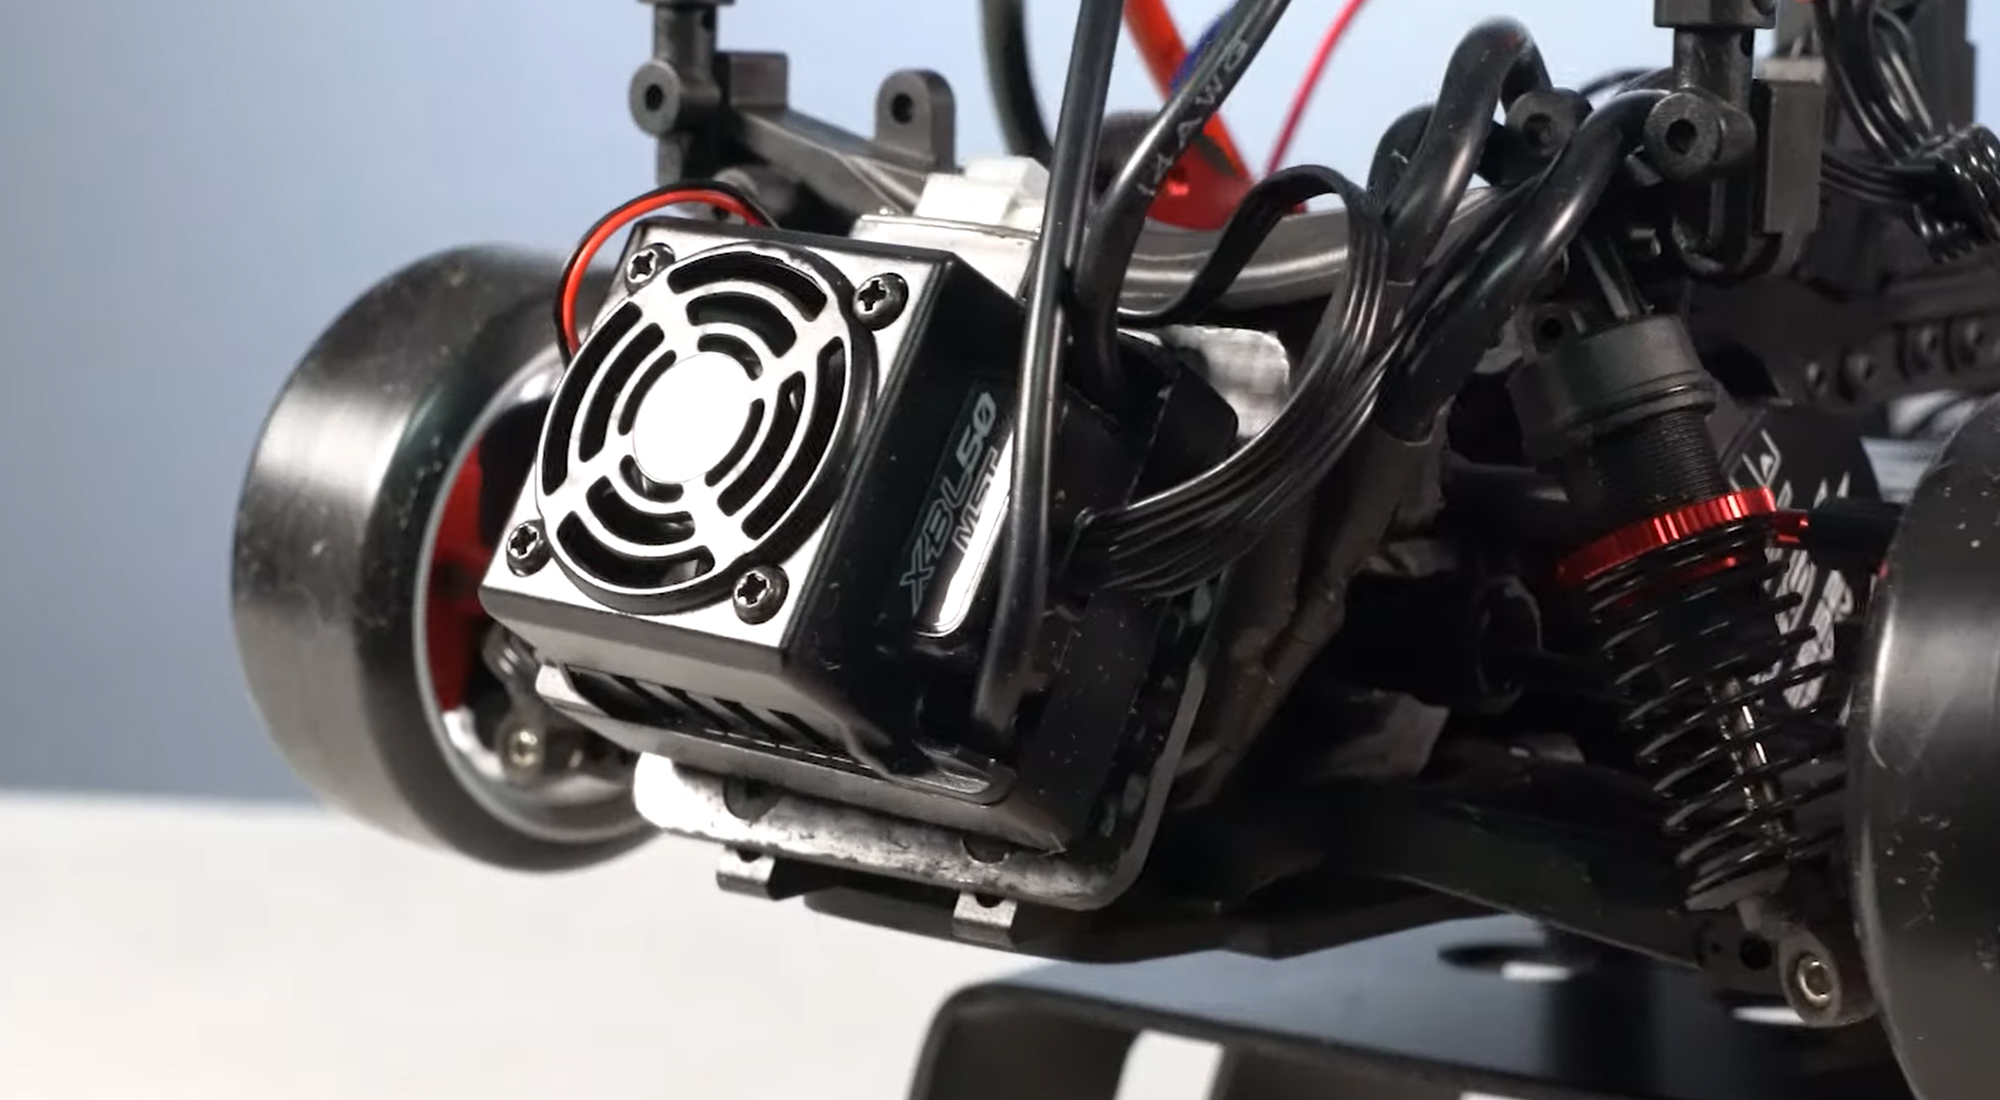
Thanks to the aftermarket, carbon fiber mounting kit from Scale Reflex, the change was easy and only took about 30 minutes to mount. But first, we had to take off the bumper. It only took two screws to get that off. Next, we added the aluminum mounts included with the ESC plate on the top. Since the ESC plate mounts are aluminum, we used a little dab of thread lock on the screws. Next, we removed the ESC and used a little nitro cleaner to clean off the bottom of the ESC and plate. Lastly, we used double-sided tape to mount the ESC to the mounting plate.
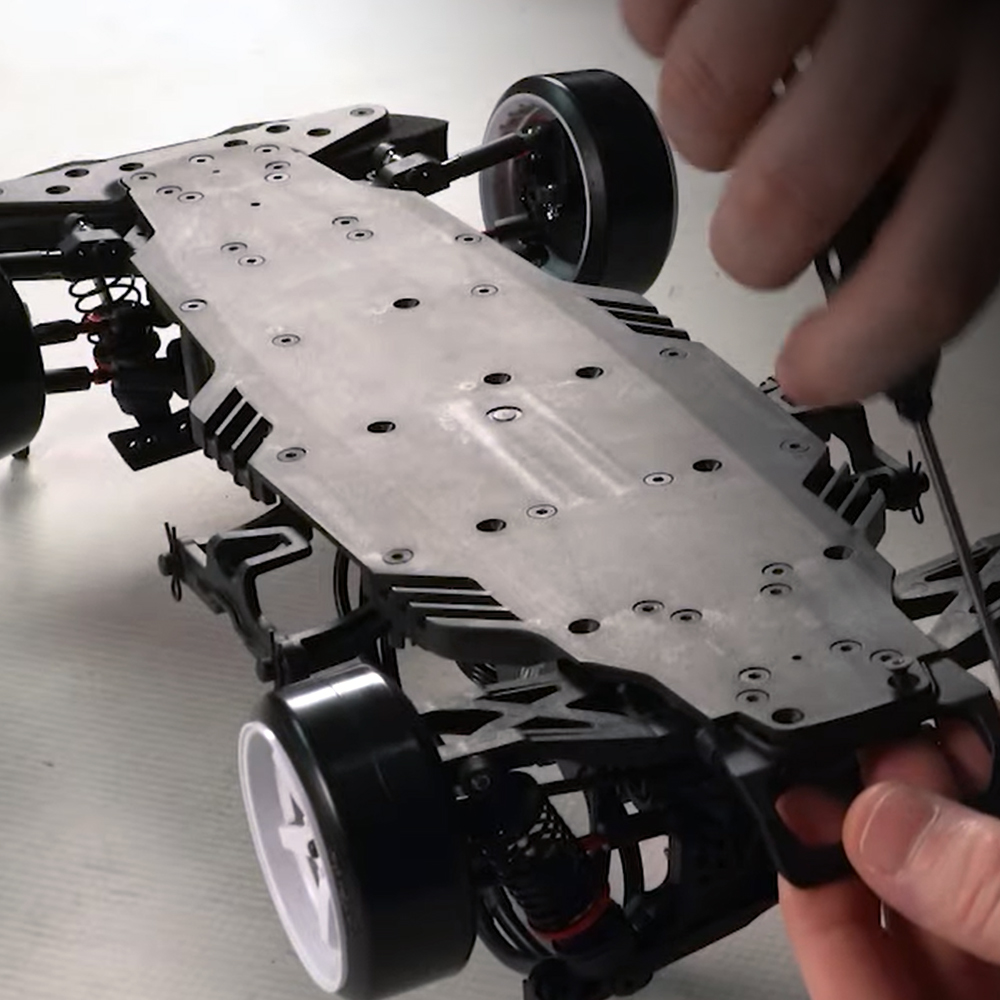
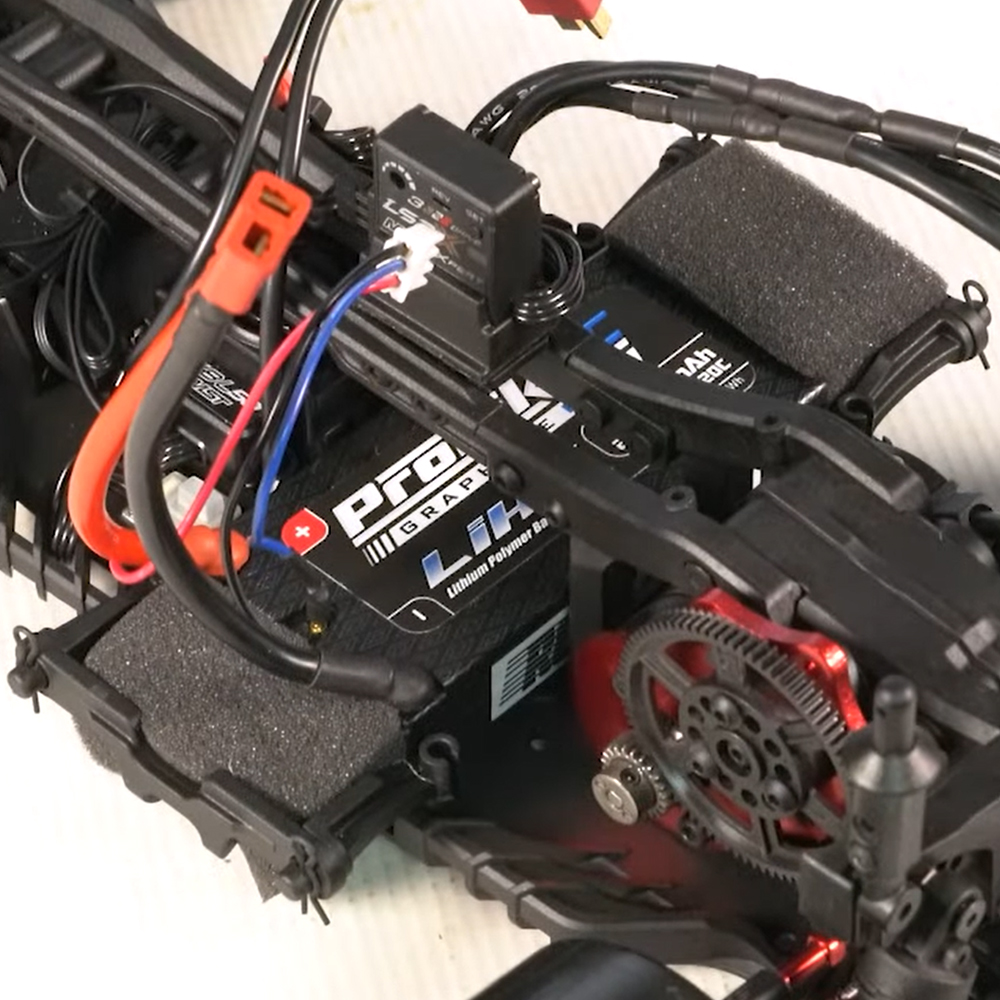
Converting the battery tray to fit a low-CG shorty battery.
Installing the ESC mounting kit had a secondary purpose. It allowed clearance to reconfigure the battery compartment for shorty battery use. Moving the ESC exposed holes that allowed us to move the posts inward and run a screw through the chassis. Then we turned the end pieces to the battery compartment upside down, so the tab part made a floor, not a ceiling, and we added foam pads on each side.
Back on the scale, you can see our weight distribution has changed quite a bit, with the front end giving up 6% of the weight to the rear end.
We checked the MST performance by going for a test run. The extra rear weight is noticed on the carpet in how the car feels. It runs a little more comfortable with larger angles and how the rear end sweeps out. The difference is not as big as we thought it would be, but it does help, and we're leaving it.
We wanted a second opinion, so we talked to Chris, one of the Amain Hobbies store employees. He spends a lot of time working and driving on drift cars. So we had him drive the car to see what he thought. He said he felt like moving the speed controller made the car more agile, like it wanted to hold a larger drift angle rather than being tight. So we mentioned that we were thinking of moving the motor up top, and he felt it could make a big difference by giving it better rotation—and Chris was right.

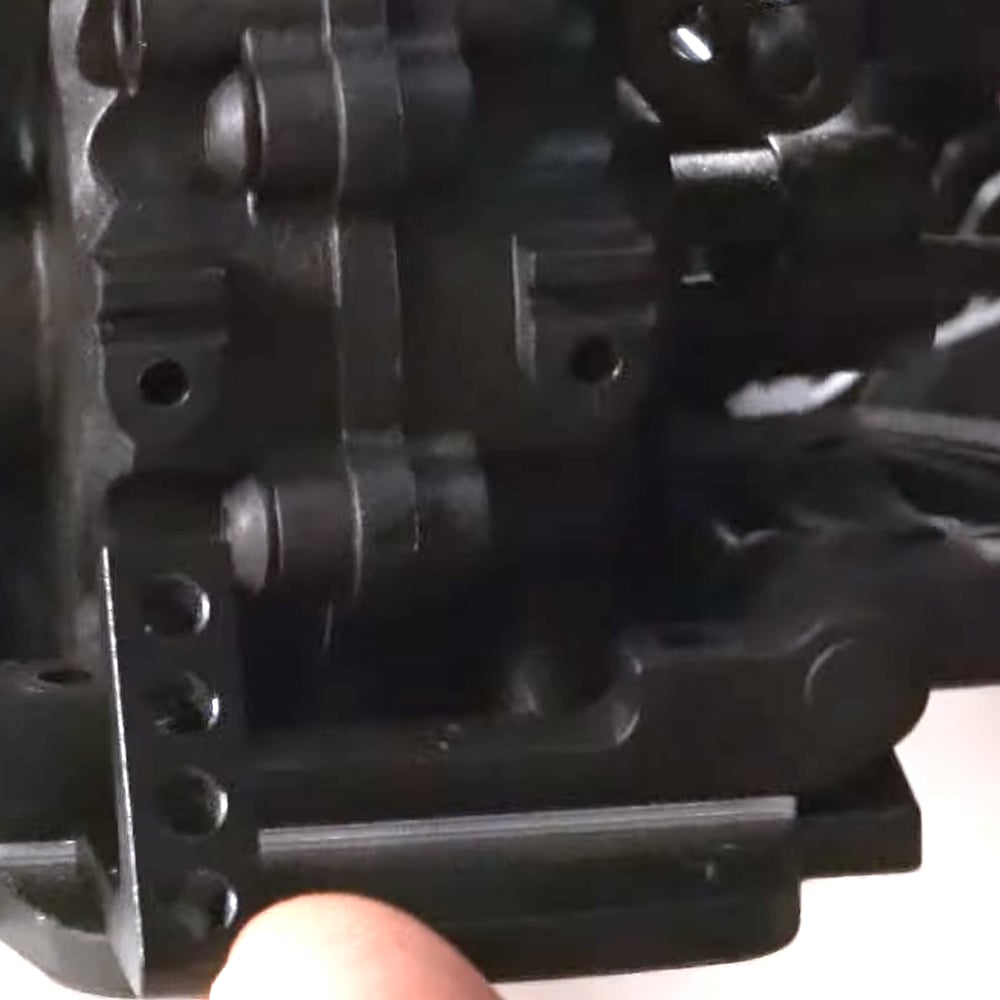
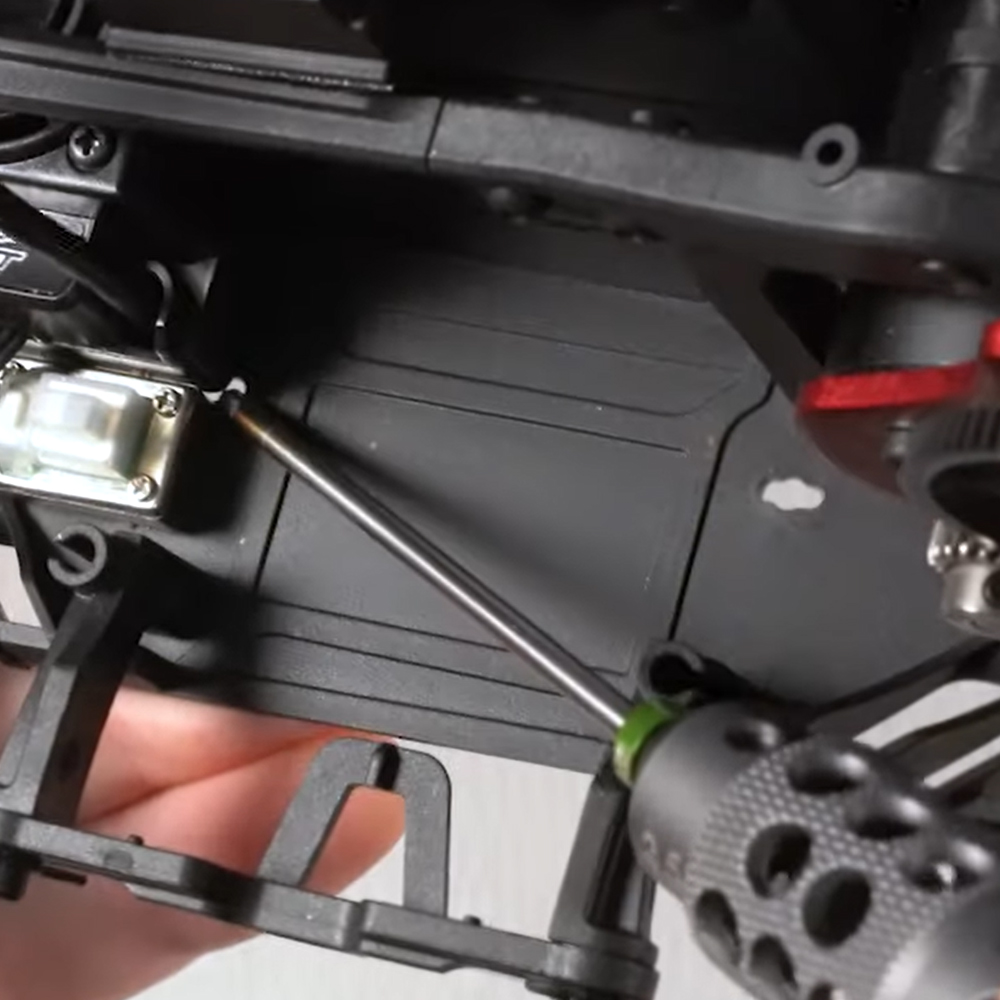
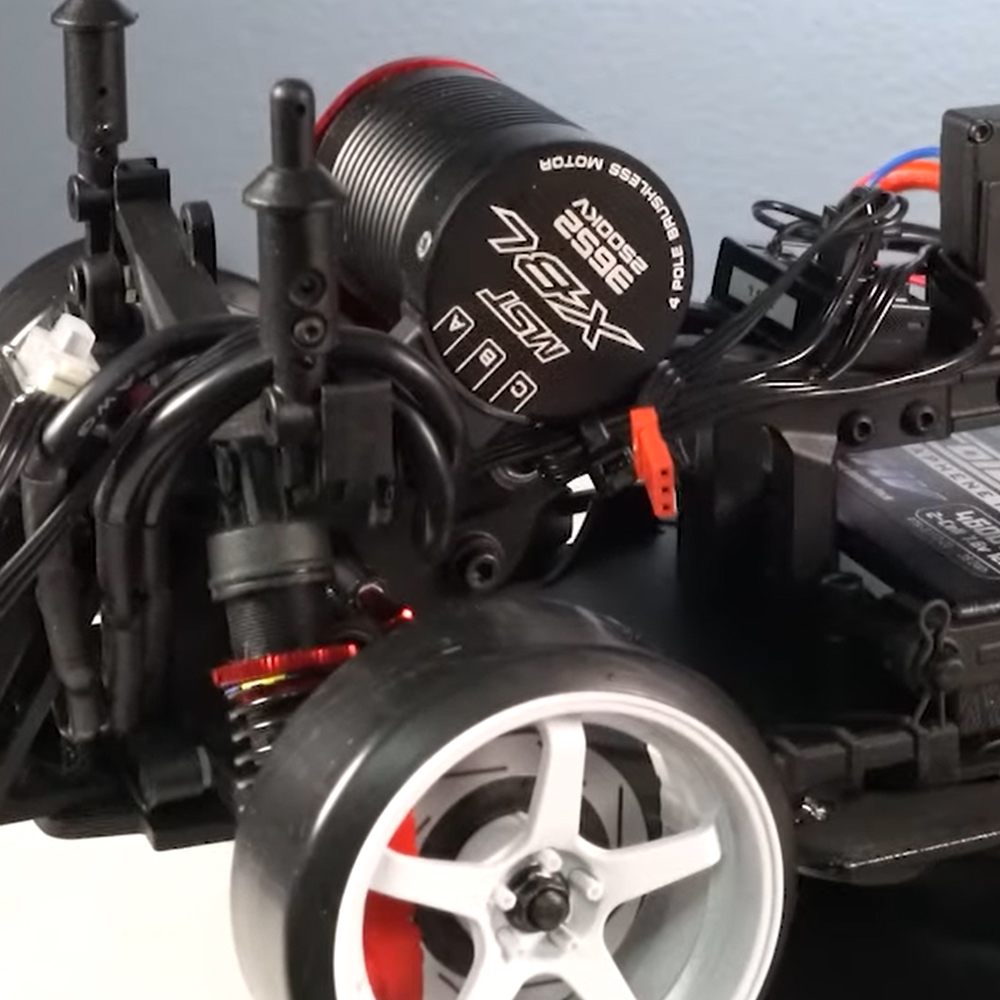
Moving the MST RMX 2.0 motor to a higher center of gravity.
Moving the motor to the high-CG position took only five minutes. We simply removed the two motor screws, pulled the motor out, and loosened the three motor plate screws on the back of the transmission. The plate freely rotated behind the spur gear and was ready to be secured into position. There are a few position options available, but we put the motor in the straight-up position, which places it further back in the chassis, and affects our weight distribution.
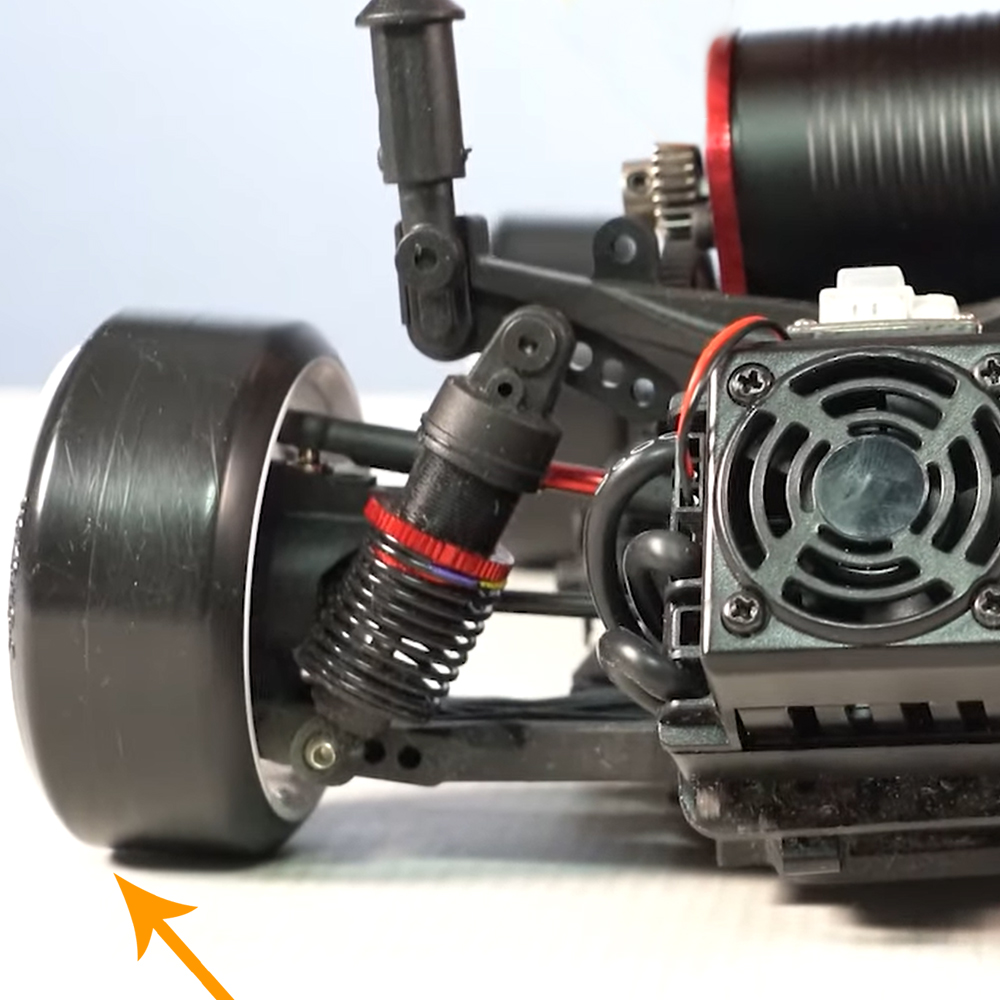
From what we understand, the high-CG motor position can help in loose traction conditions because the higher center of gravity forces the car to lean when corning rather than staying flat. When the car leans over, it puts more weight on the outside tire, and at the same time, the cambered tire flattens out, increasing the contact patch and increasing traction with the surface.
Once we reset the ride height and camber, we weighed it one more time. This change moved another 1% from the front and added it to the back.
Drift Night with the MST RMX 2.0
We immediately felt an improvement from the high motor position in how the car swings out and extends its drift angle. We stayed in control without the drift car looping out. Transmission from left to right or visa versa felt smoother and more stable as well. The best thing we've tried in terms of comfort and control from the car was the high-CG motor change.
Summary
We could have gone one step further by moving the servo back, shifting more weight rearward, now that we have the chassis space to do it with that ESC gone. That conversion requires a 3x68mm long turnbuckle but will further serve rear weight bias. Not sure if we will do it in the future or not.
We want to extend a big thanks to all the people who attended drift night and let us film them and their cars. And another big thank you to the guys at the retail store for hosting it. They provided pizzas and a raffle to everybody, plus unlimited drifting.
Stay tuned for the fourth and final article in the "Learning to Drift" series, where we will go over making scale upgrades to the body of our MSX RMX 2.0 drift car.
Watch Brett's Review
Learning To Drift
RMX 2.0 Drift Series
Part 3
For even more bashing fun, watch the Learning To Drift Series on our YouTube channel, and while you're there, be sure to check out our new product reviews, and how to videos.
Featured Items

MST RMX 2.0 1/10 2WD Brushless RTR Drift Car w/LBMT Body MXS-533820R
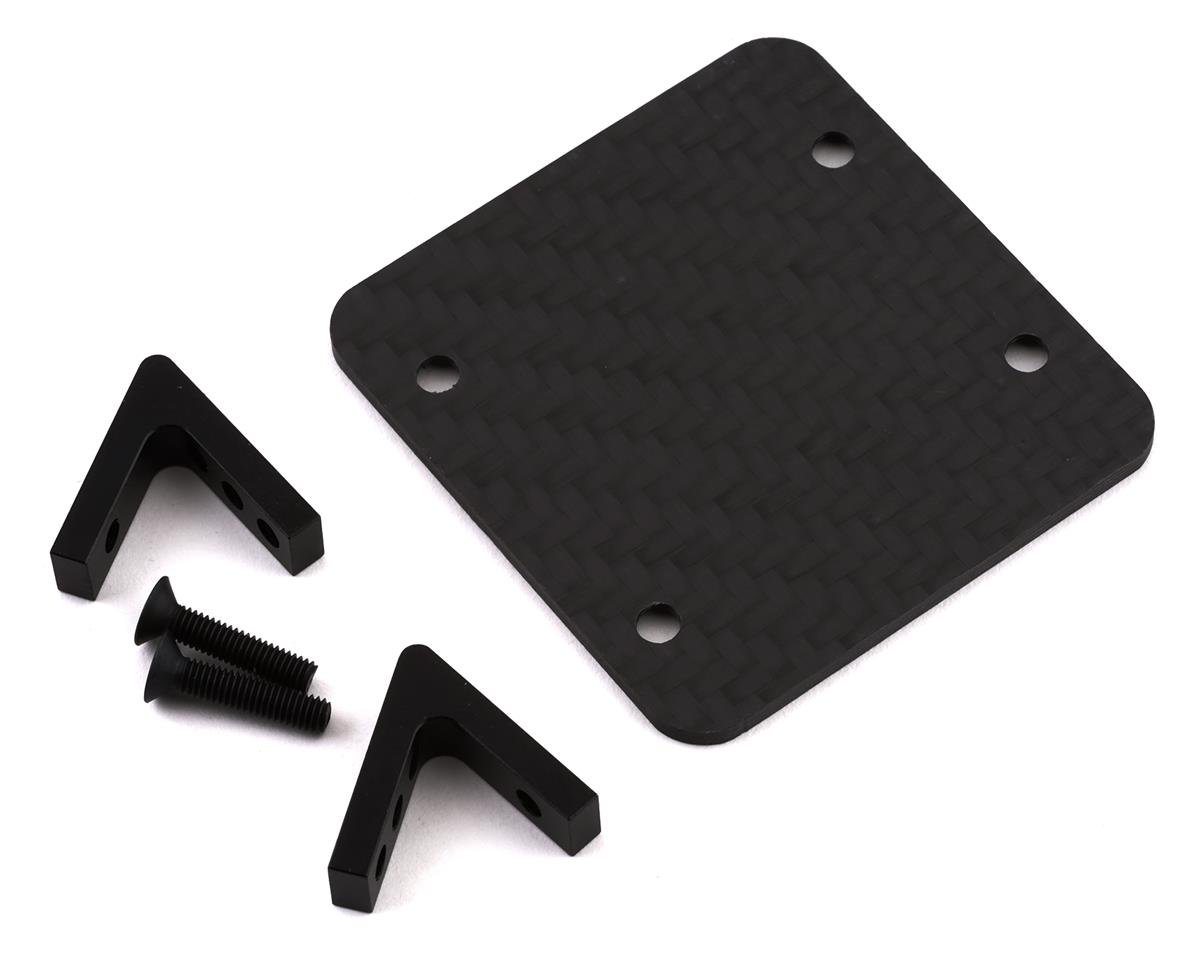
Scale Reflex Rear ESC Mounting Kit SRF863500
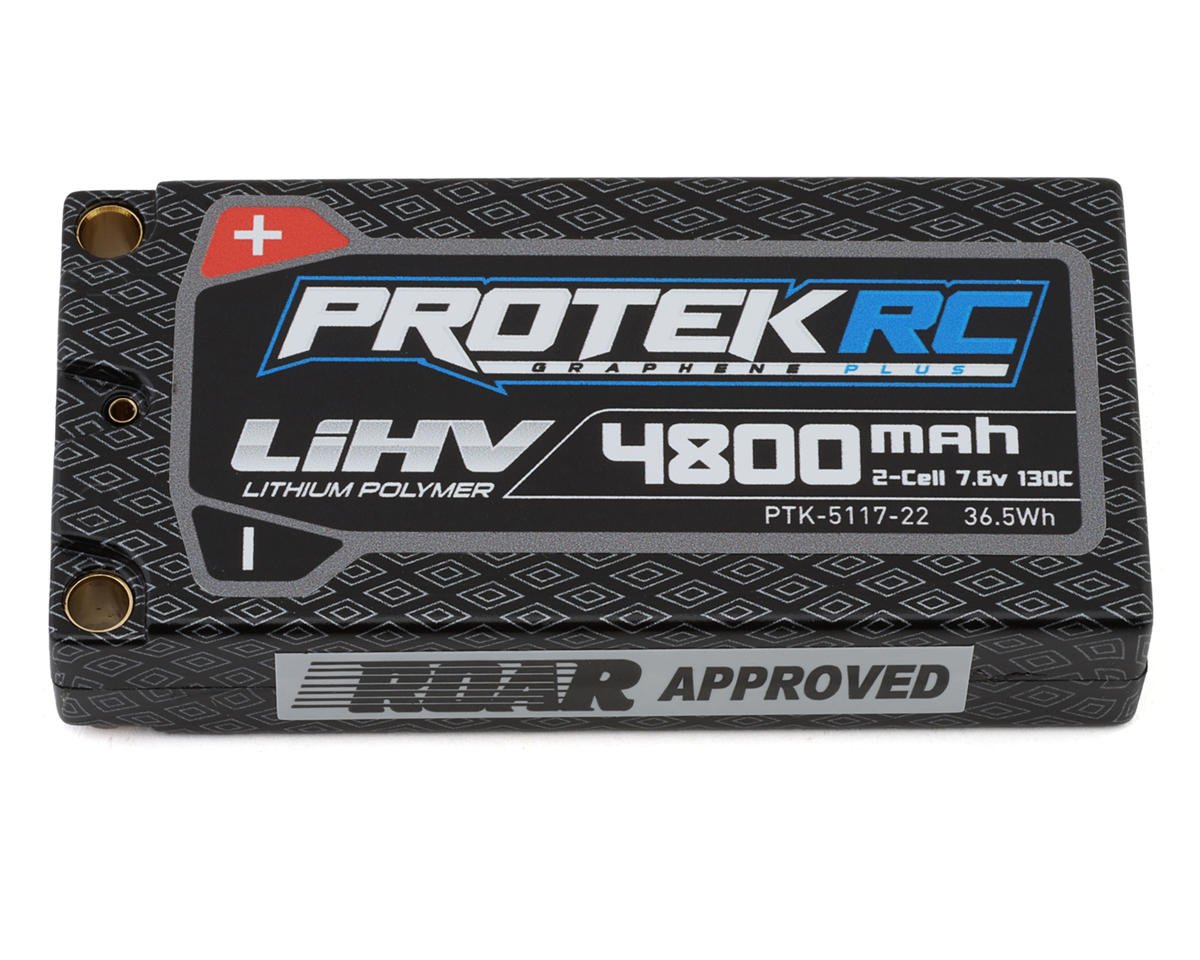
ProTek RC 2S 130C Low IR Si-Graphene + HV LCG Shorty LiPo Battery PTK-5117-22

SkyRC SCWS2000 Bluetooth Corner Weight Scale System SKY-500036-1
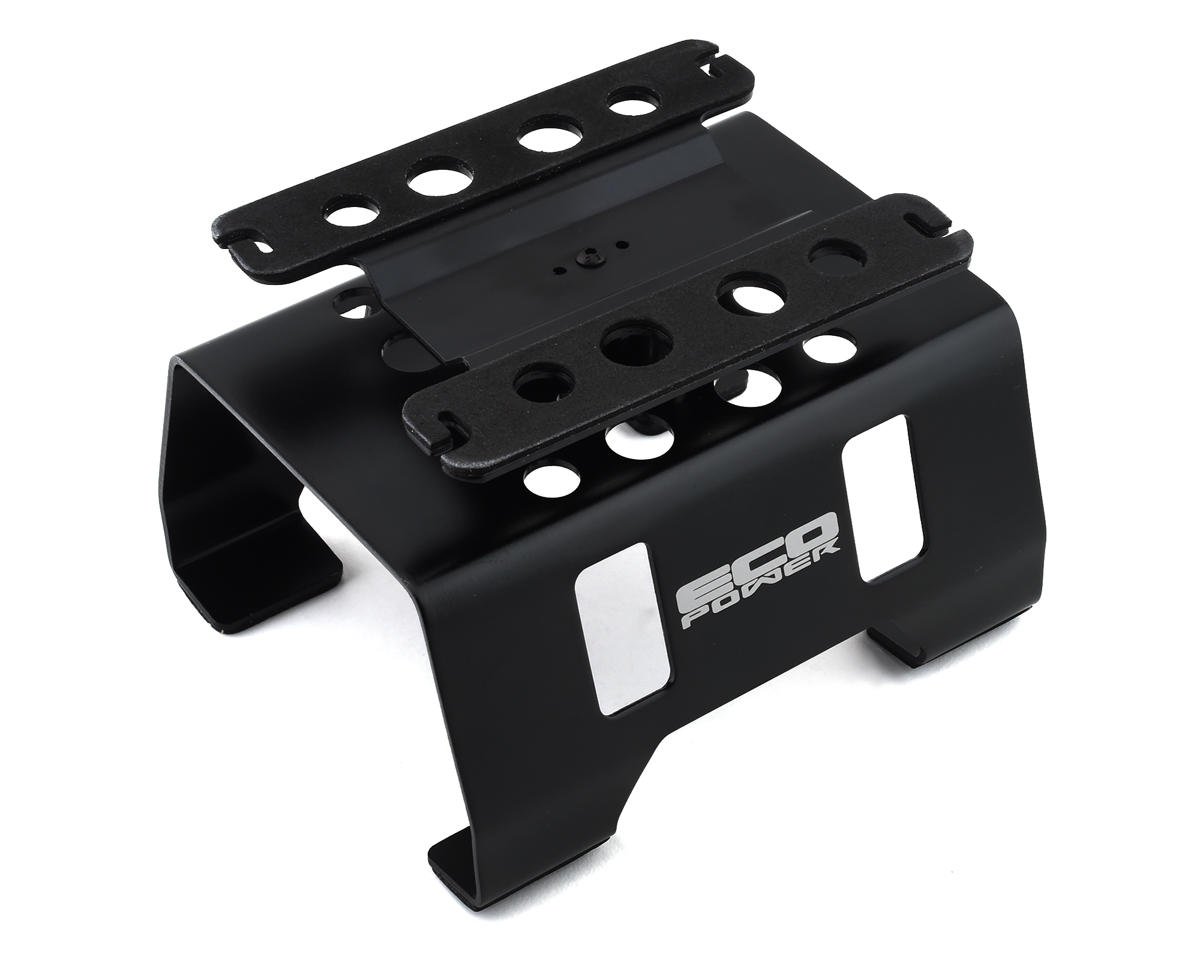
EcoPower Rotating 1/10 & 1/8 Aluminum Car Stand ECP-3001
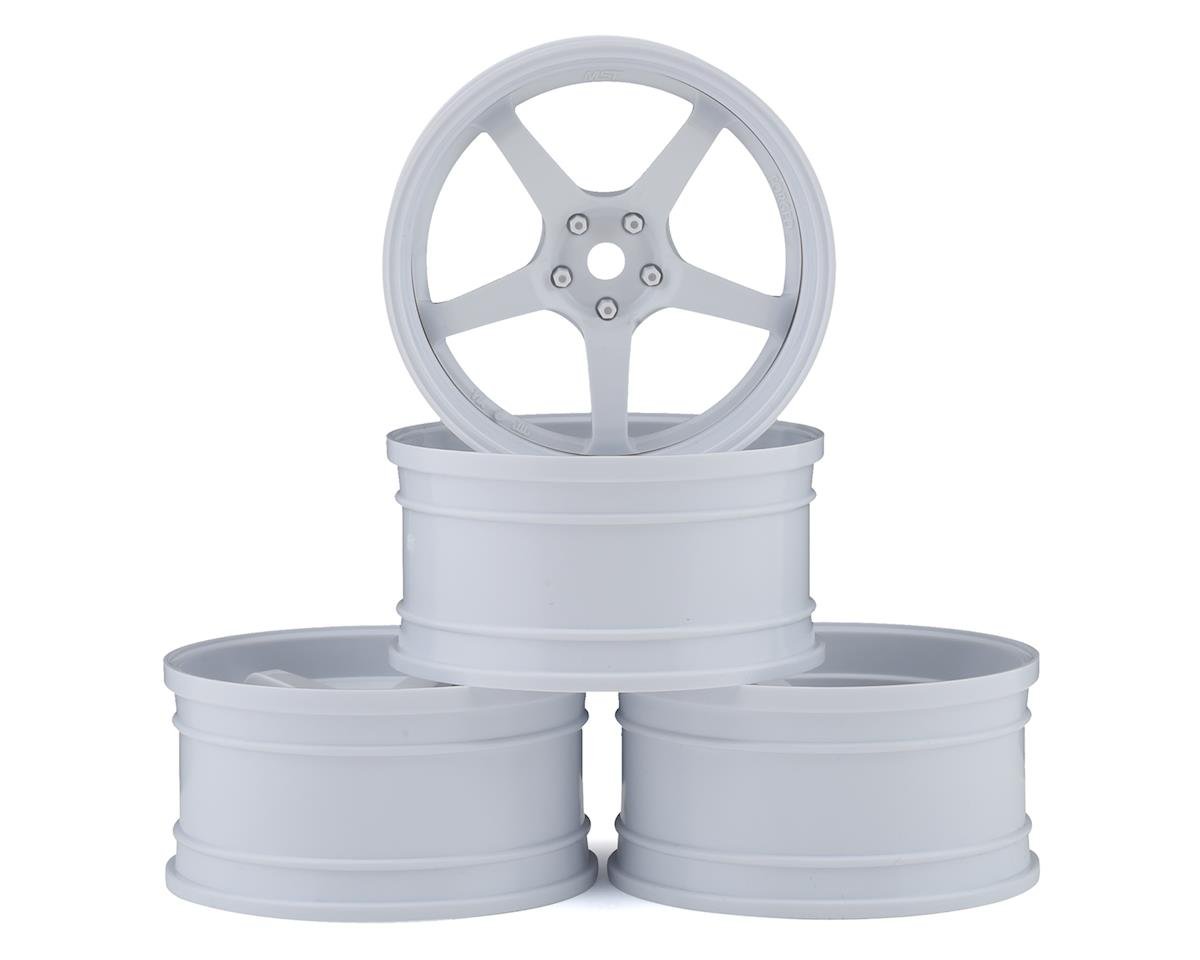
MST GT Wheel Set MXS-832109W
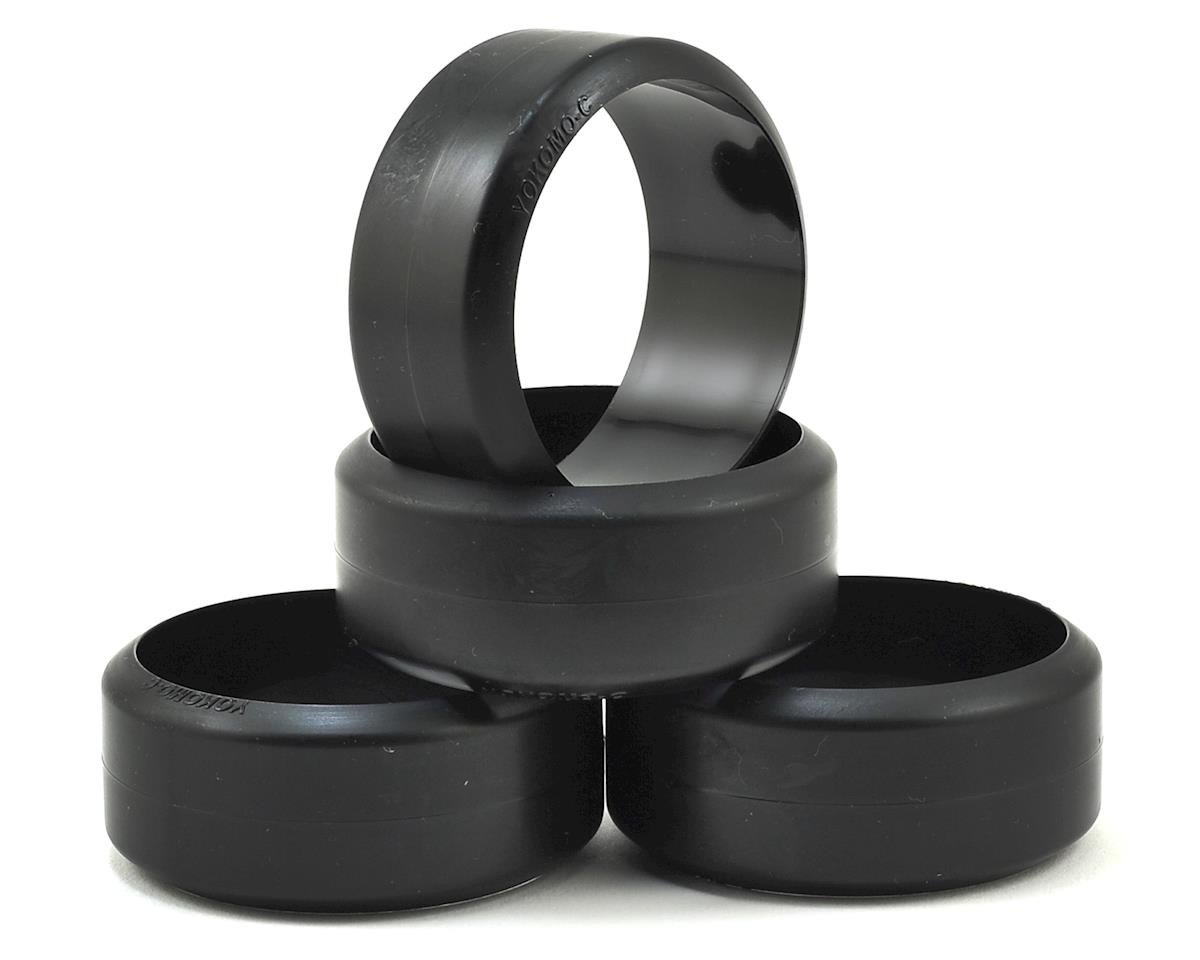
Yokomo DRC Competition Drift Tires YOKZR-DRC
MST RMX 2.0 Aluminum Turnbuckle Shaft Set MXS-210595R