MST RMX 2.0 RTR Learning to Drift Series - Part 2
It’s part two of our drifter build series featuring the ready-to-run RMX 2.0 brushless drift car. We finished giving the car a shakedown, testing the stock tires, and how different battery weights affect the drifting experience. But, we had more testing to do, including finding the best tires so that we could hit the track for the first time.
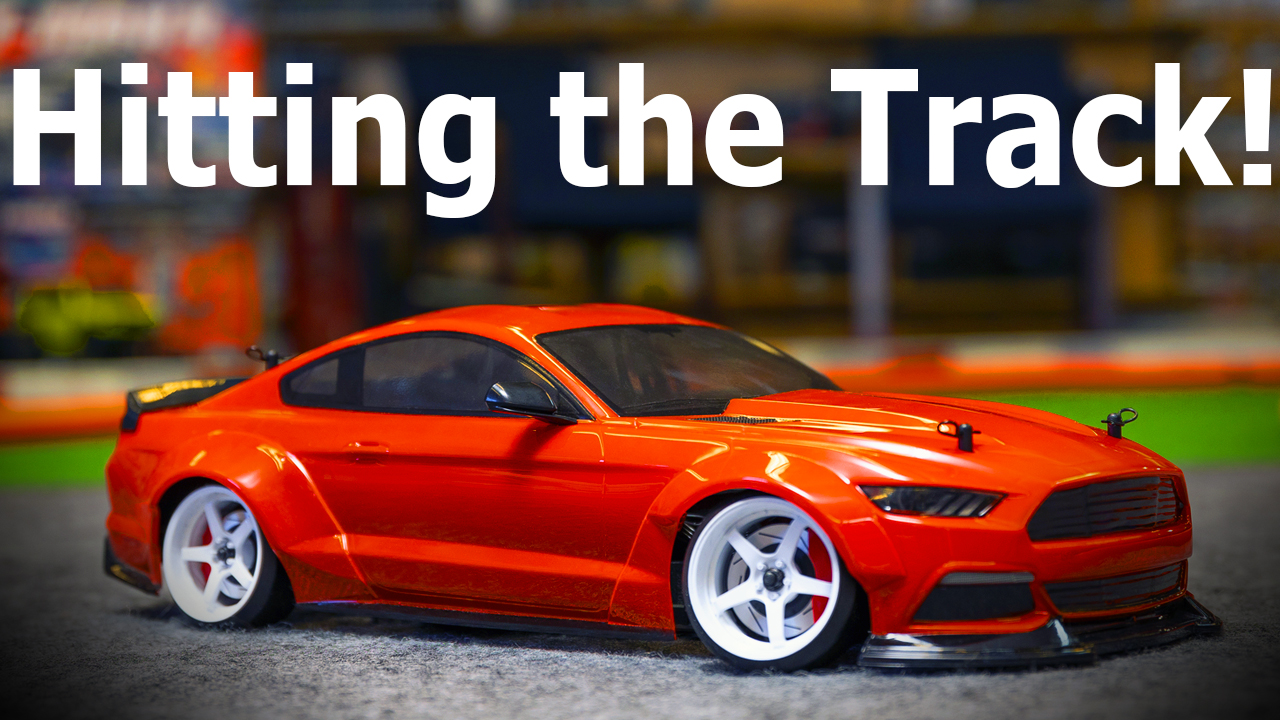
Welcome to part two…
After part one of our Drift Build series featuring the MST RMX 2.0, we received several great suggestions. One idea was to check out these adjustable turnbuckles for complete control over the camber, and of course, we loved the idea.
Note: You will need a turnbuckle wrench, camber gauge, and ride height gauge to install these adjustable turnbuckles.
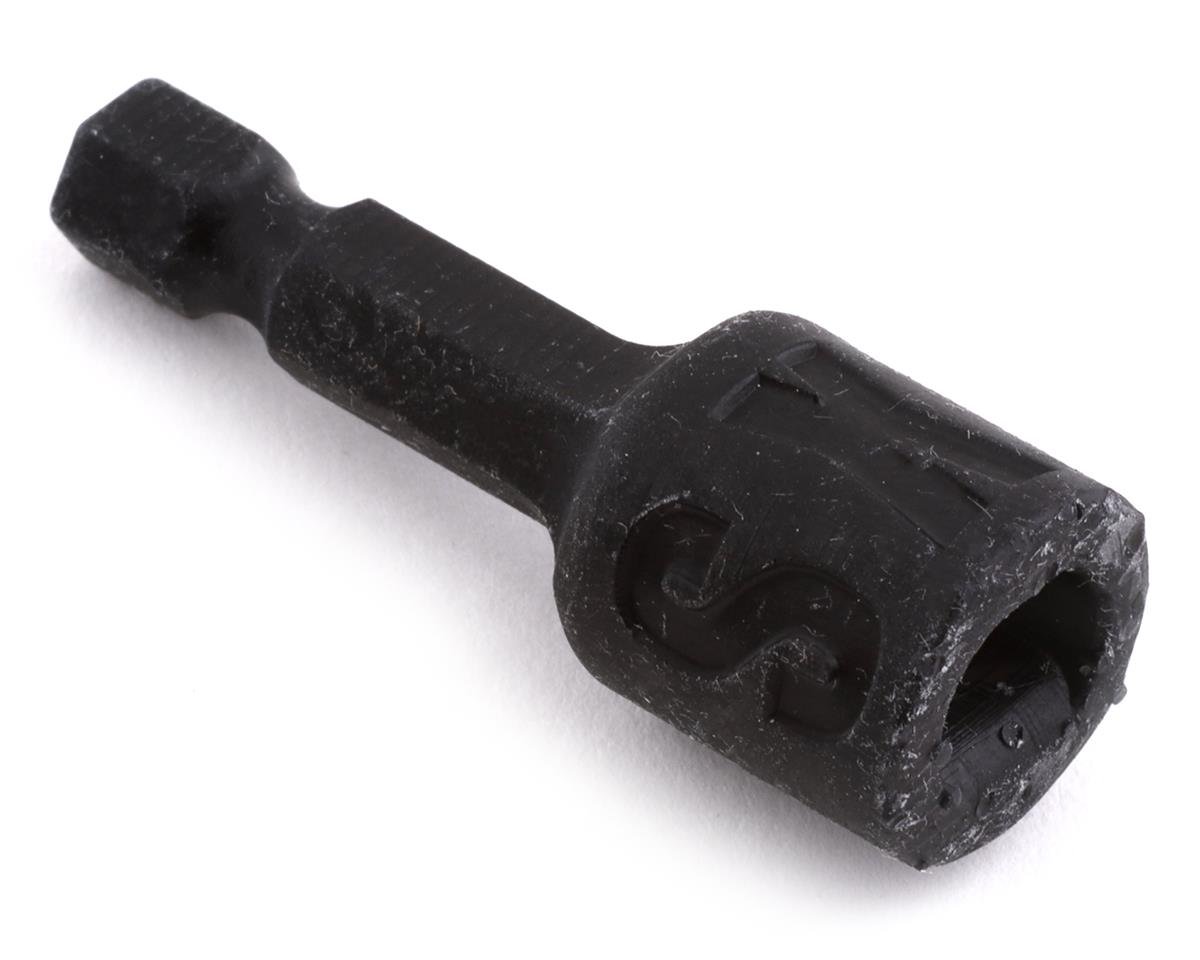
Building turnbuckles can be such a drag because they’re so tight. So, we used a little white grease on the threads to help lubricate them and threaded the plastic ball by hand to get it started. The turnbuckles have a little notch on one side to indicate the thread direction, so that was helpful. Then, holding the turnbuckle with our wrench, we used a power drill fitted with a special bit that holds the ball cup to tighten everything up. However, this can be done by hand.
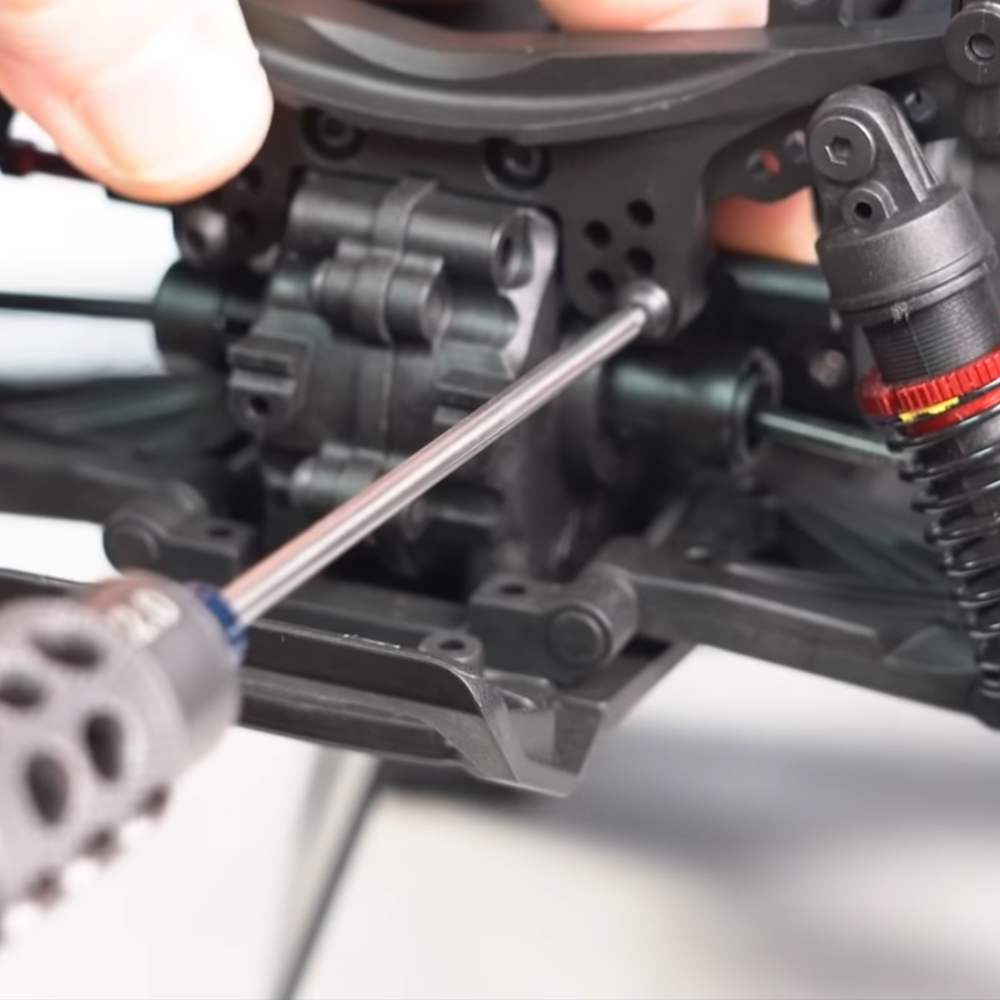
We ran into a little bit of an issue trying to get the inner point of that turnbuckle link off. It’s screwed onto the rear shock tower, so you can’t just bend it back and pop off the ball stud. The screws are behind the motor and transmission, so you won’t be able to get your screwdriver in there. So, we removed the shock tower to access them. Luckily it wasn’t that difficult—we just unscrewed the two screws on the tower.
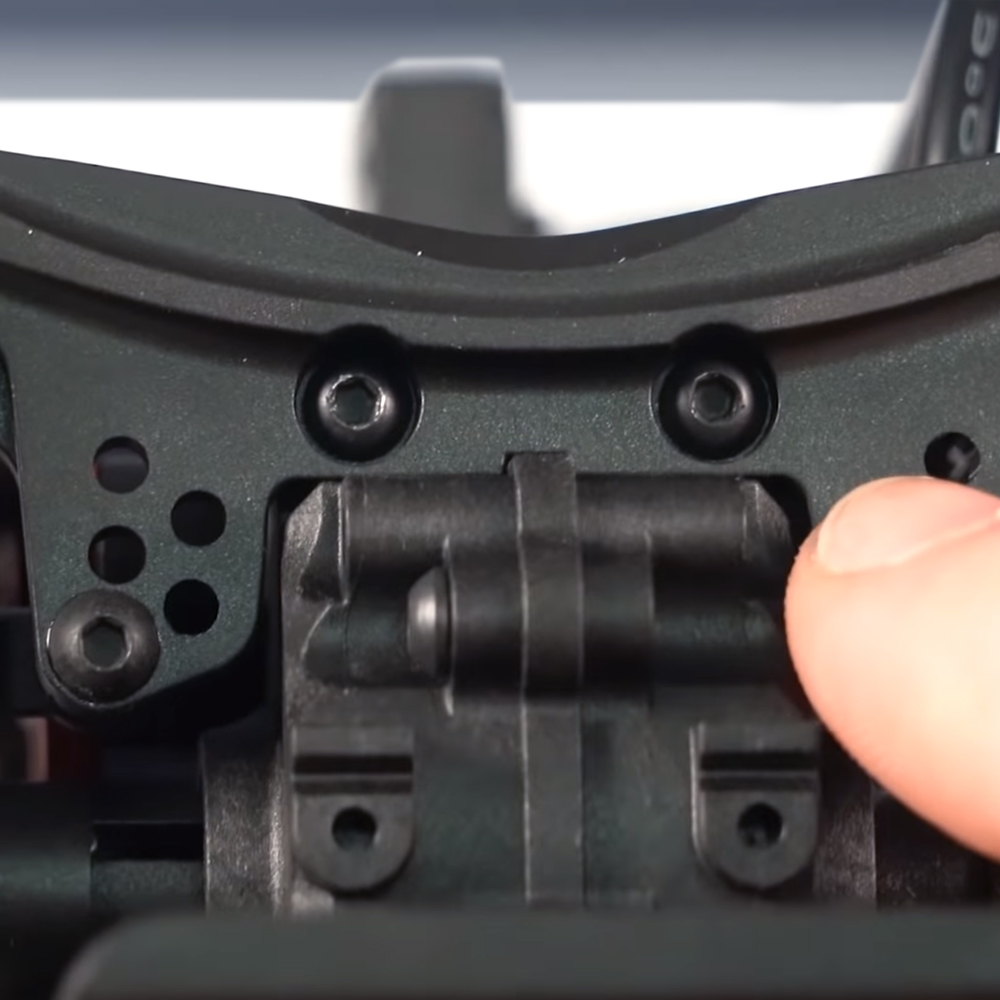
When adding the new turnbuckles, be sure to use the screws included in the package, not the ones already on the car, because the new screws attach from the outside of the tower, not the inside.
A solid rod connects the ball cup to the upper arm on the front upper turnbuckle—there isn’t a hex on the end, and there isn’t a good way to pull it out, but it needs to be unscrewed.
So, we used some pliers to hold onto the rod and rotated the car around until it came out—then we were able to install the turnbuckles.
The steering links are a part of the turnbuckle package and must be the same length as those removed from the car—otherwise, there could be steering issues. So, we made those adjustments before adding the battery, putting the stock tires back on, and checking to ensure we were at our driving weight.
We were ready to set our ride height then set the camber. To set our ride height, we need to know what the correct height should be, and the manual’s setup sheet states that the front and rear ride height should be set to 6mm.

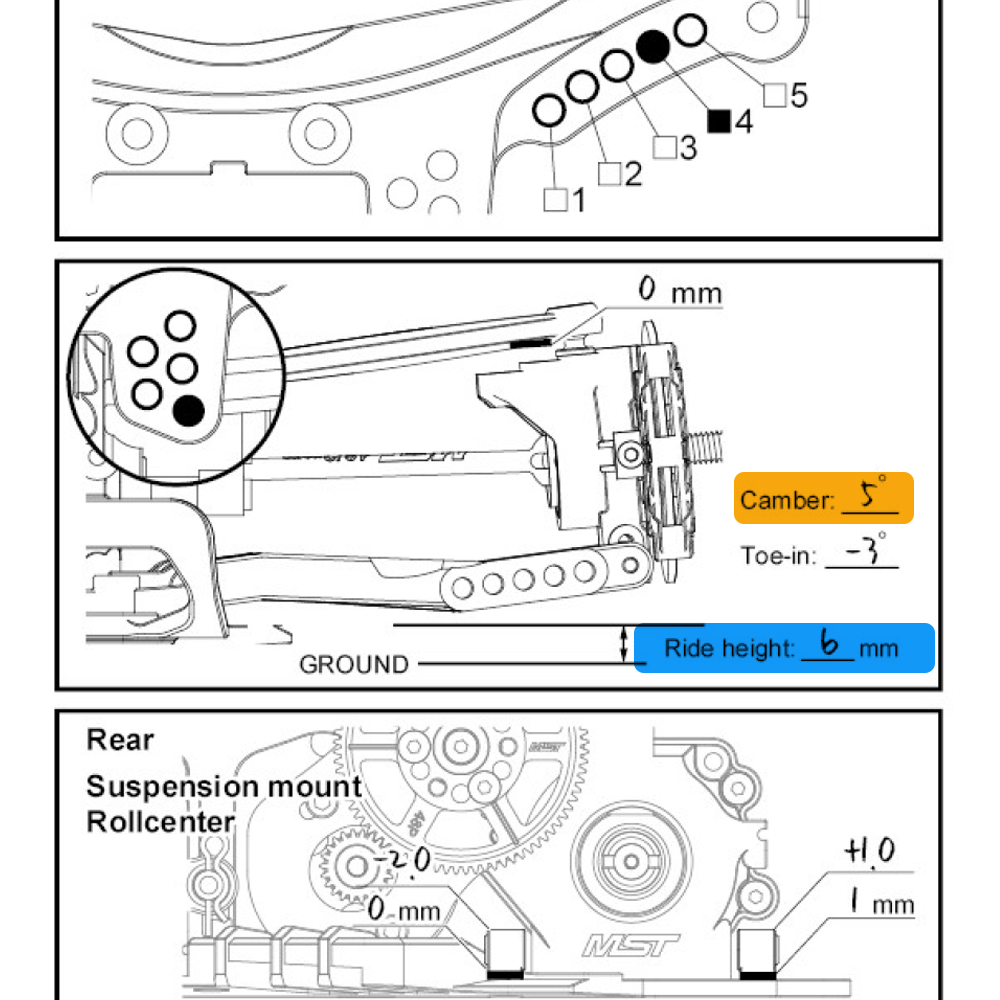
With the ride height done, we set the camber, and again we referred to the setup sheet, which shows the front camber should be six degrees and the rear camber should be five degrees. And voila, the turnbuckle installation, plus a little bit of setup afterward, was done. This probably took an hour or two.
Next, we wanted to try out tires that may be better suited for our carpet: we start out with the hard compound MST CS-R 27, as well as MST CS-R 30 and Yokomo DRC carpet tires. In addition, we were curious what the weight differences might be. The 27 MST hard tires weigh 96 grams, the 30 MST carpet tires weigh 94 grams, and the Yokomo DRC carpet tires weigh 69 grams.
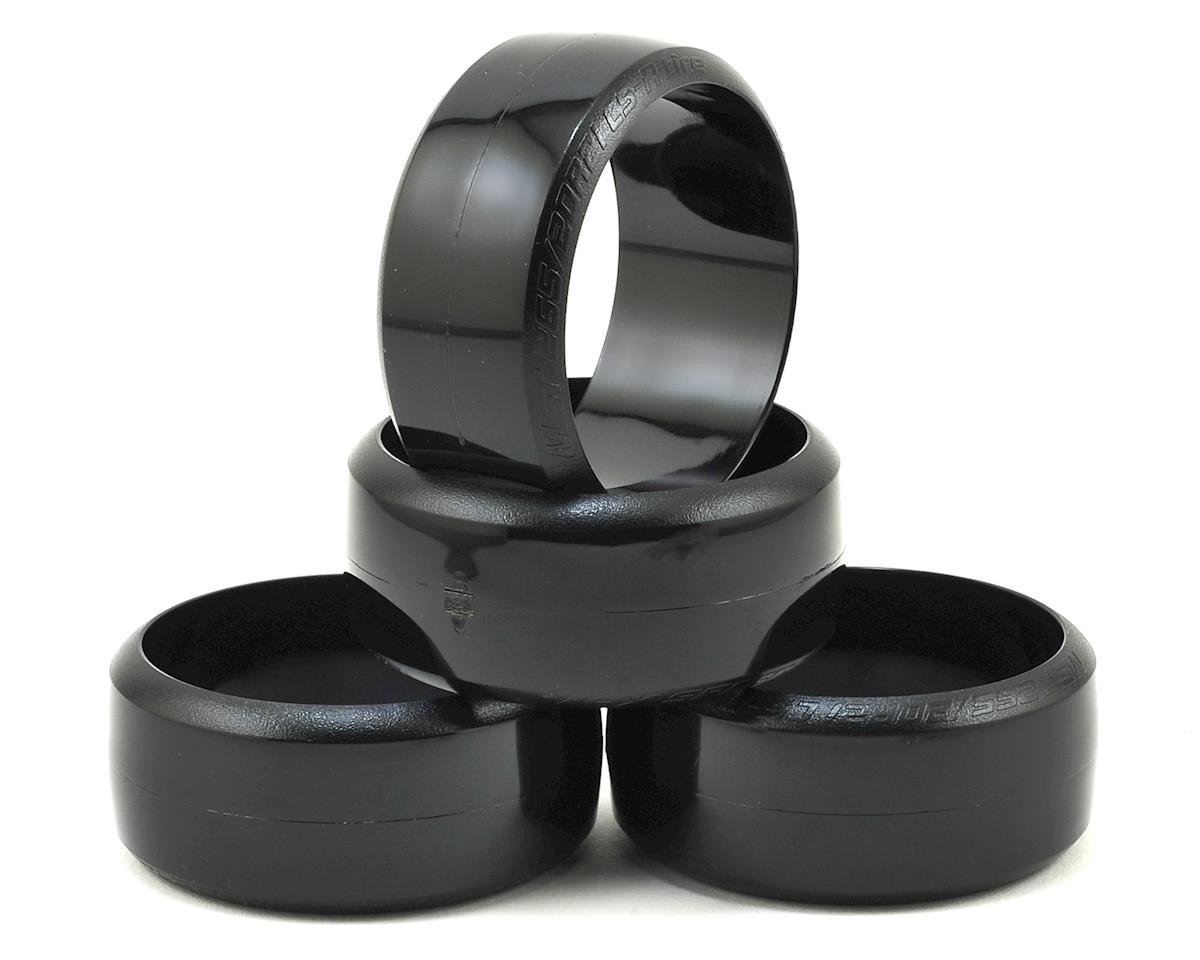
MST CS-R 27 Tires
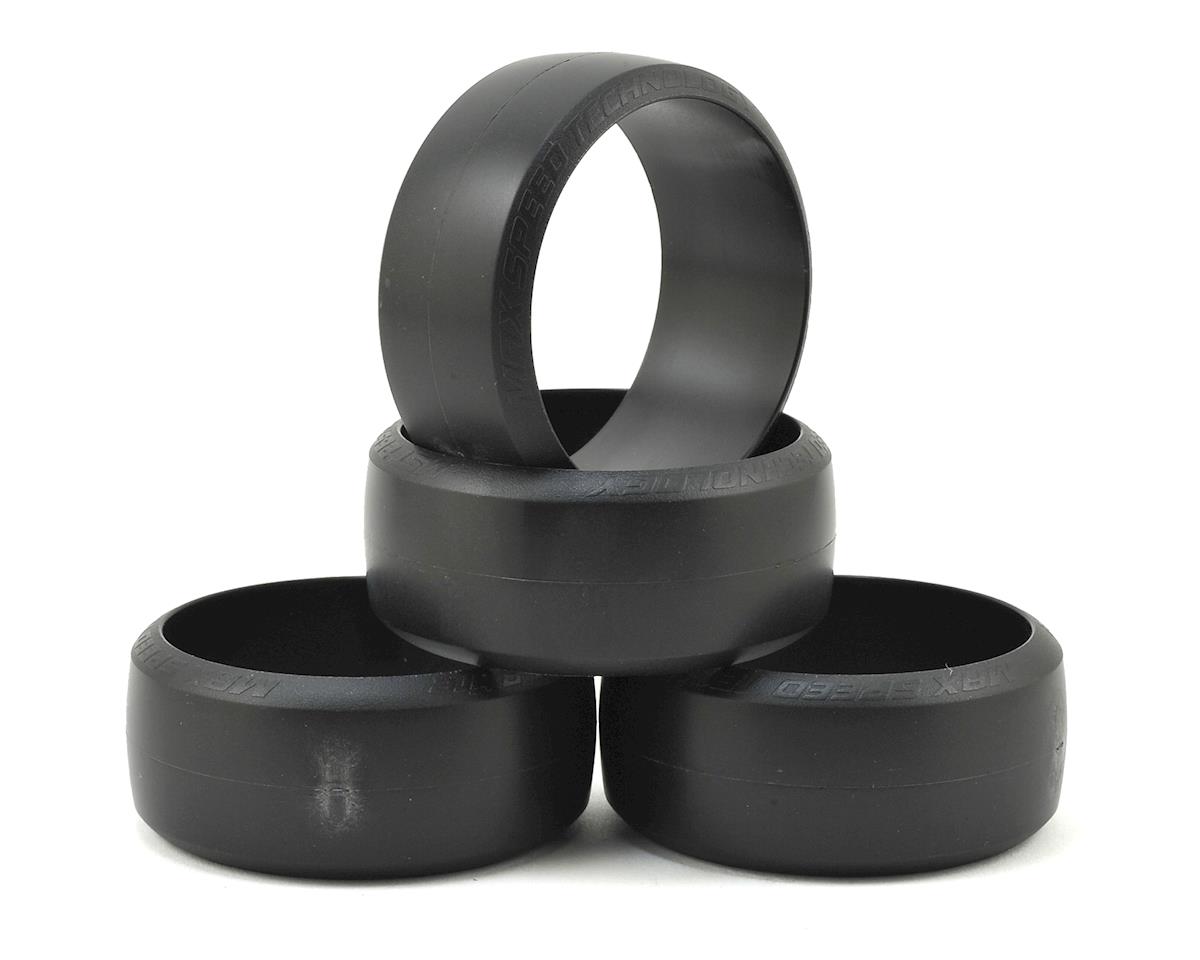
MST CS-R 30 Tires
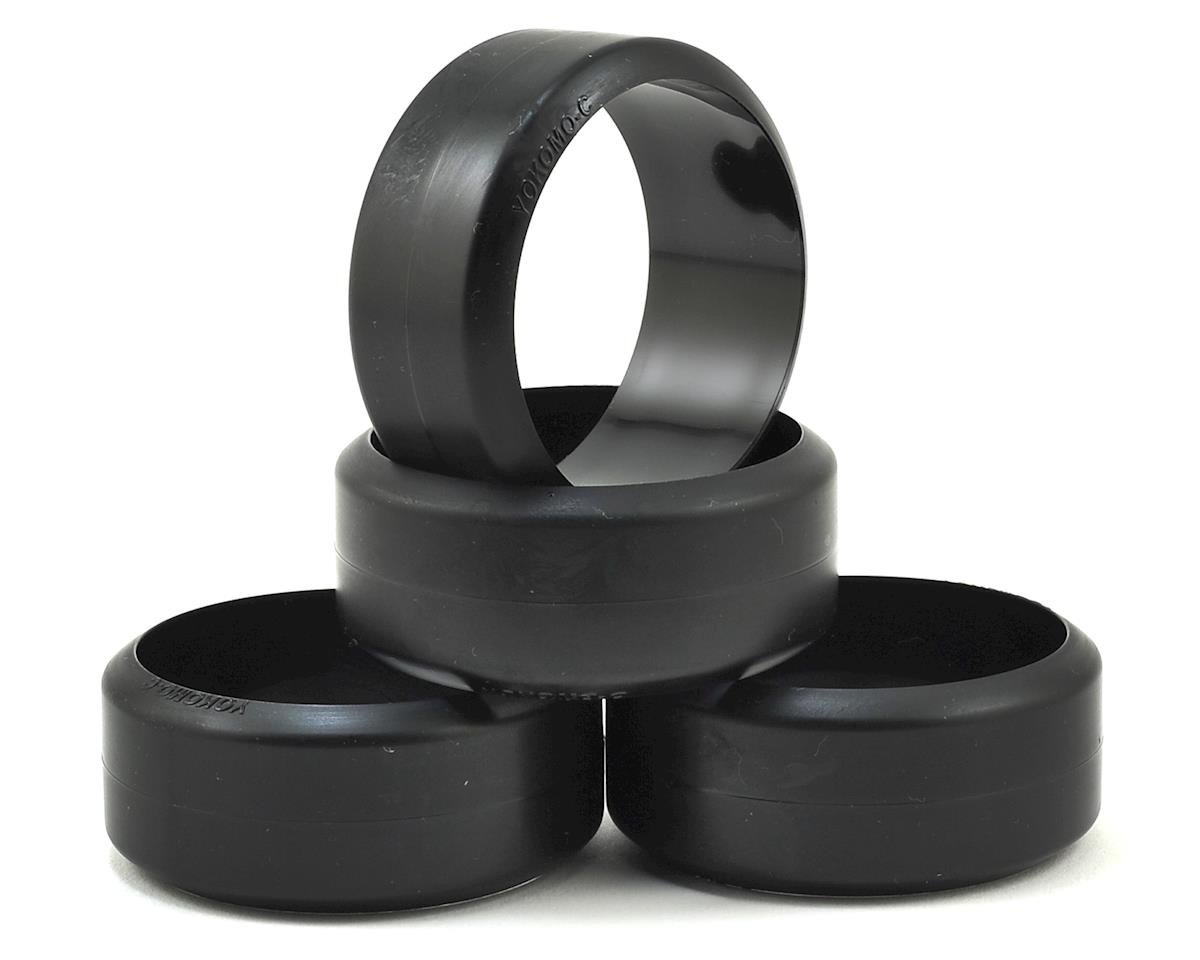
Yokomo DRC Tires
Note: Purchasing three different carpet tires is not recommended—this was for our testing purposes only.
Mounting the tires was easy with these MST wheels with an adjustable offset. They include rubber pads with sticky tape that adhere to the wheel. Just make sure the labeling is facing out before popping the tires onto the wheels. Shown here, are our mounted tires. The chrome wheels are mounted to the hardest tires the MST 27s. The black GT wheels are on the MST 30 carpet tires, and the white wheels are mounted on the Yokomo DRC tires.
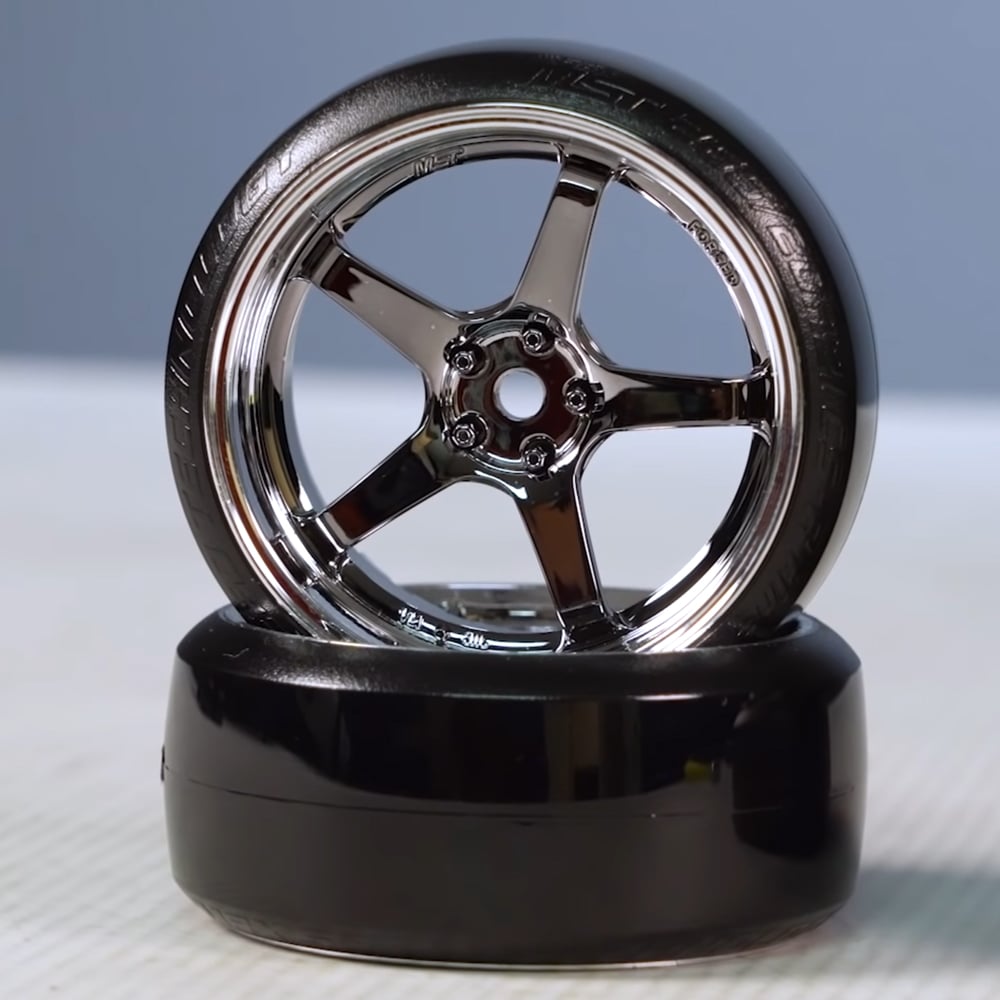
Chrome Wheels with MST 27 Tires
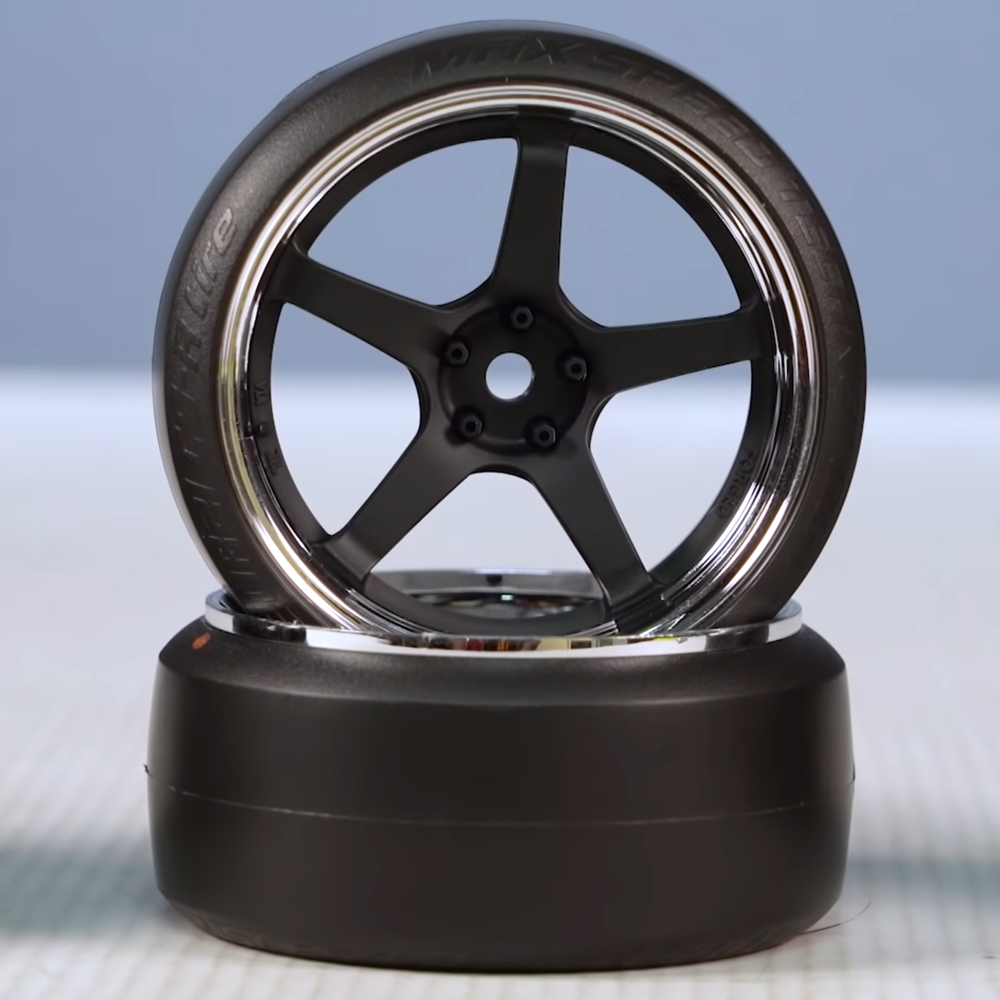
Black Wheels with MST 30 Tires
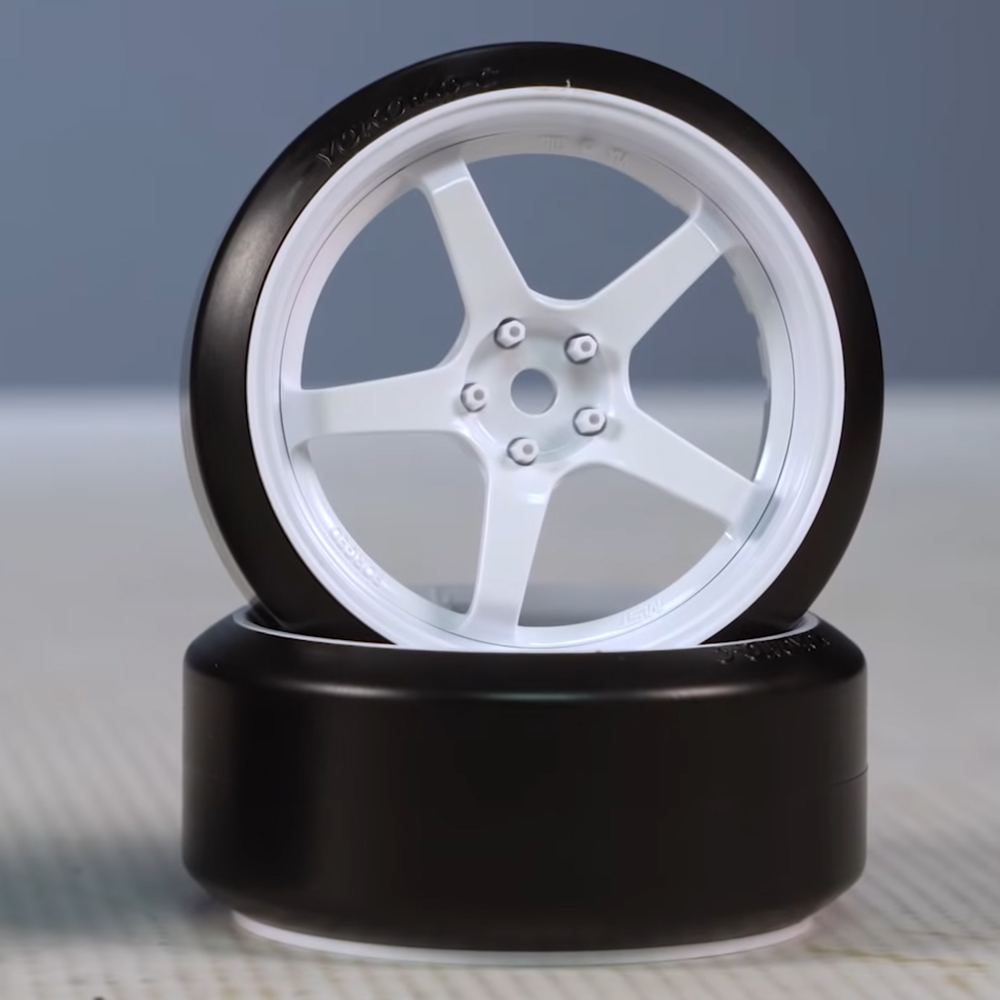
White Wheels with Yokomo DRC Tires
Putting the MST RMX 2.0 to a Drift Test...
MST CS-R 27 Hard Tire Test
The stock tires did well but were a little fast, and the sweeper was a little challenging. So, we put on our first set of MST 27 tires. Which are the hardest tires, but they’re supposed to be ideal for carpet. These tires proved to be pretty slick and challenging. The car still wanted to loop out. As a result, the acceleration seemed a lot slower. The car was not nearly as fast, but we could tell there’s a bit more grip than the stock tires.
MST CS-R 30 Carpet Tire Test
Next, we tested the MST 30s, which are carpet-specific. We were supposed to glue the wheel offset inserts in, but we didn’t because this was supposed to be a quick test, and guess what happened. The tire popped off the wheel and hit the body—lesson learned.
Yokomo CSR Carpet Tire Test
The last set of tires we tested where the Yokomo DRC, and in the end, all the carpet tires we tried required more throttle finesse than we were used to with the stock tires. Practicing throttle control will be crucial to our success with this car. Nonetheless, the MST 30 was the hardest of these three different tires, and they were the loosest on our hobby store carpet. The MST 27 carpet tires felt pretty comparable to the Yokomo carpet tires but with less confidence.

Summary
From our experience on this particular type of carpet surface, the Yokomo DRC tires felt the most comfortable and consistent. We will probably stick with them moving forward.
Stay tuned for part three of our “Learning to Drift” series.
Watch Brett's Review
Learning To Drift - RMX 2.0 Drift Series - Part 2
For even more bashing fun, watch the Learning To Drift Series on our YouTube channel, and while you're there, be sure to check out our new product reviews, and how to videos.
Featured Items

MST RMX 2.0 1/10 2WD Brushless RTR Drift Car w/LBMT Body MXS-533720R
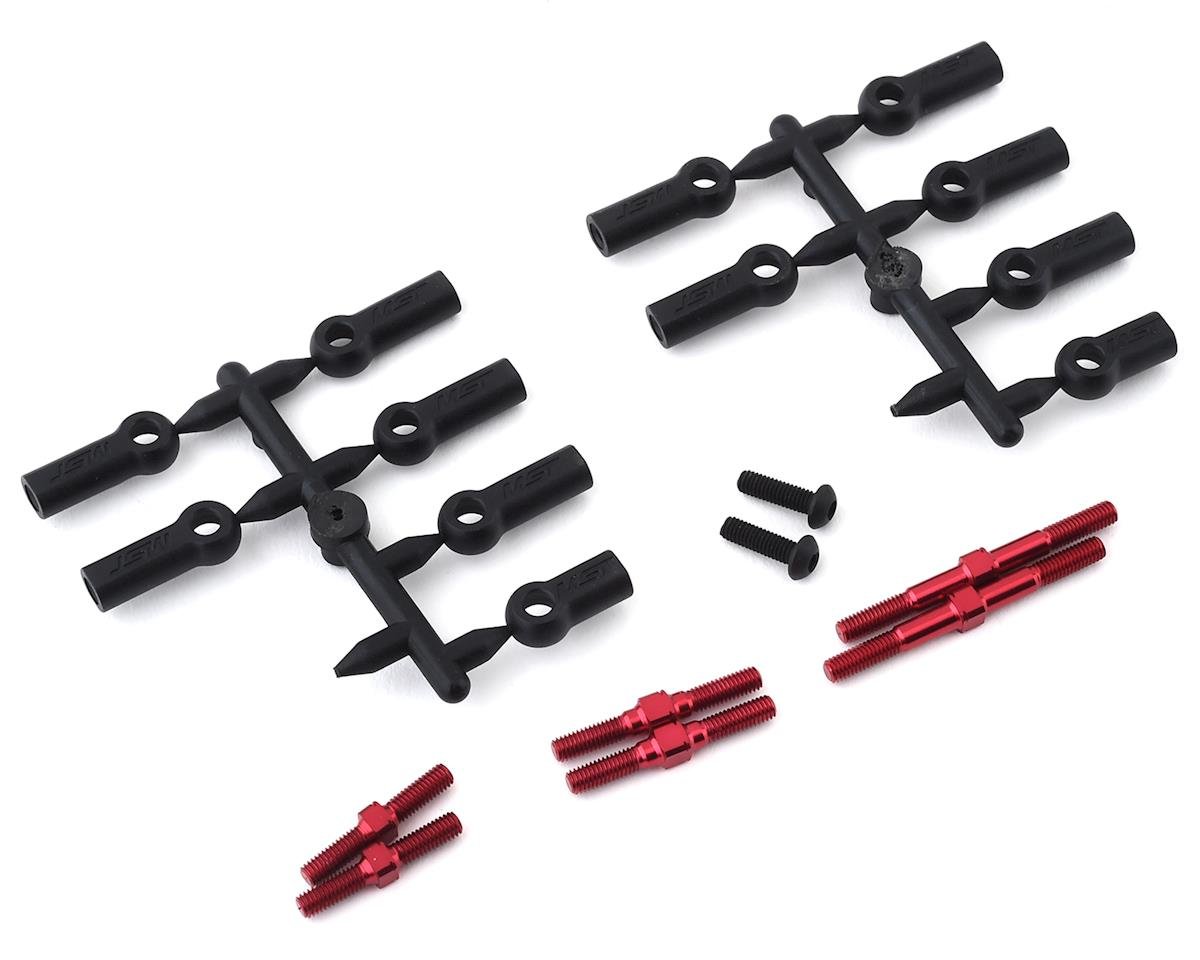
MST RMX 2.0 Aluminum Turnbuckle Shaft Set MXS-210595R
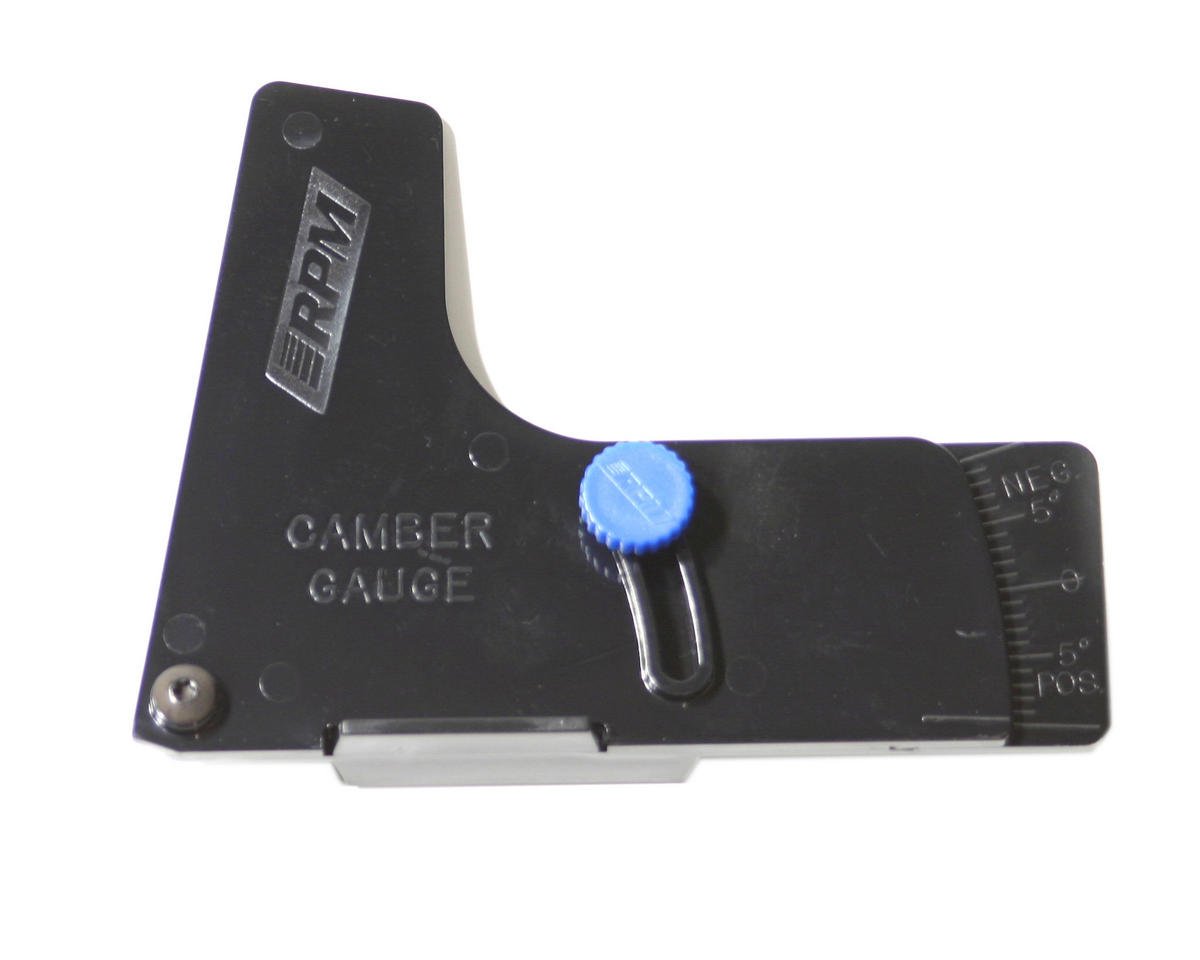
RPM Precision 1/10th & 1/8th Scale Camber Gauge RPM70992
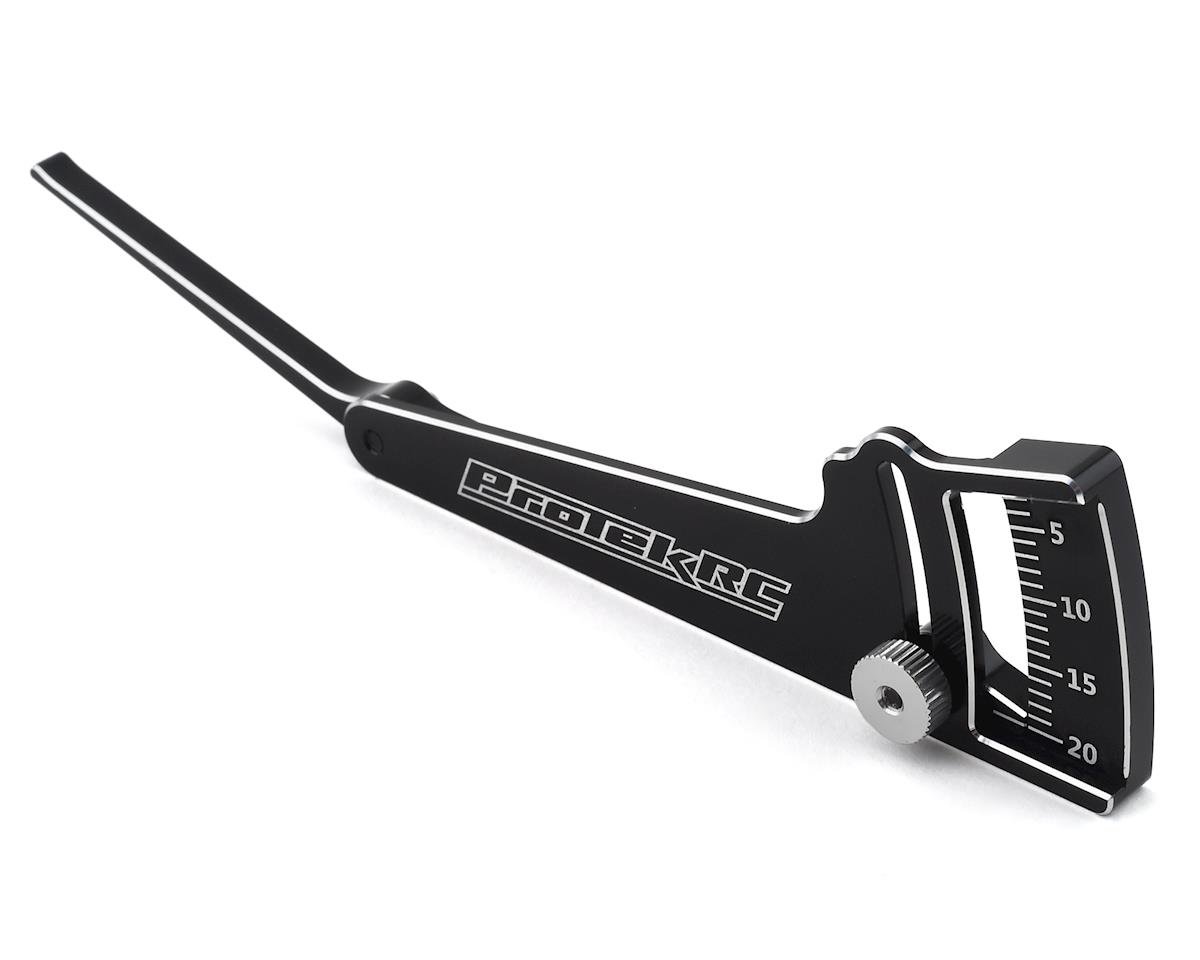
ProTek RC Aluminum Ride Height Gauge (3-20mm) PTK-7611
SXT Racing EZ Turnbuckle Tool SXT00097
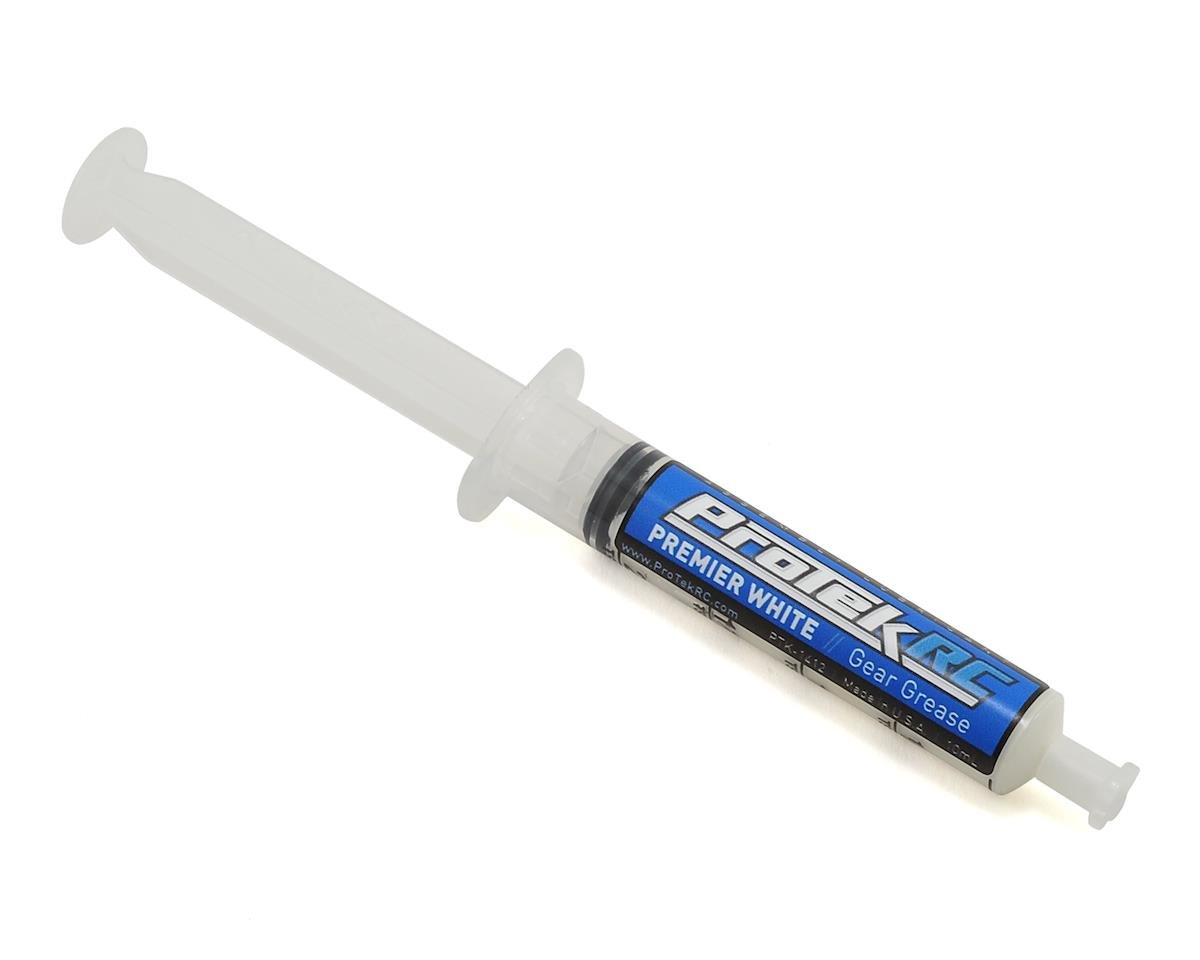
ProTek RC "Premier White" Friction & Noise Reducing Gear Grease Lubricant PTK-1412
MST CS-R tire (Hardest) (4) MXS-101027
MST CS-R tire (for Carpet) (4) MXS-101030
Yokomo DRC Competition Drift Tire (4) (for Carpet Surface) YOKZR-DRC
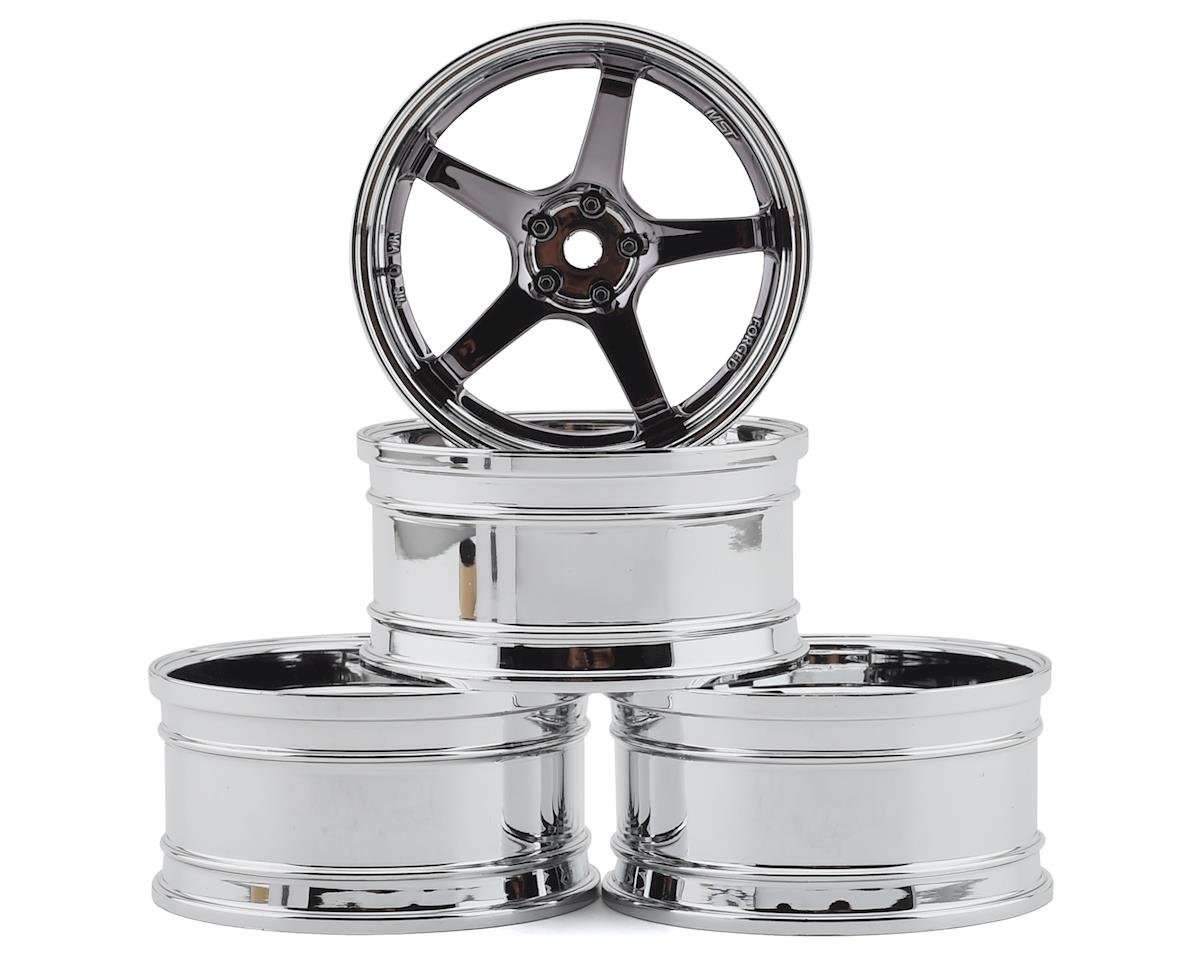
MST GT Wheel Set (Chrome/Black Chrome) (4) (Offset Changeable) MXS-832109SBK
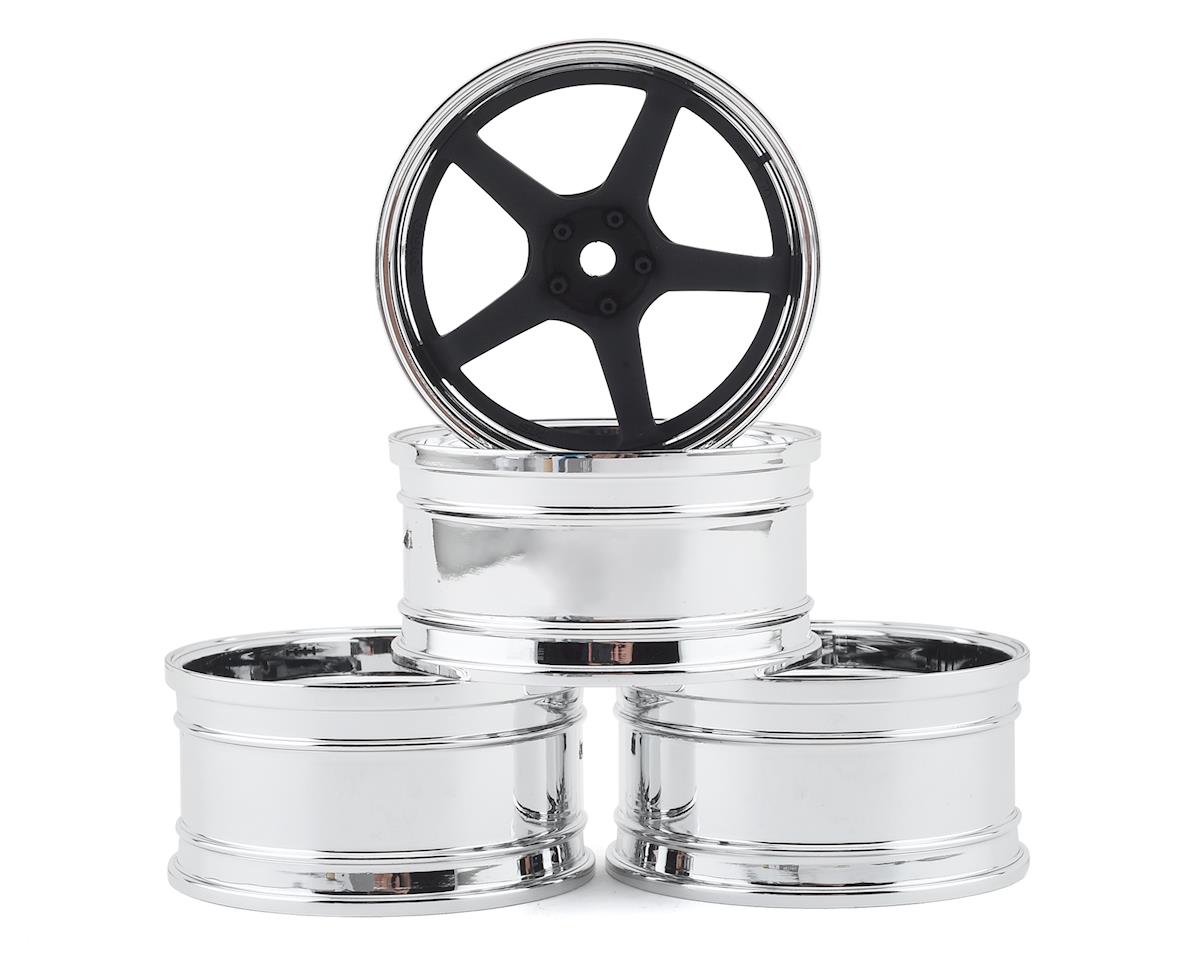
MST GT Wheel Set (Chrome/Black) (4) (Offset Changeable) MXS-832109FBK
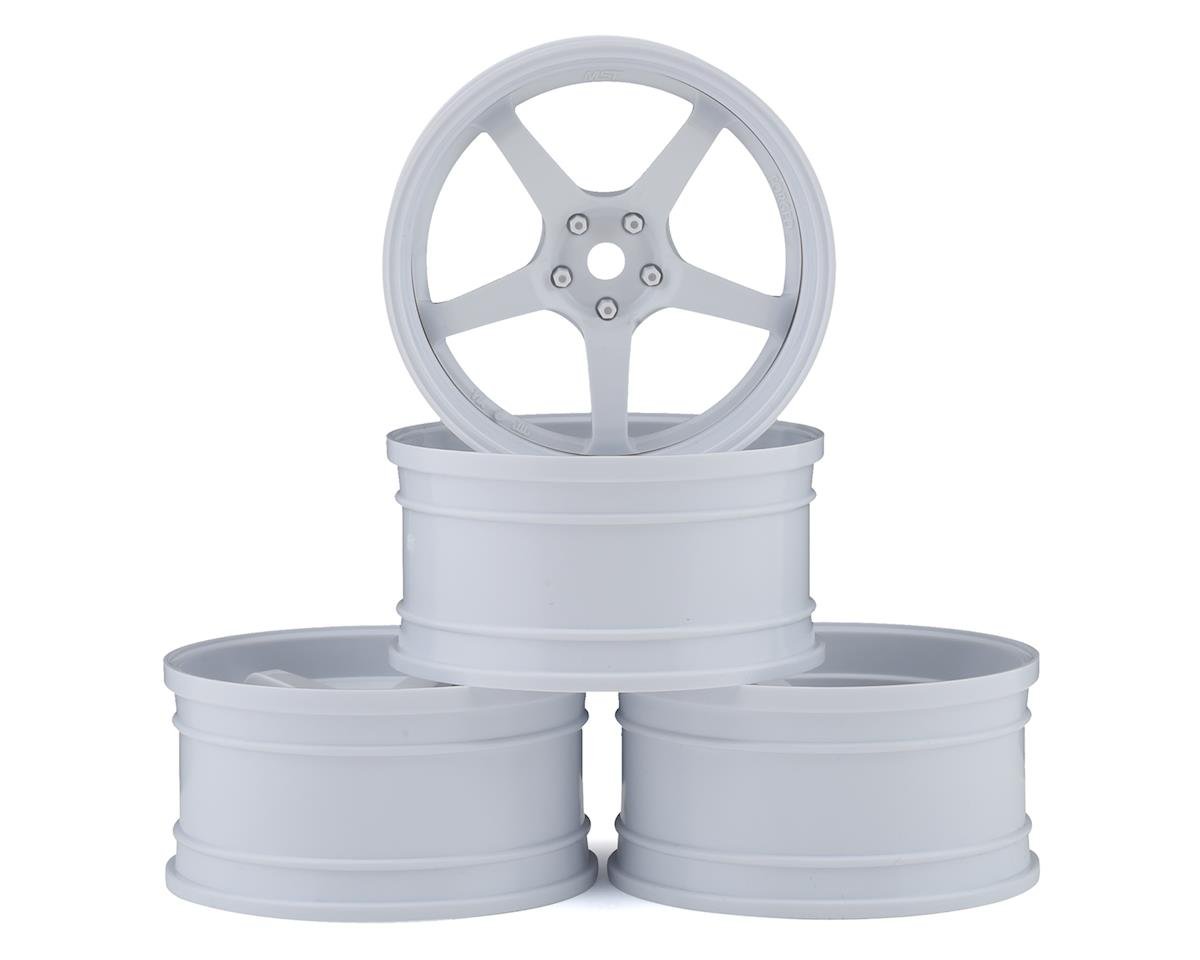
MST GT Wheel Set (White/White) (4) (Offset Changeable) MXS-832109W