How to Mount RC Tires - Tips for Glued, Beadlock & Pre-mounted Tires
No matter how well your car or truck is dialed in or how perfectly you’ve matched your tires’ tread and compound to the track conditions, you’re not going to have any fun or win any races if the tires don’t stay on the wheels. An RC car’s wheel-tire connection must withstand huge amounts of force as it powers your machine, especially when you combine a heavy, high-power brushless model with rough terrain. Here’s how to glue tires the right way, and we’ll talk beadlocks for you trail guys and gals too.
What is the best way to glue RC tires?
A strong and secure glue bond is key, and thankfully it’s easy to achieve. The secret is high-quality tire glue, careful preparation, and just enough patience to not rush the job.
This is what you need to glue R/C tires.
- Tire glue
- Gluing bands
- Residue-free cleaner (denatured or isopropyl alcohol is best)
- Lint-free cloth
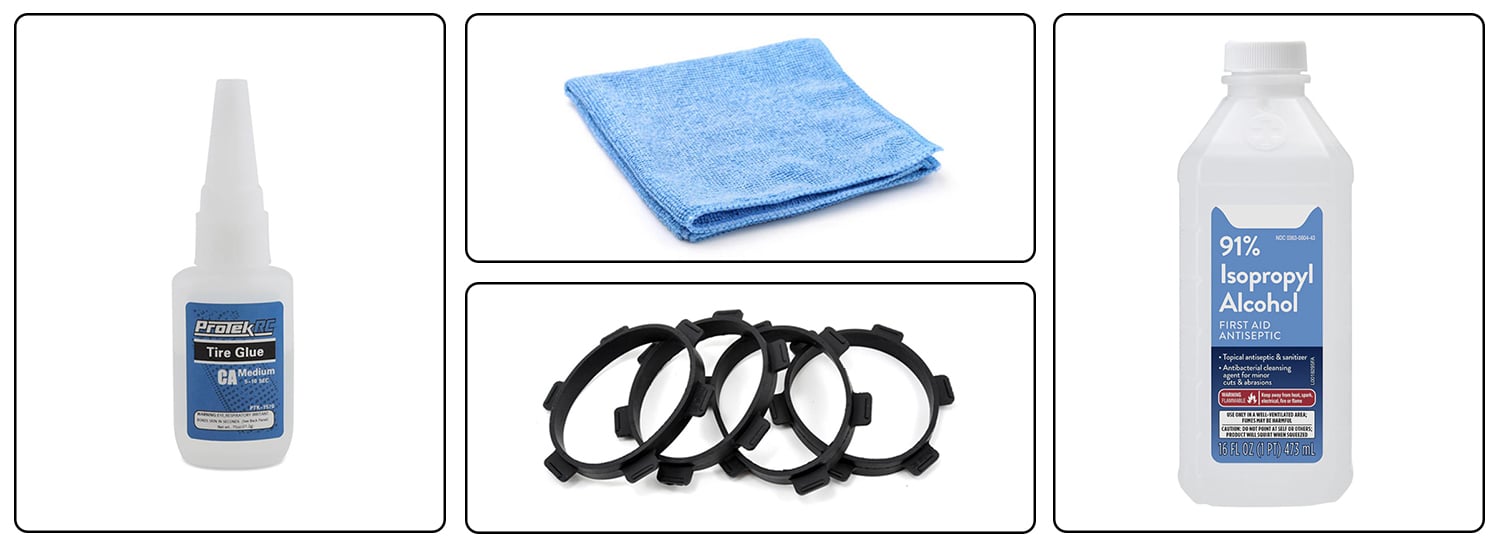
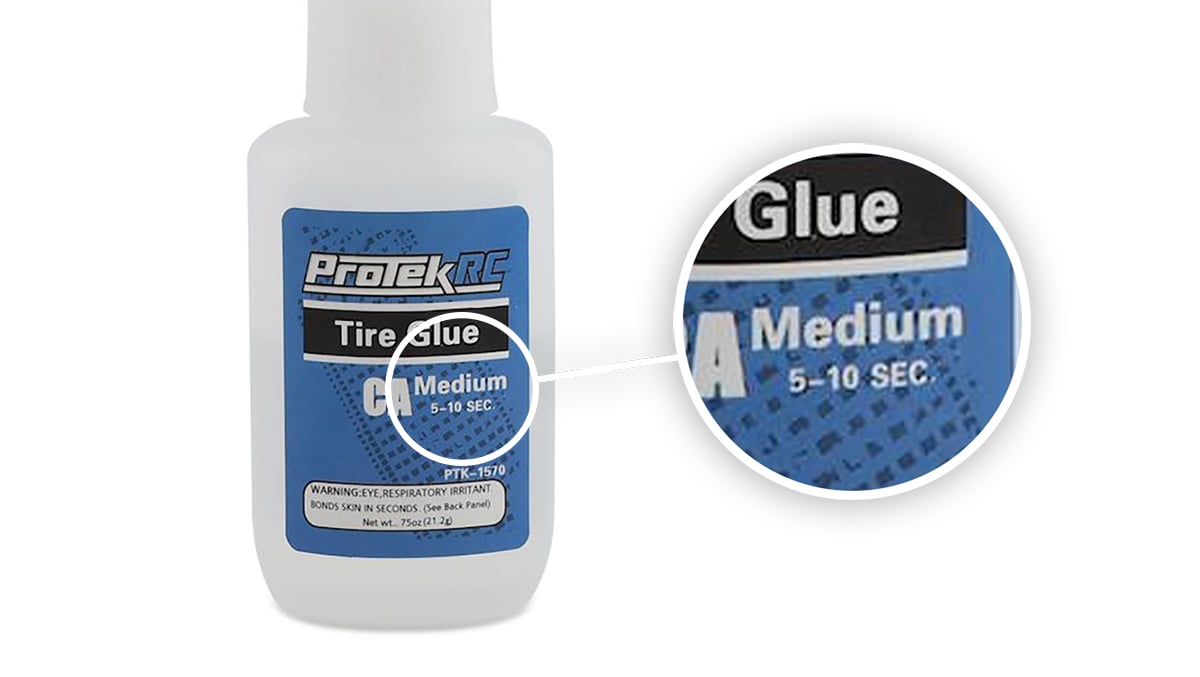
High-quality tire glue is the essential thing for professional results. We’re using ProTek RC Medium
Step 1: Clean the wheel and tire mounting surfaces.
Some drivers skip this step, but ensuring the tire and wheel is free of any mold-release compounds from the manufacturing process will ensure nothing is on the mounting surfaces that might interfere with the glue bond. Be sure to wipe down the wheel’s mounting channels and the tire’s “bead” (the flange that fits into the channel) with denatured or isopropyl alcohol or motor spray. Avoid any cleaner that will leave a residue or film behind.
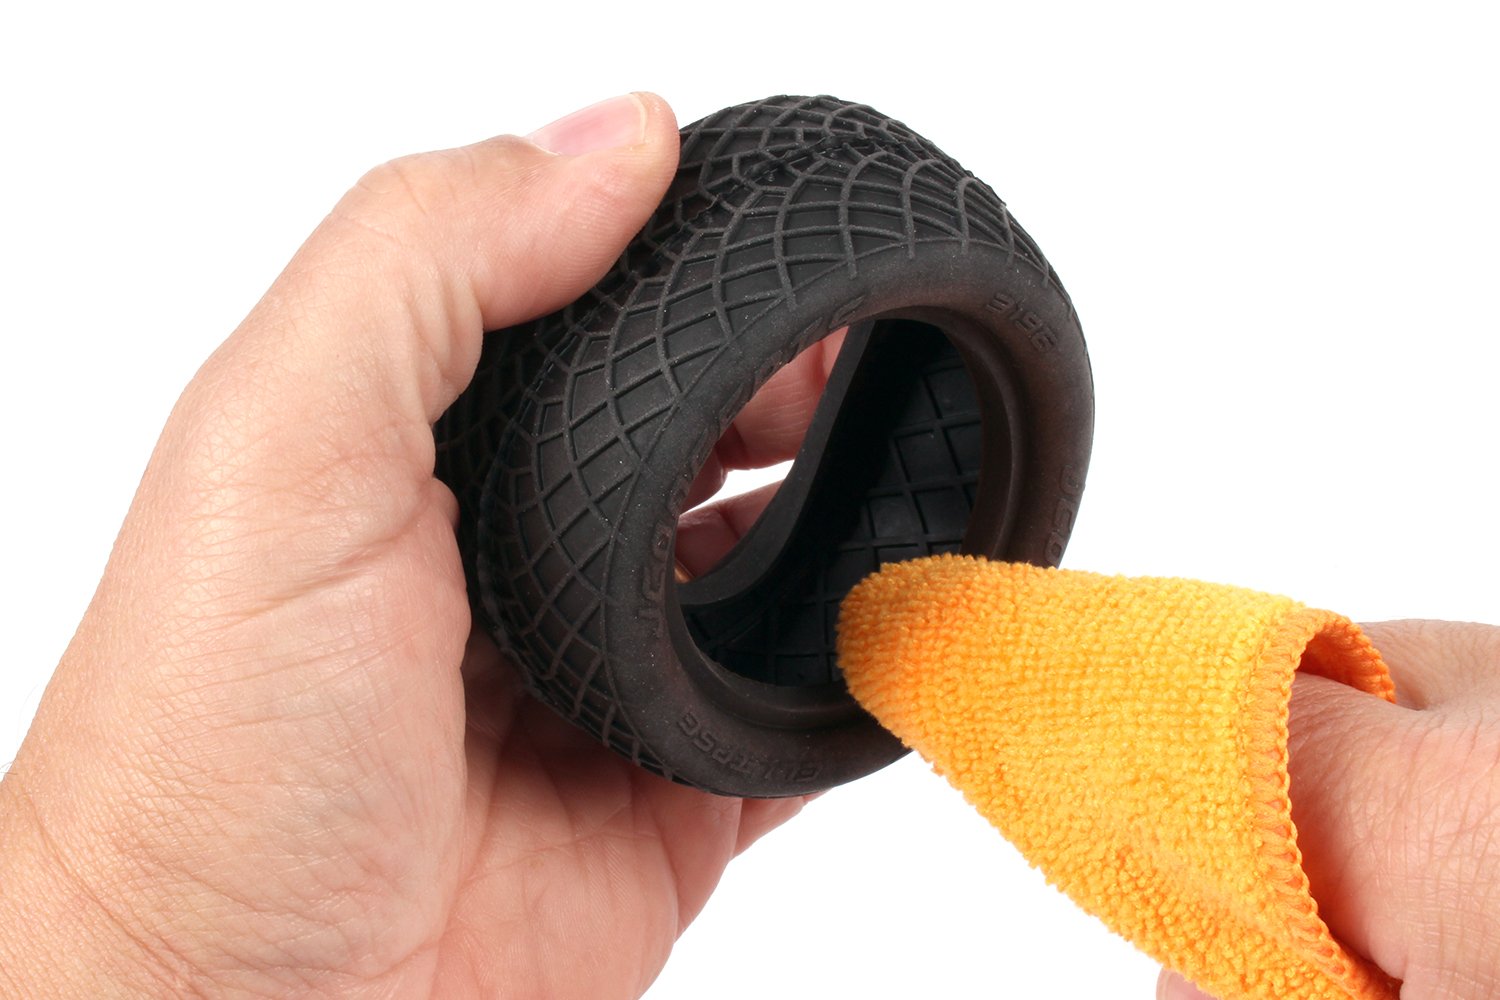
Motor spray or alcohol can clean the mounting surfaces, and a microfiber cloth won’t leave lint behind. Ensure the surfaces where the tire and wheel fit together are completely clean.
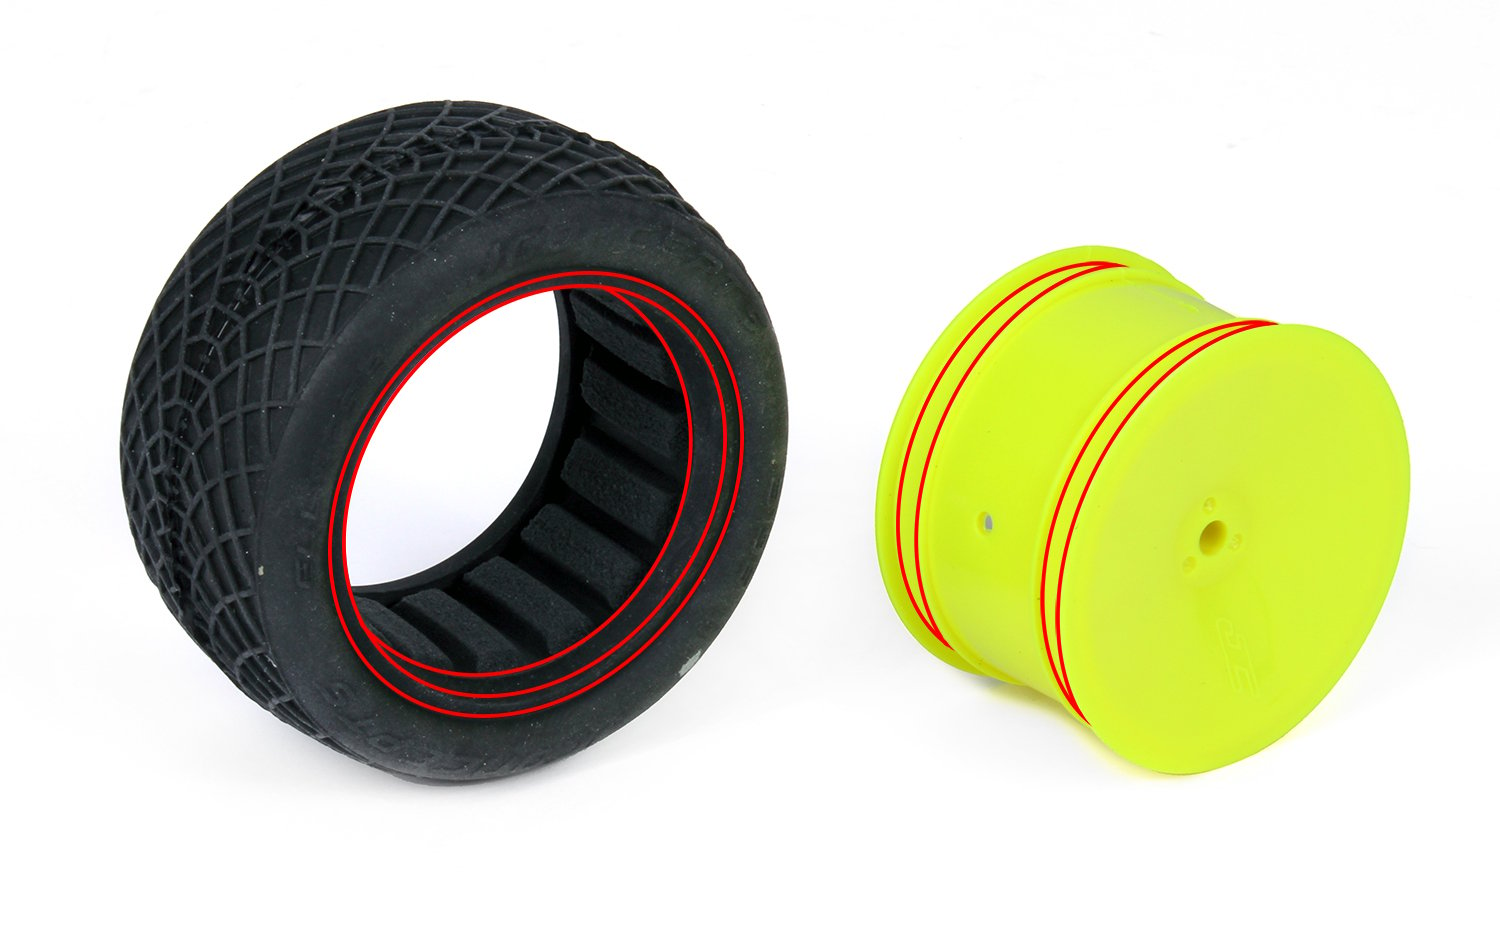
Step 2: Install the RC tires onto the wheels.
Push the rim into the center of the tire and align the tire’s bead with the mounting channels in the wheel. If your tires have directional treads, be sure to note their orientation, so you have a left wheel and a right wheel. Push and pull on the tires as needed until they’re fully seated. Assemble all four wheels and tires.
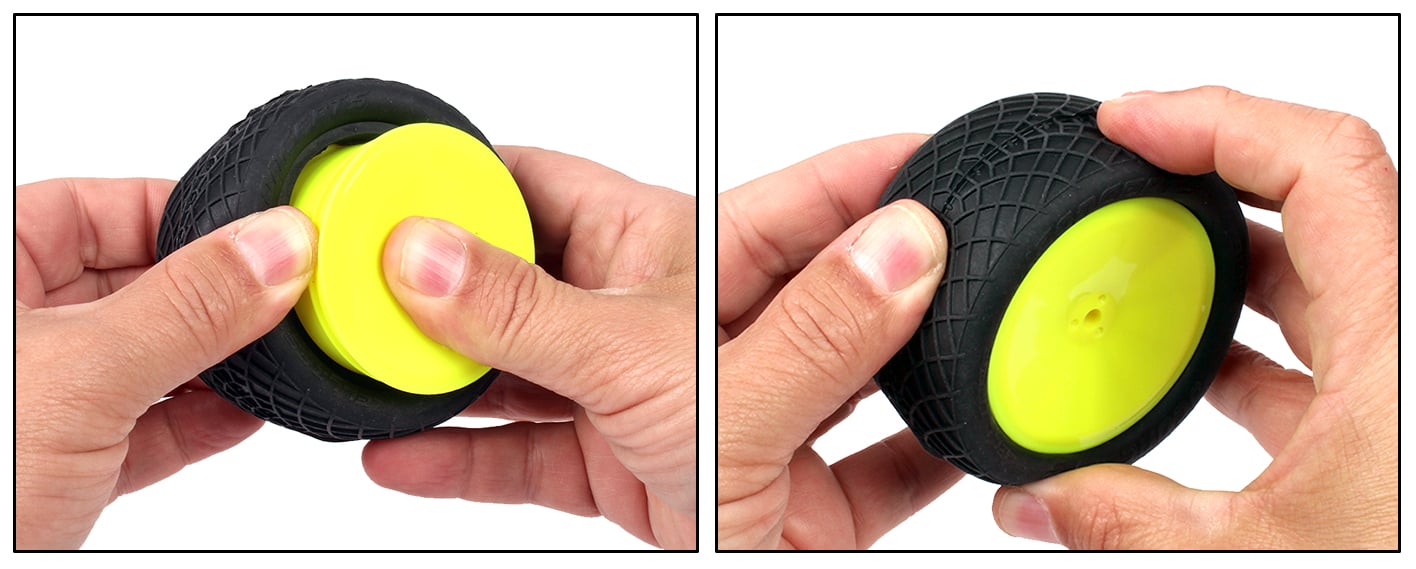
Push the rim into the tire and work it until it’s fully seated.
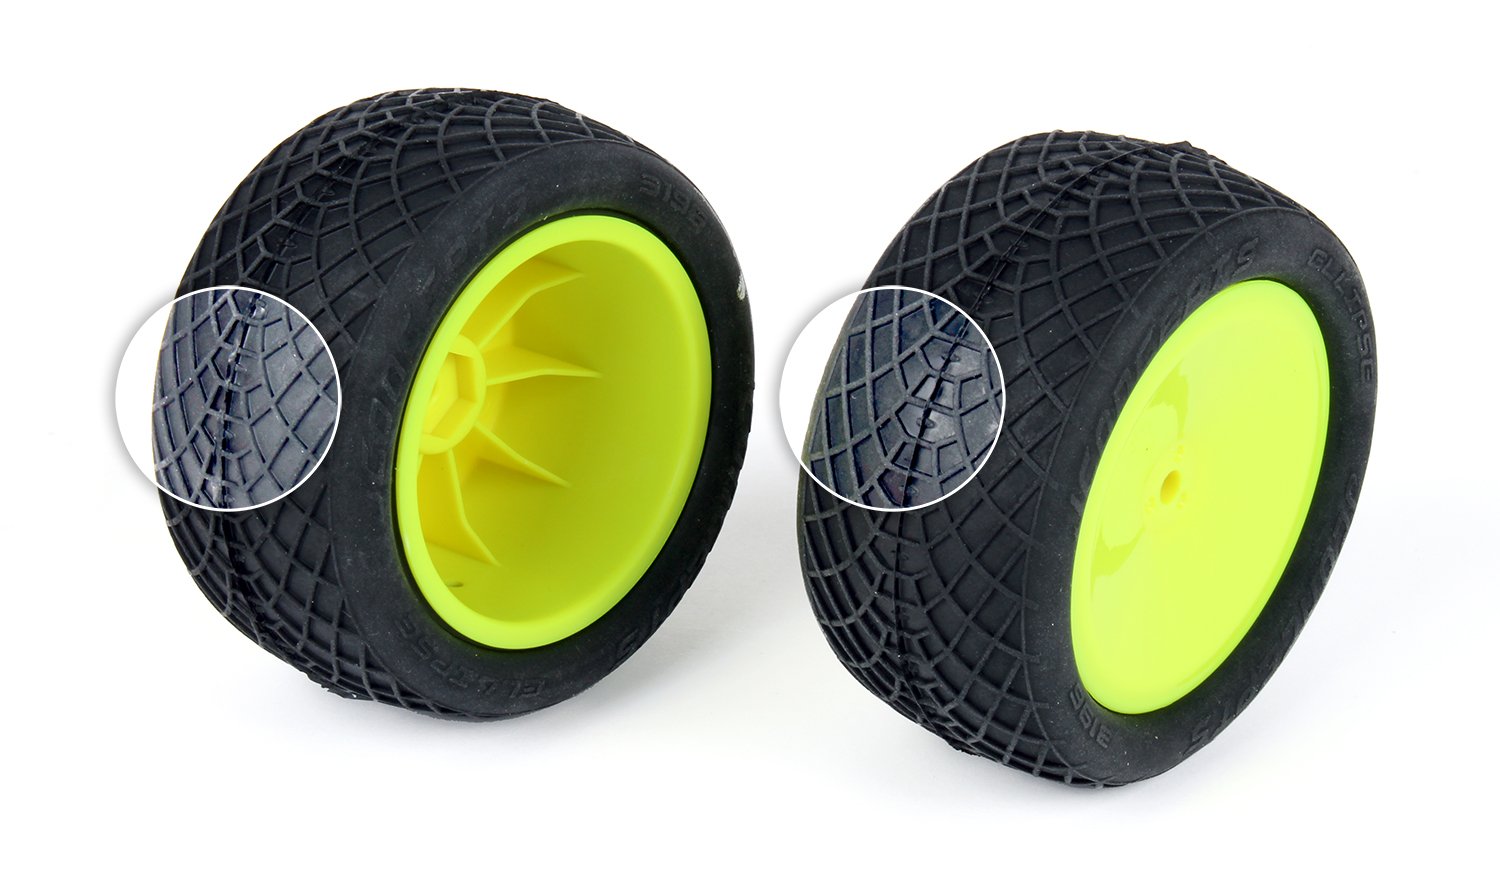
The JConcepts Ellipse tread is directional, so be careful to assemble the tires and wheels as a left and a right.
Thick, Medium, or Thin Tire Glue?
Depending on the brand you choose, you may see tire glue offered in different viscosities. There’s no difference in holding power, only the ease with which the glue flows. “Thin” is like water and flows most easily. Medium is more oil-like. It still flows easily but is easier to control than Thin. Thick glue is more gel-like and doesn’t run easily. It’s easiest to get good results with Thin or Medium glue.
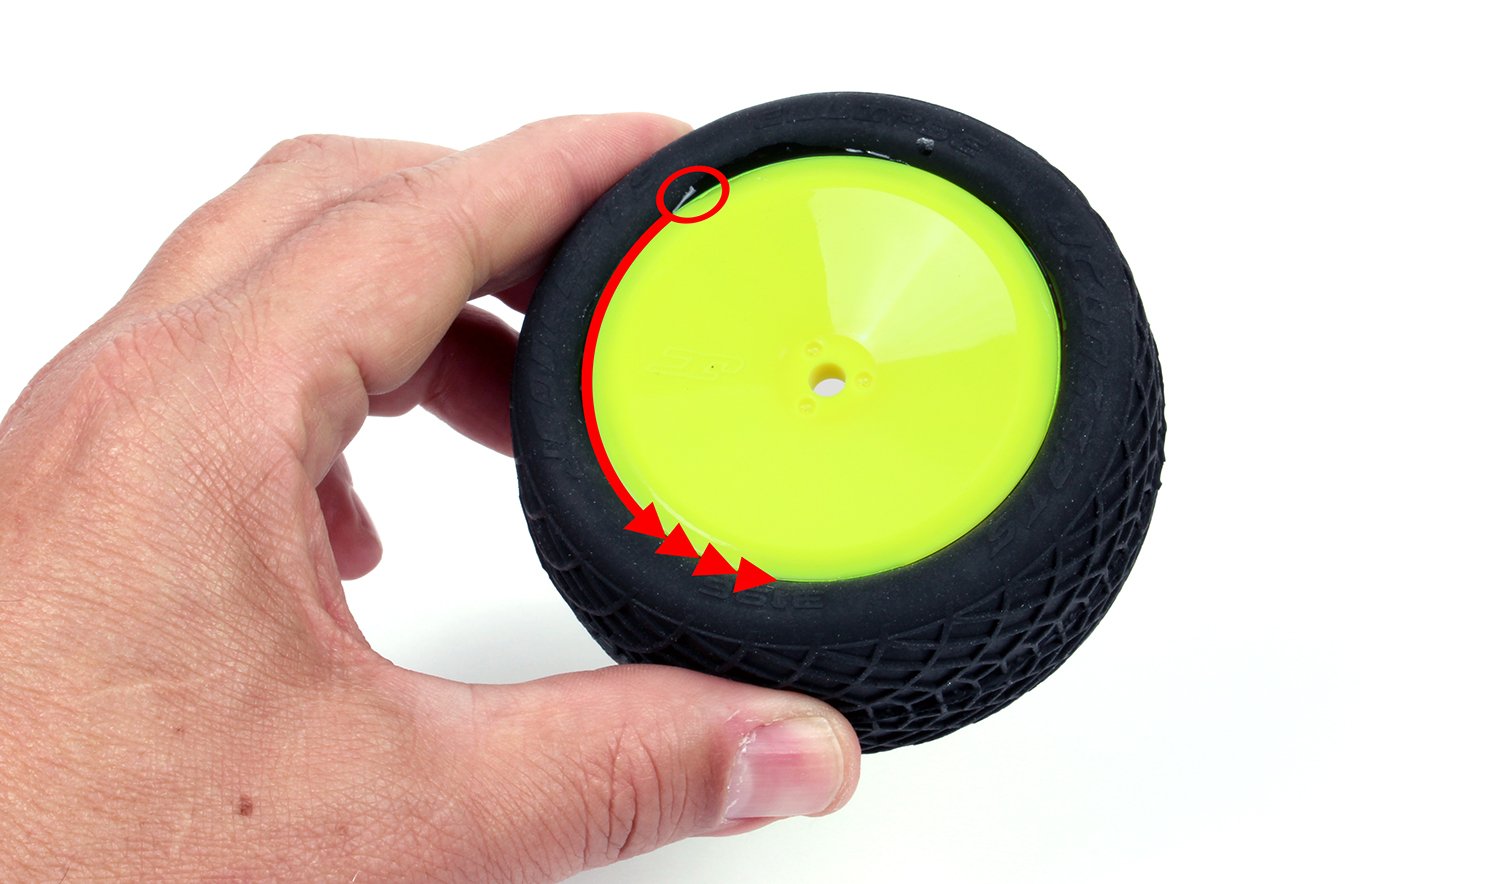
Step 3: How to glue RC tires to rims.
Use your thumb to pull the tire back slightly and open a gap between the tire and wheel. Apply a drop of tire glue into the opening, lower the bead back into the wheel and make sure it seats fully. Avoid letting the tire snap back into the wheel like a rubber band, as this can cause the glue to splash—repeat the process all the way around the wheel. If you think of the wheel as a clock face, you’ll apply glue at each other hour or so. The thin glue will wick around the wheel by capillary action, so if you find the spot where you’re applying glue is already stuck down, move a little farther along. Keep going until the entire perimeter of the wheel has been glued.


Pull the tire back and apply a drop of glue. Work your way around the wheel until you’re back where you started. The wheel’s spokes make it easy to glue at evenly spaced intervals.
Pro Tip: It’s best to glue the front side of each wheel and tire, allow them to dry, then go back and glue the back sides. If you glue the front side then immediately flip the wheel over to glue the back, glue may run out of the joint and make a mess of your tire’s sidewall. Worse, you might glue yourself to the tire and/or your work surface, which is a drag.
Step 4: Wrap with a tire band.
Use a tire band to hold the tire’s bead tightly in the wheel channel as the glue dries. The band doesn’t need to be super tight. It just needs to apply even pressure around the tire. Then, as the glue dries, you can go to work gluing the other tires.
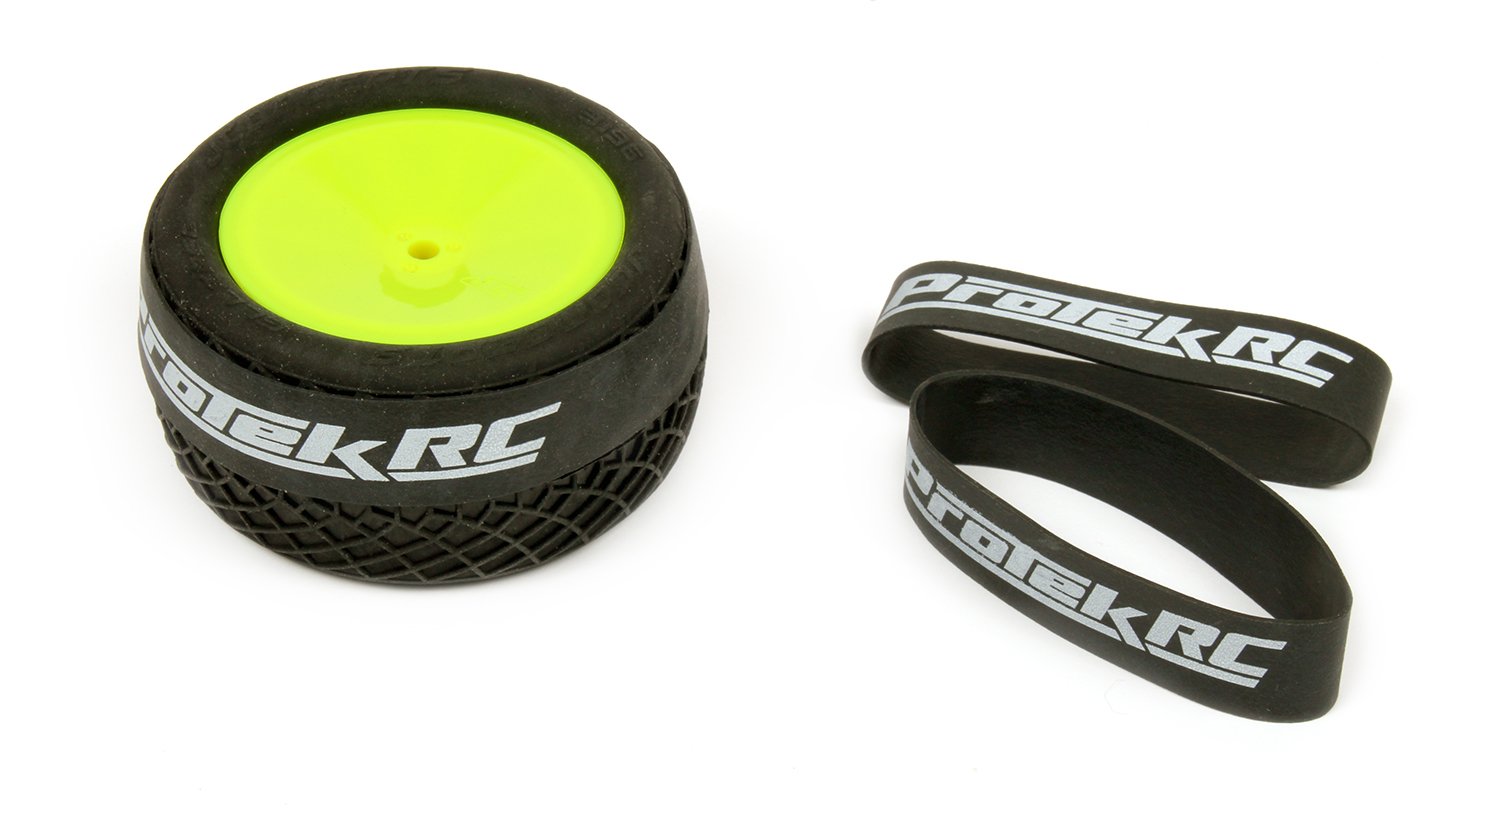
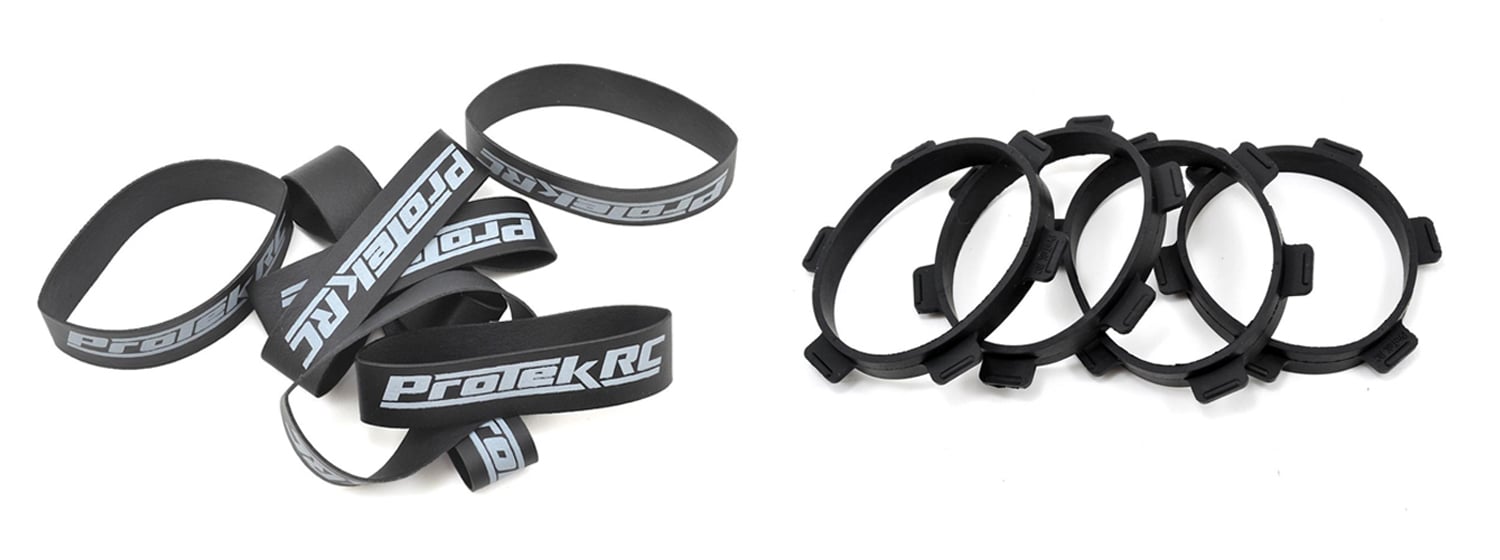
ProTek RC tire bands are extra wide for superior tire-squeezing ability. The premium style with handles comes in three sizes to suit sedan tires, 1/10 and 1/8 scale off-road rubber and monster trucks/truggies.
Step 5: Inspect, flip, and repeat.
After you’ve glued one side of all four wheels and tires and allowed the final wheel at least a few minutes to dry (more time is better), remove the glue bands and check your work. Try to pull the tire away from the wheel; if gaps form, reapply glue and re-band the tire. When you’re satisfied that all the tires are well glued to their wheels, flip them over and repeat the process for the other side of the tire and wheel.
Step 6: Add a sealing layer.
After both sides are dry, put a drop of glue on the wheel/tire joint and gently tilt the tire to help the glue roll around the rim. Add glue as needed until you’ve made it all the way around, then set the tire aside to dry. This extra coat of CA will seal the joint to make it even stronger and resistant to dirt packing where the tire and wheel meet.
Apply a drop of glue and tilt the wheel to follow along the joint.
Mission accomplished—your tires are glued up and ready to race.
Should you vent your RC tires?
Most wheels have vent holes in them from the factory, which allows air to flow out of the tire when compressed and flow back in when the tire rebounds. This is a benefit on the racetrack, where a fully sealed tire would have unwanted rebound because of the air trapped inside. Some drivers make additional holes in the tire for improved venting, and to allow trapped dirt or sand to exit the tire.
The best tool for this job is a ProTek RC tire punch, which allows you to punch a perfectly round, clean-edged 1.5 – 4.0mm hole with just a squeeze. The “perfectly round, clean-edged” part is important, as a ragged hole cut with a hobby knife would be prone to tearing.
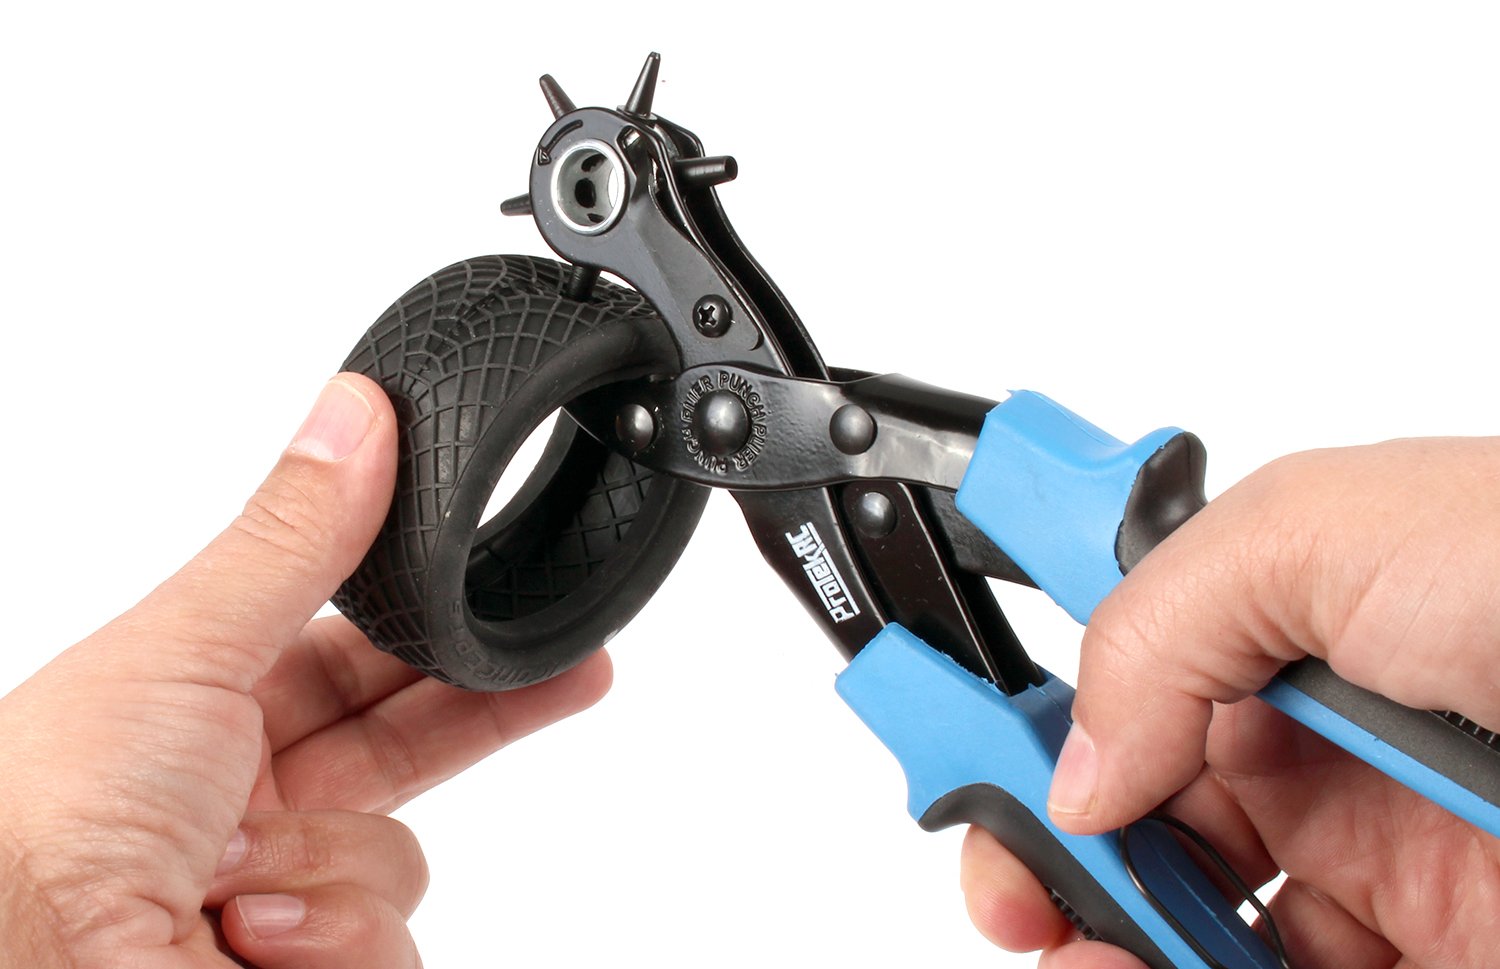
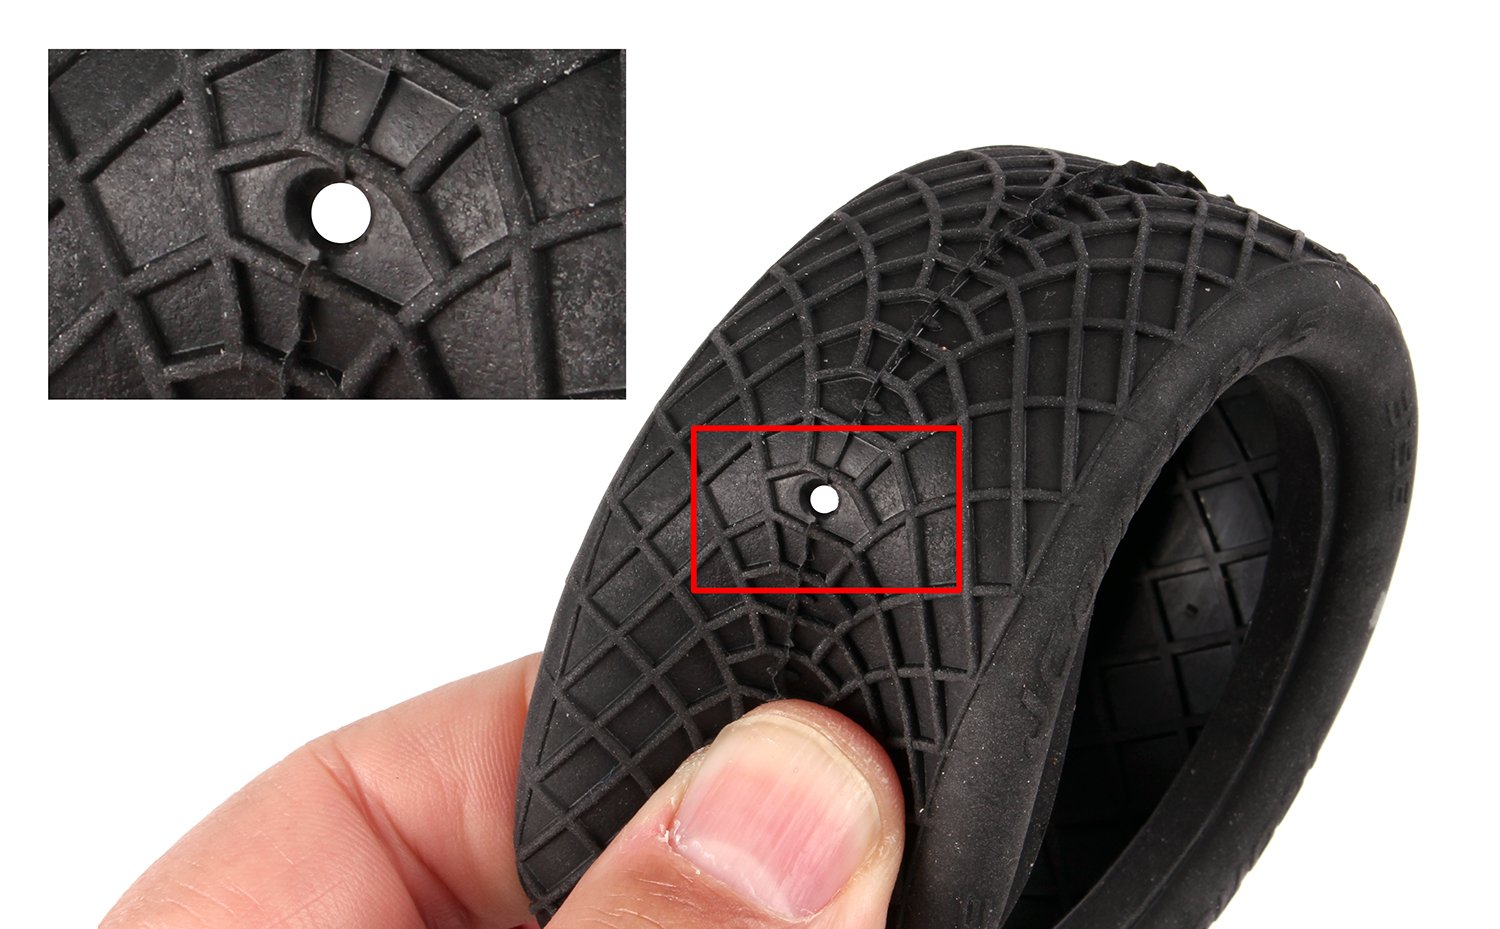
The ProTek RC tire punch makes it easy to vent tires with just a squeeze. It makes a clean, round hole that won’t weaken the tire.
Hold up … do you actually need to glue RC tires yourself?
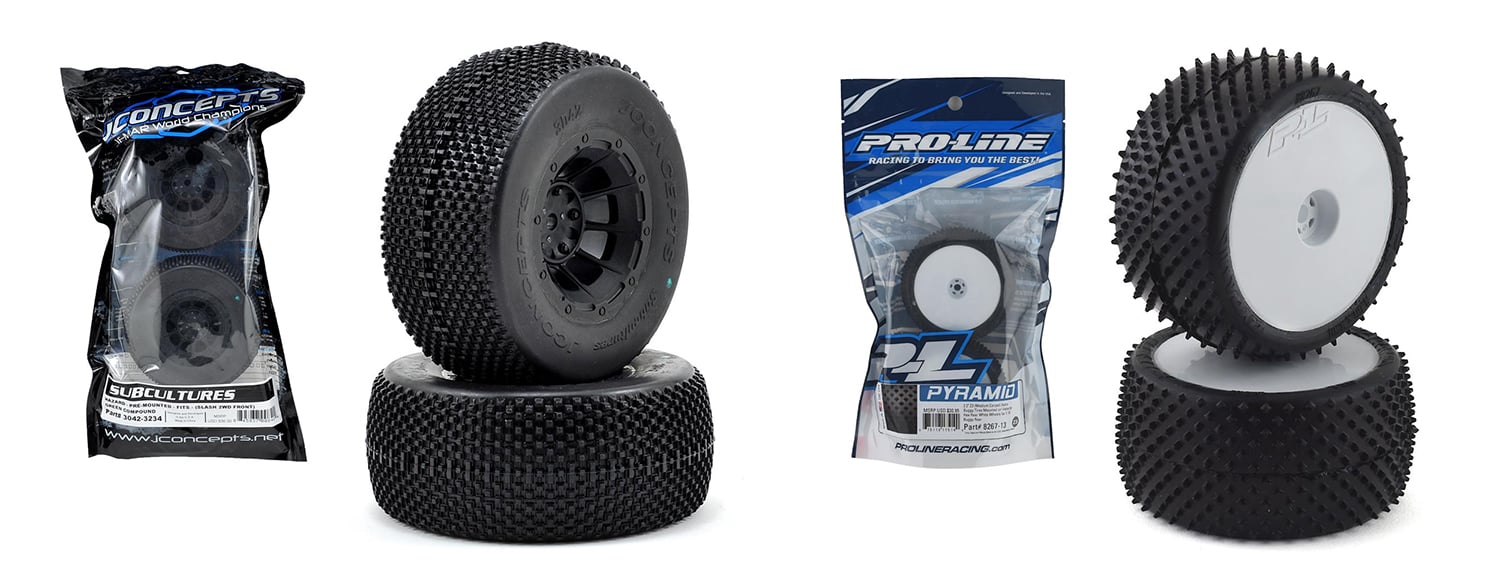
If the wheel and tire combo you’re interested in is available premounted, you can save yourself the time and trouble of gluing and go right from package to track as quickly as removing your car’s wheel nuts.
JConcepts, Pro-Line, AKA, Duratrax, Schumacher, and other tire brands offer ready-to-install options.
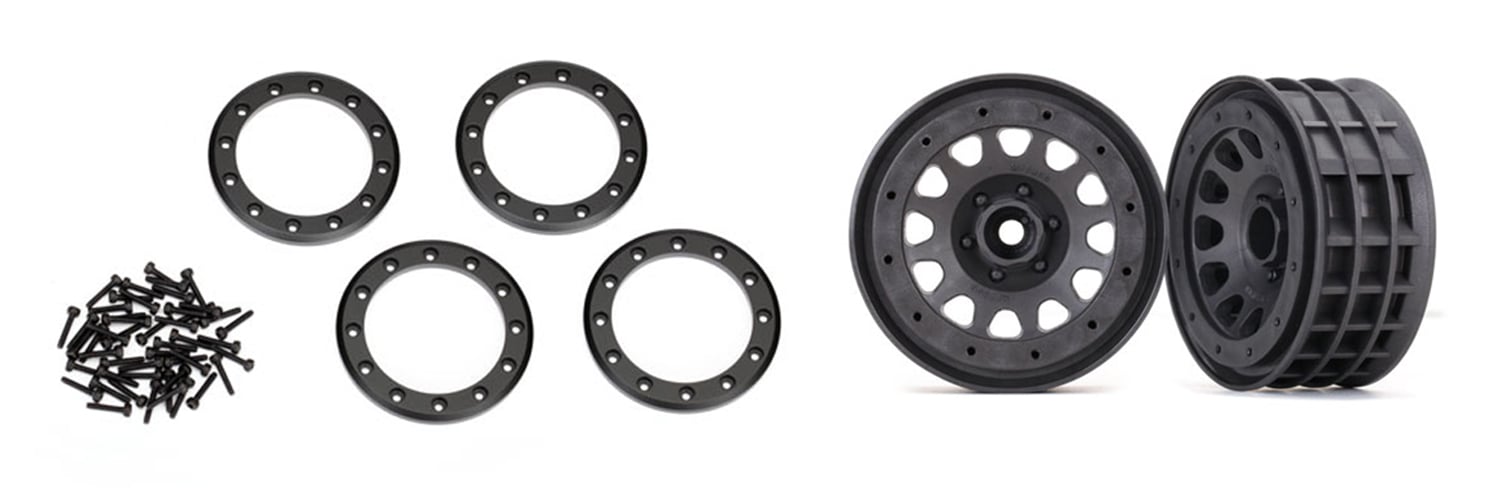
How to install beadlock wheels on RC tires.
Beadlock wheels use mechanical clamping force to hold the tires in place and are favored by trail truckers not only for their scale realism but because they allow wheels and tires to be swapped anytime, and there’s no need to throw away perfectly good wheels when the tires wear out. So why don’t all RC cars and trucks use them? Beadlocks are significantly heavier, which is not good for racing. And while they have plenty of holding strength for the low-RPM action trail trucks see, beadlock systems aren’t up to the much greater centrifugal forces of high-speed RC driving. If you’re going fast, glued tires are a must. But on the trail, beadlocks rule.

Most beadlock designs, like this Pro-Line Impulse wheel, capture the tire’s beads with an inner ring. The rim is split into front and rear halves that fit inside the ring to clamp the tire.
The other common beadlock configuration, as seen with this Traxxas Method 105 wheel, is a one-piece wheel with channels for the tire’s beads. Rings are installed on the front and back of the rim to hold the tire.
Are the treads directional?
Once again, make sure you assemble the tires and wheels as lefts and rights if the treads are directional. If you do install a tire backward, no worries—it’s not glued on forever. You can just take it apart for a do-over. But better to get it right before you start firing the screws.
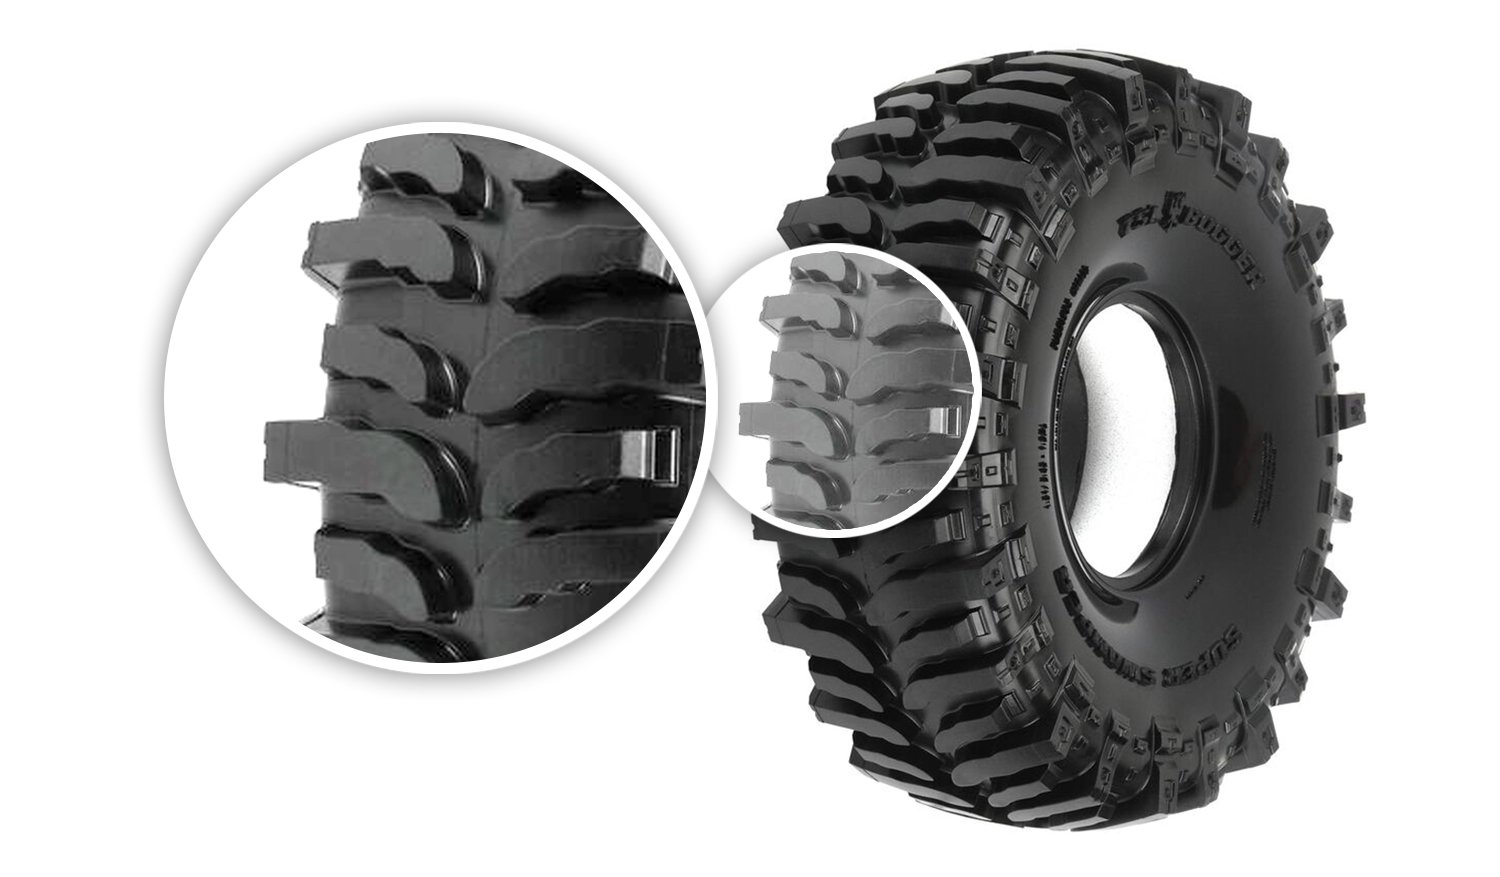
This Pro-Line Interco Bogger tire has a directional tread.This Pro-Line Interco Bogger tire has a directional tread.
Soap a Stubborn Tire
If you’re building a channel-style wheel and having trouble getting the tire bead to slip into the wheel channel, rub a drop of dish soap onto the bead to lubricate it. Don’t worry if the bead doesn’t quite fit completely into the channel; when you tighten up the beadlock ring, it will push the bead the rest of the way.
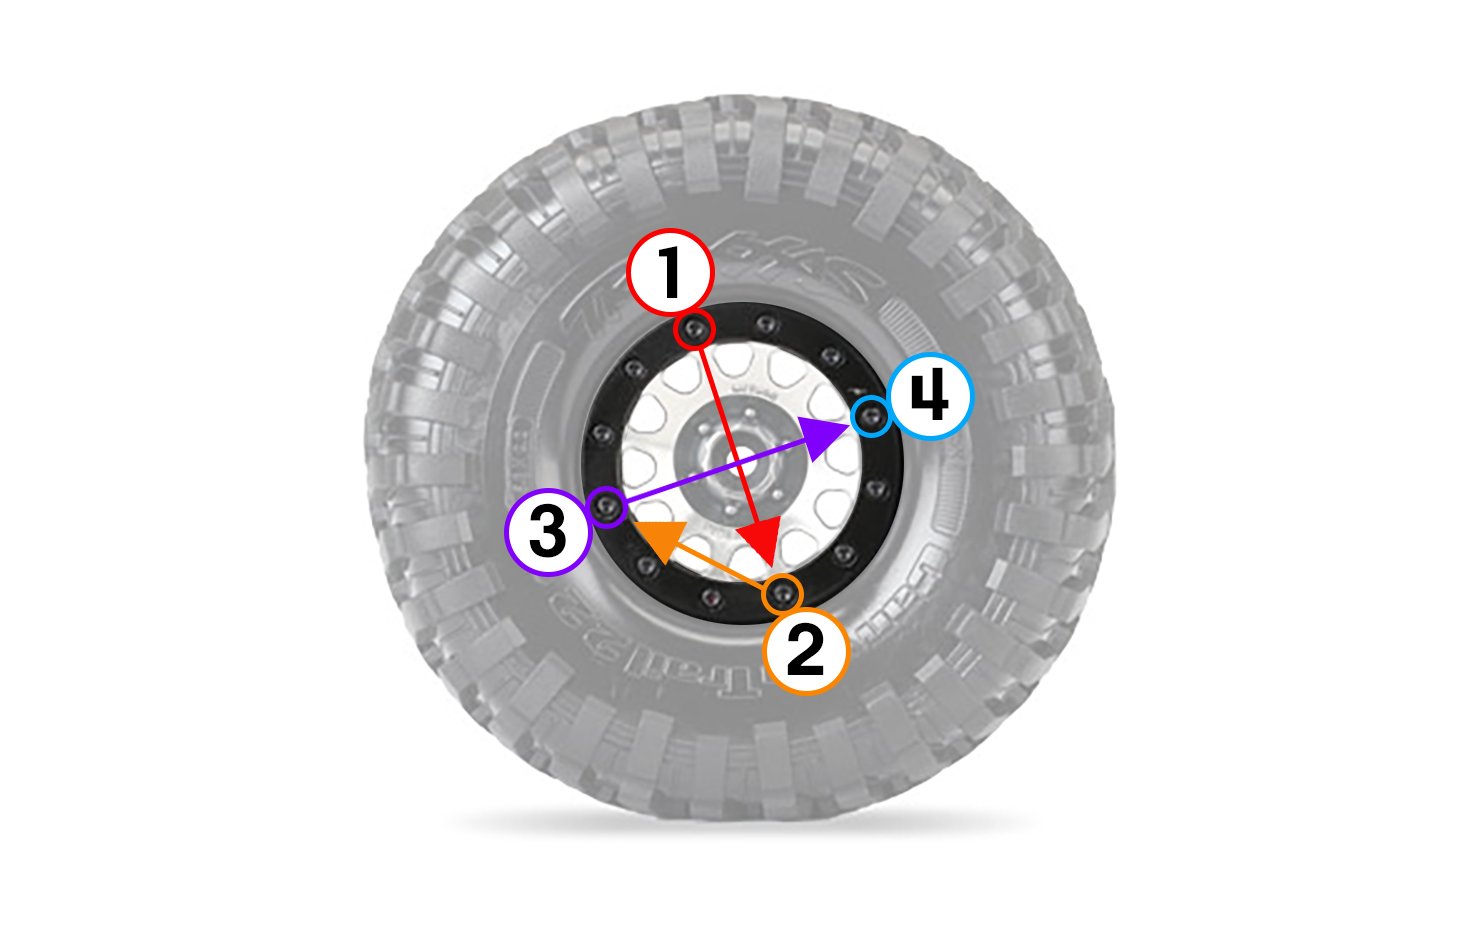
Crisscross Tightening
When installing a beadlock ring, start with four screws evenly spaced around the wheel and thread them in a few turns at a time in a crisscross pattern until the ring has pushed the bead into the channel. Now install and tighten the remaining screws, working your way around the rim in the same alternating pattern. This will ensure even tightness and maximum holding power.
Tighten beadlock screws a little at a time in a criss-cross pattern to ensure even tightness.