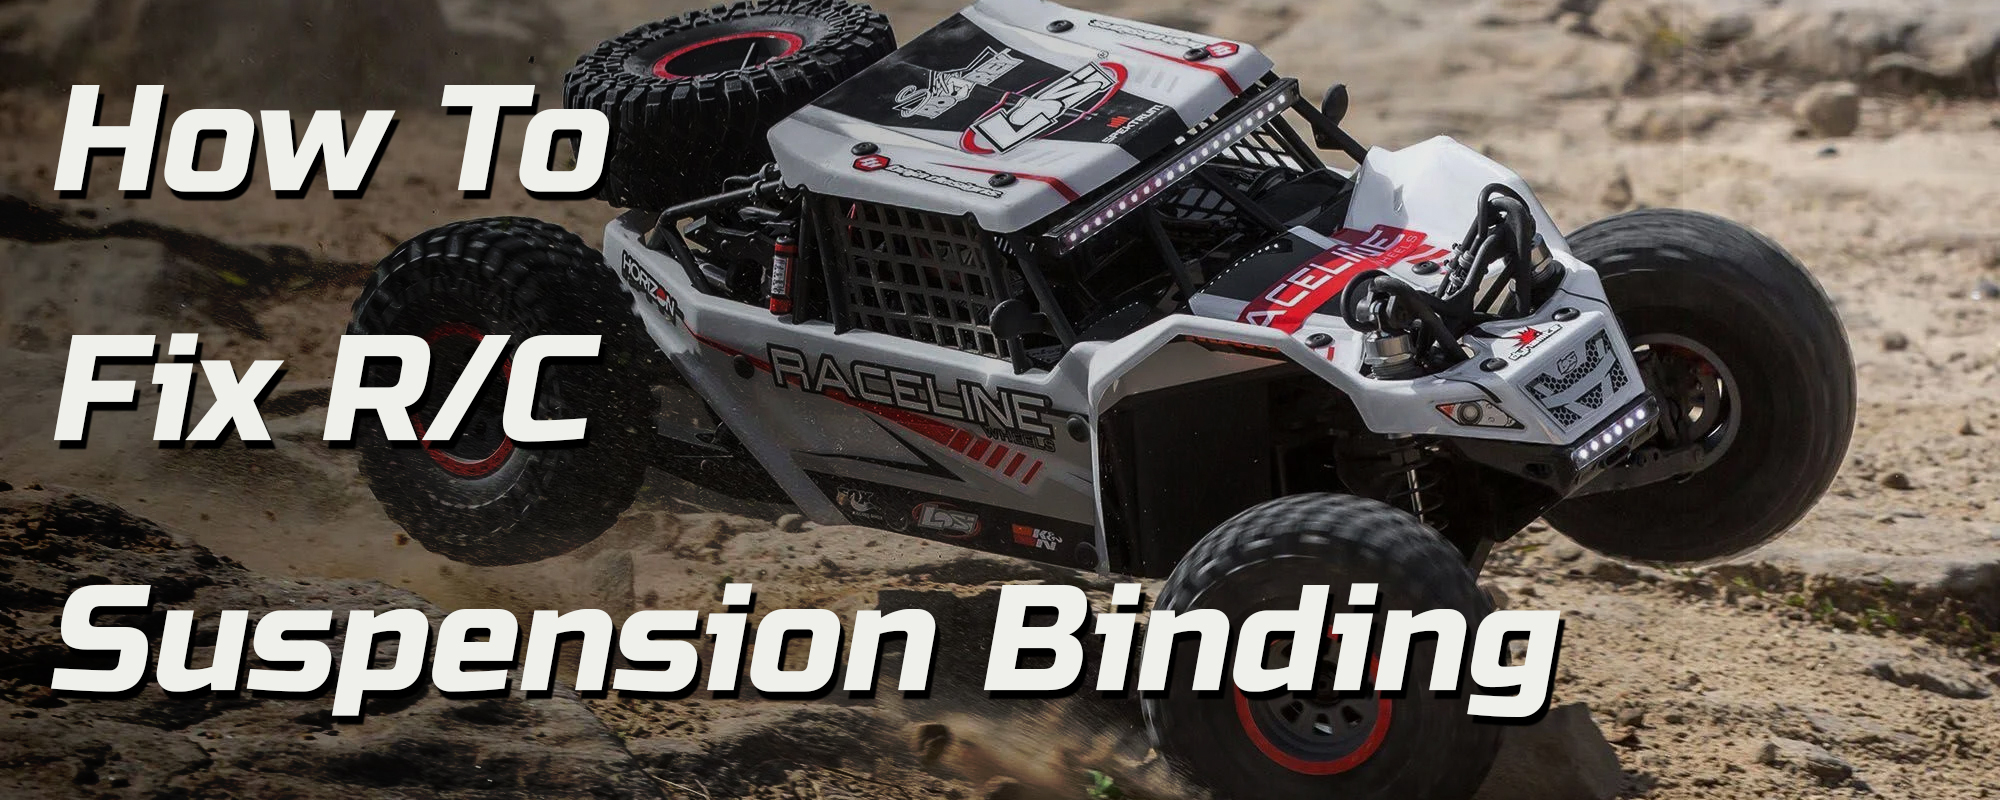
How to Check and Fix RC Suspension Binding
After a good amount of use driving in dirty conditions, or maybe just a couple of crashes, you may have noticed your RC suspension isn't working as smoothly as it once did. Causing limited suspension travel, or maybe a lack of suspension rebound, or perhaps just an overall reduced driving performance. That's why we'll show you how to check suspension binding in your RC vehicle and, of course, how to fix it.
Like with any car, the suspension in your RC vehicle is essential. Suspension movement allows you to handle the bumps and jumps, improves steering, and increases the overall stability and handling performance. It does this by keeping your tires on the ground as much as possible to generate traction.
Have you seen this old 1930s clip about suspension testing using models? It has some excellent information, and it's really cool to watch. YouTube.com/USAutoIndustry
Since smooth suspension movement is vital to your vehicle's performance, your vehicle will drive and feel bad when the suspension is bound up, limiting or resisting movement. The steering could be off, or jumping and landing performance could worsen. There are a lot of different areas in a vehicle suspension that could be binding, so we're just going to walk through it one by one.
These methods will work for most surface vehicles on-road, off-road bashers, race vehicles, et cetera. Keep in mind that the suspension in your vehicle may look a little different from ours because there are many different ways to design and engineer a vehicle suspension. But the principles that we're going to talk about will stay the same.

Pro Tip - What you need to check your RC suspension.
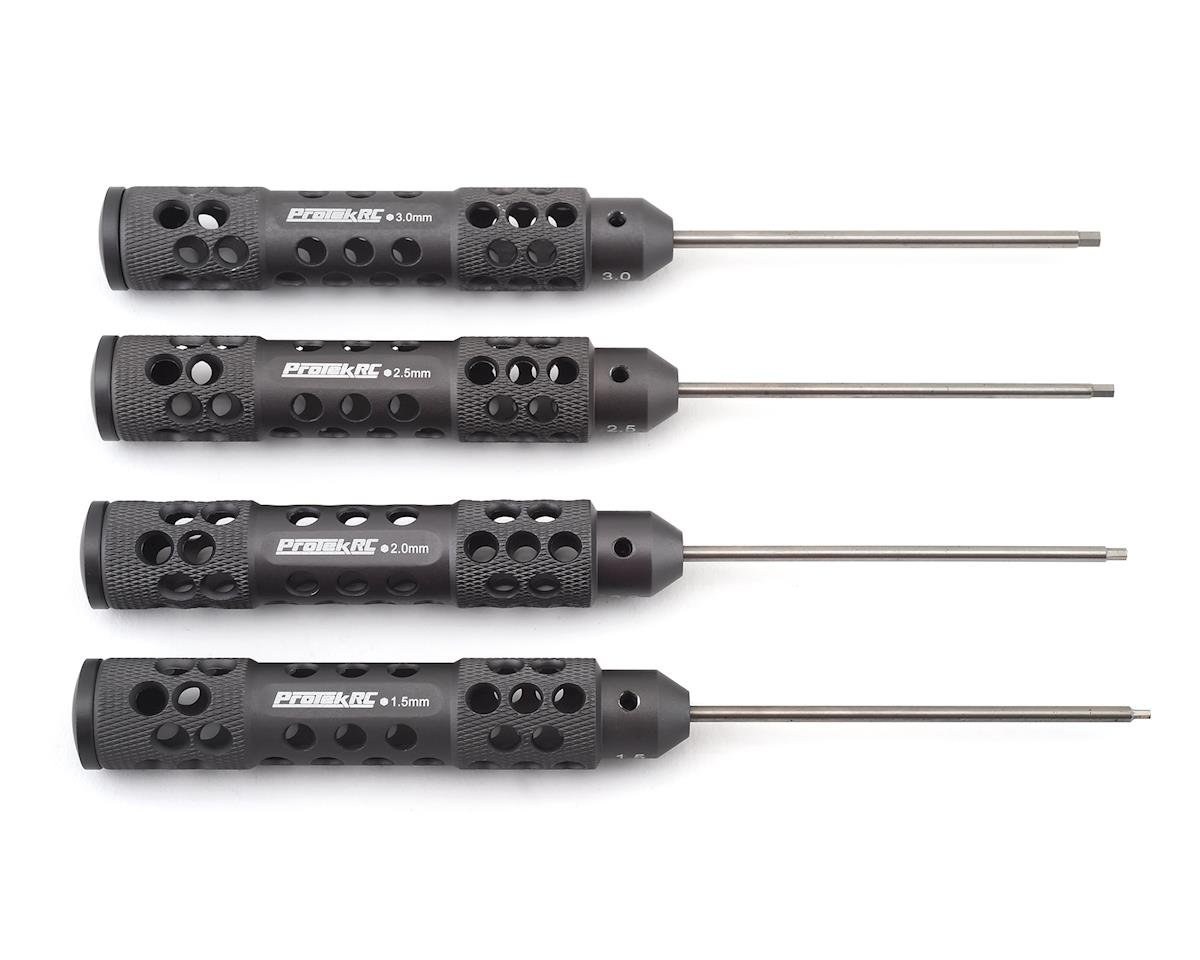
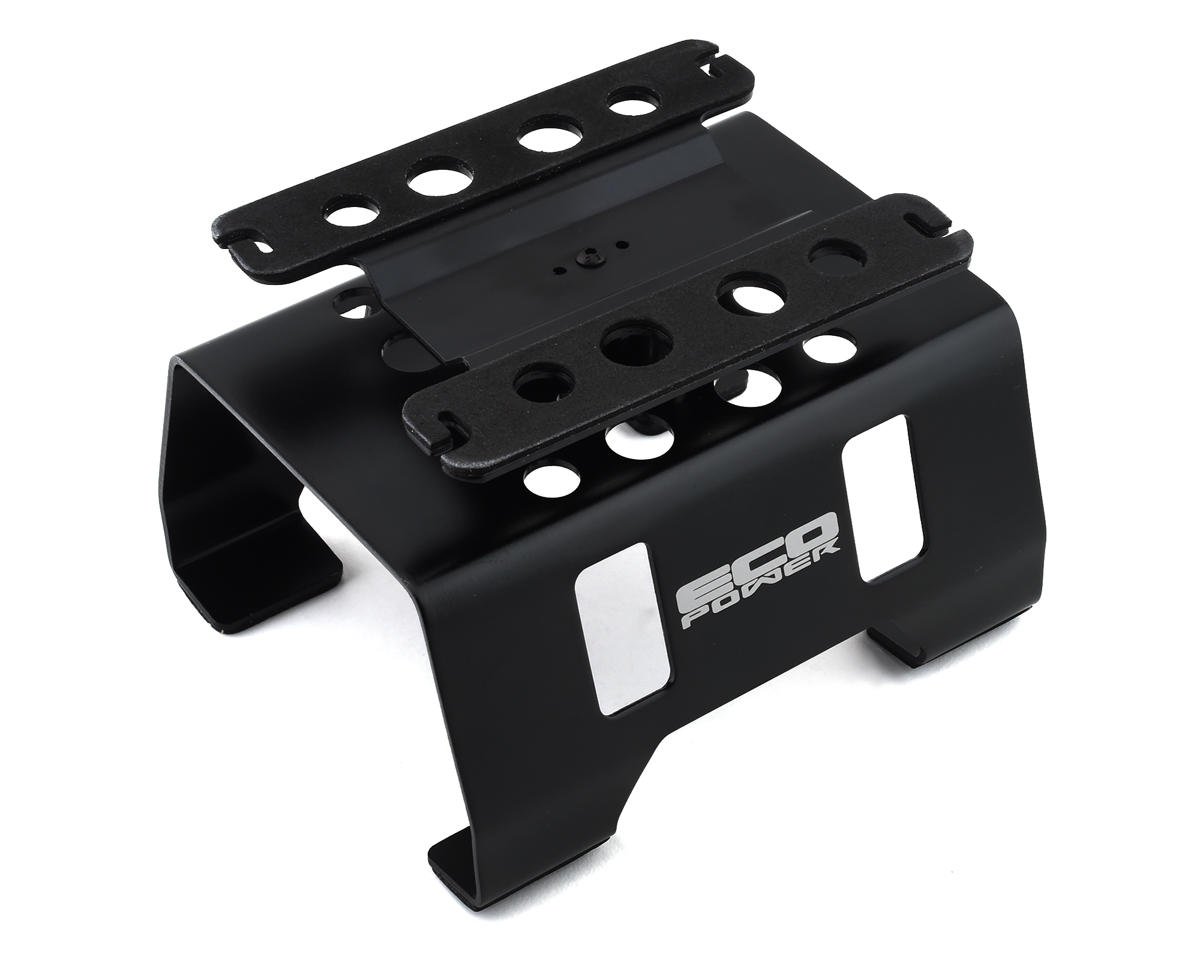
First, you will need standard hex and nut driver tools for your vehicle. Having a car stand handy will also be helpful. Finally, you should have your owner's manual for reference to disassemble and reassemble your vehicle.
What to do First When Checking RC Suspension Binding
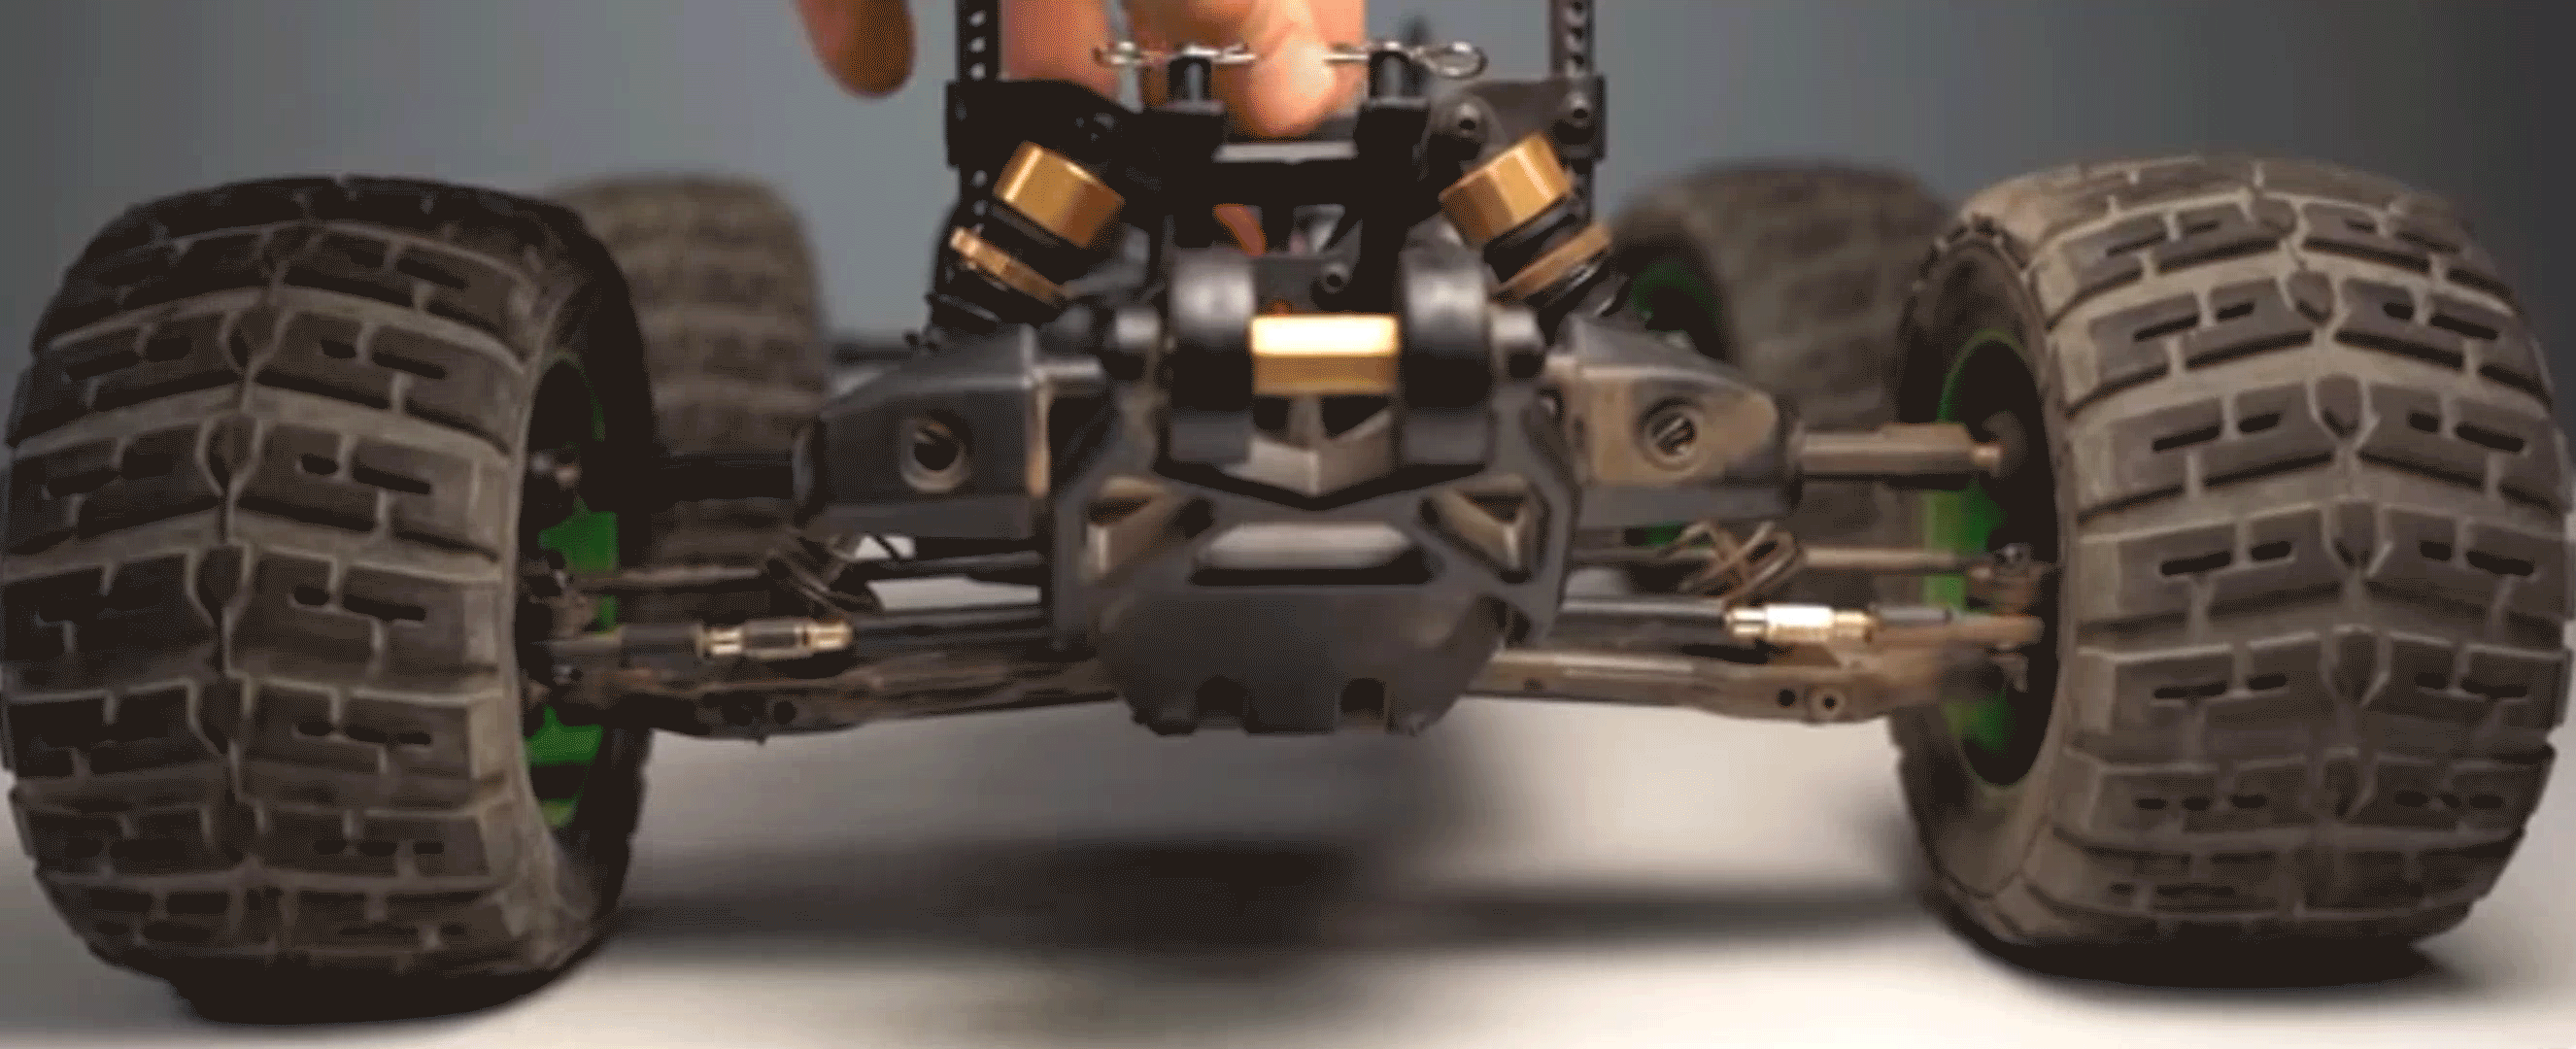
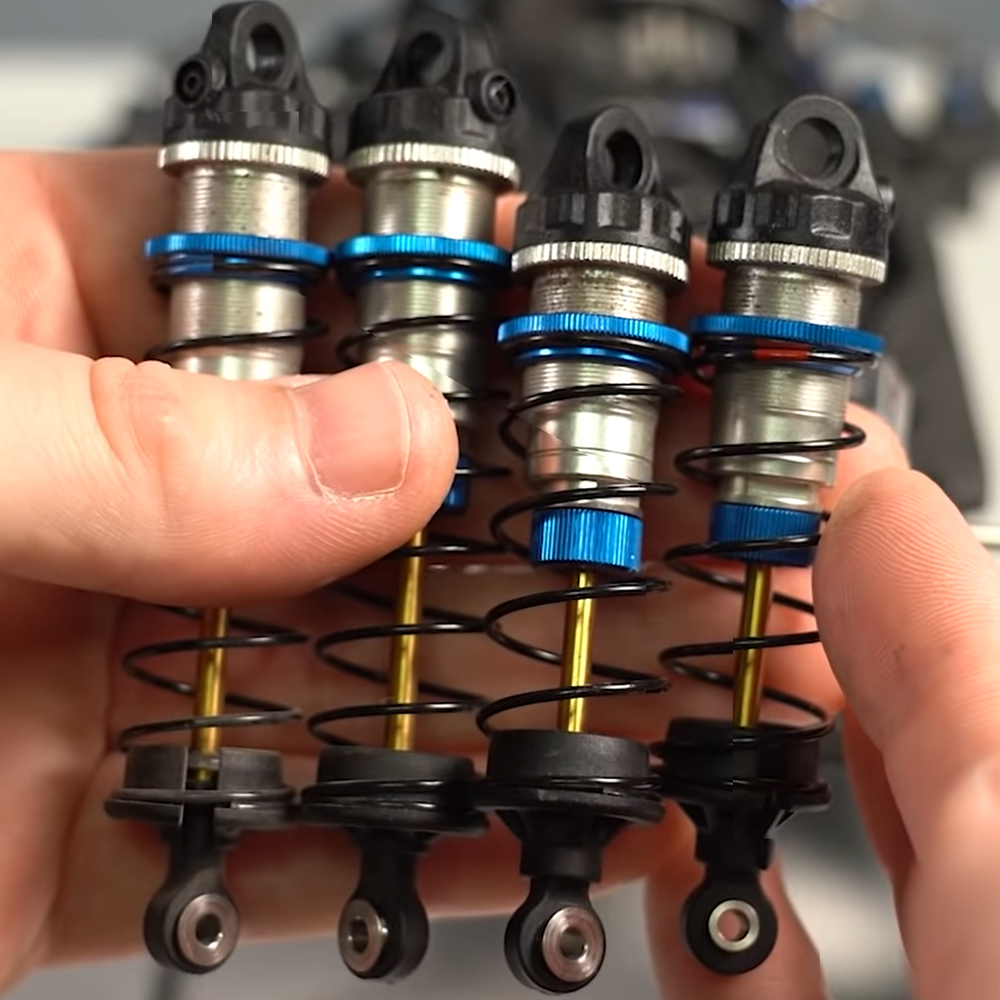
Start by taking the tires off first to remove unnecessary weight from the suspension. Next, remove the shocks to check only the vehicle's mechanical parts. Some vehicles have different length shocks on the front and the rear, so pay attention to this when you reinstall them later.

Check the Mechanical Parts
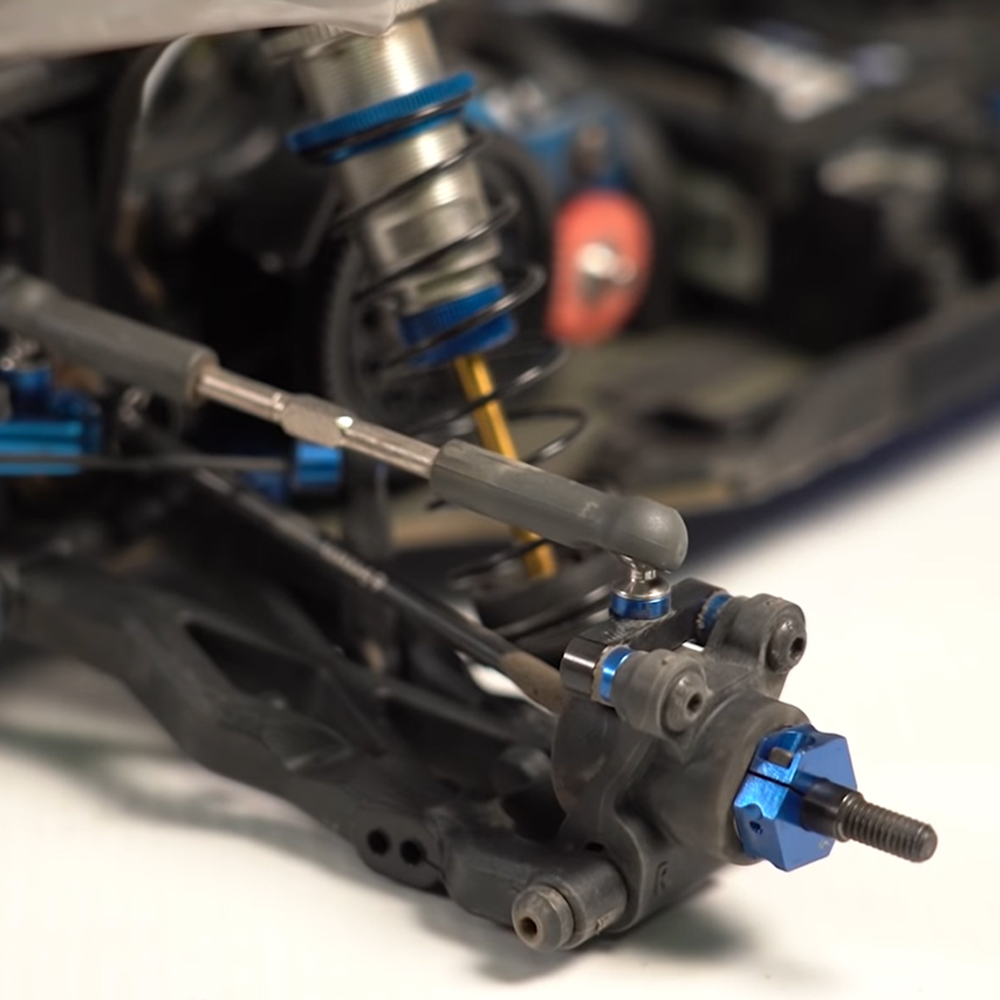
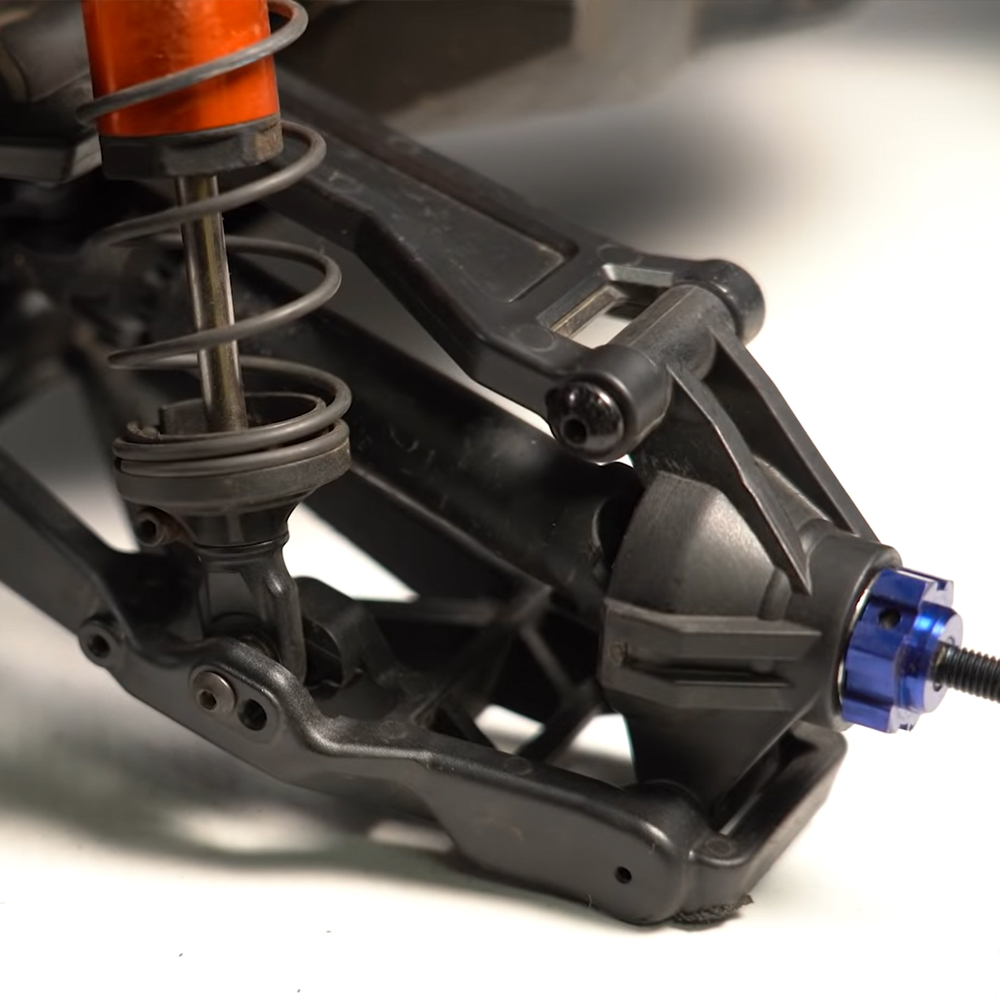
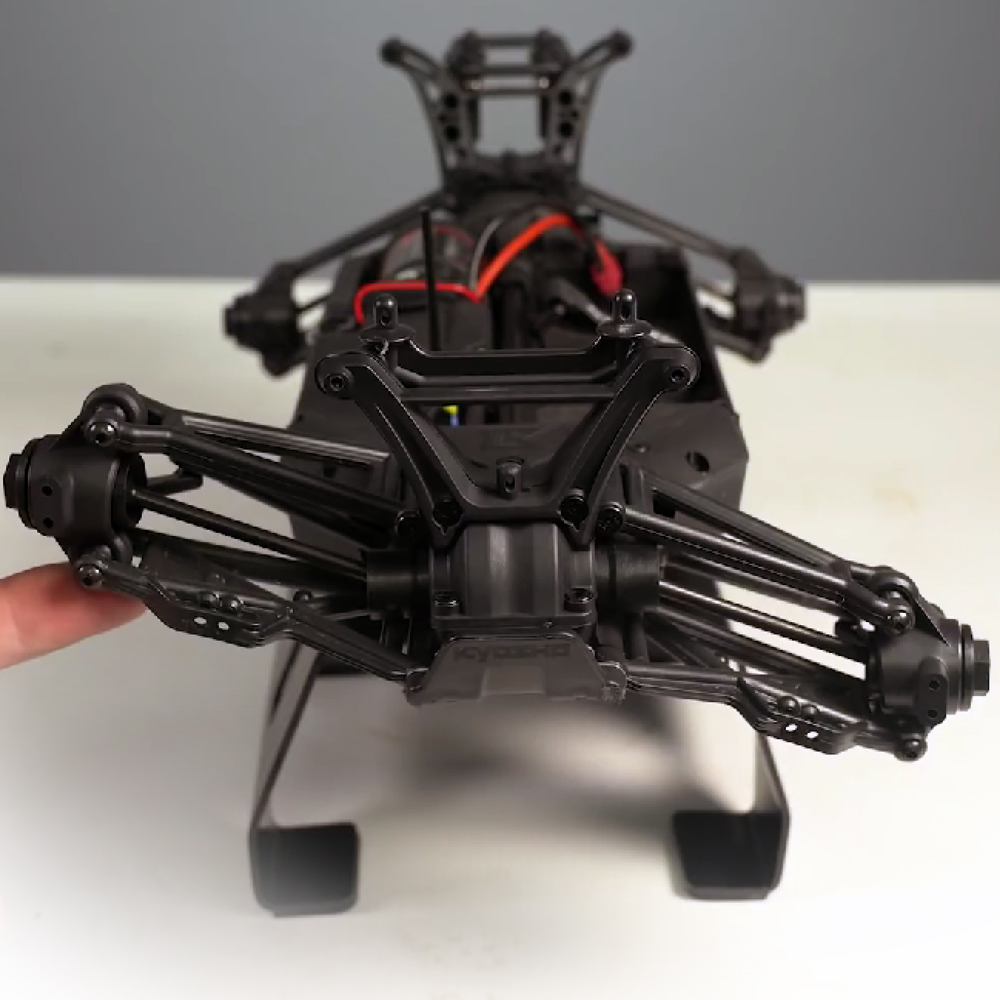
Lift the suspension arm up and see if it drops back down. If there is no binding, the suspension arm assembly will freely drop under its weight. The same goes with a solid axle underneath a monster truck or a rock crawler. It should drop and move freely under its weight. If there is suspension binding, the arm will stay up. Now go around to the other suspension arms or solid axle and check them. Again, if everything drops and moves freely under its weight, you have no suspension binding in those mechanical parts.

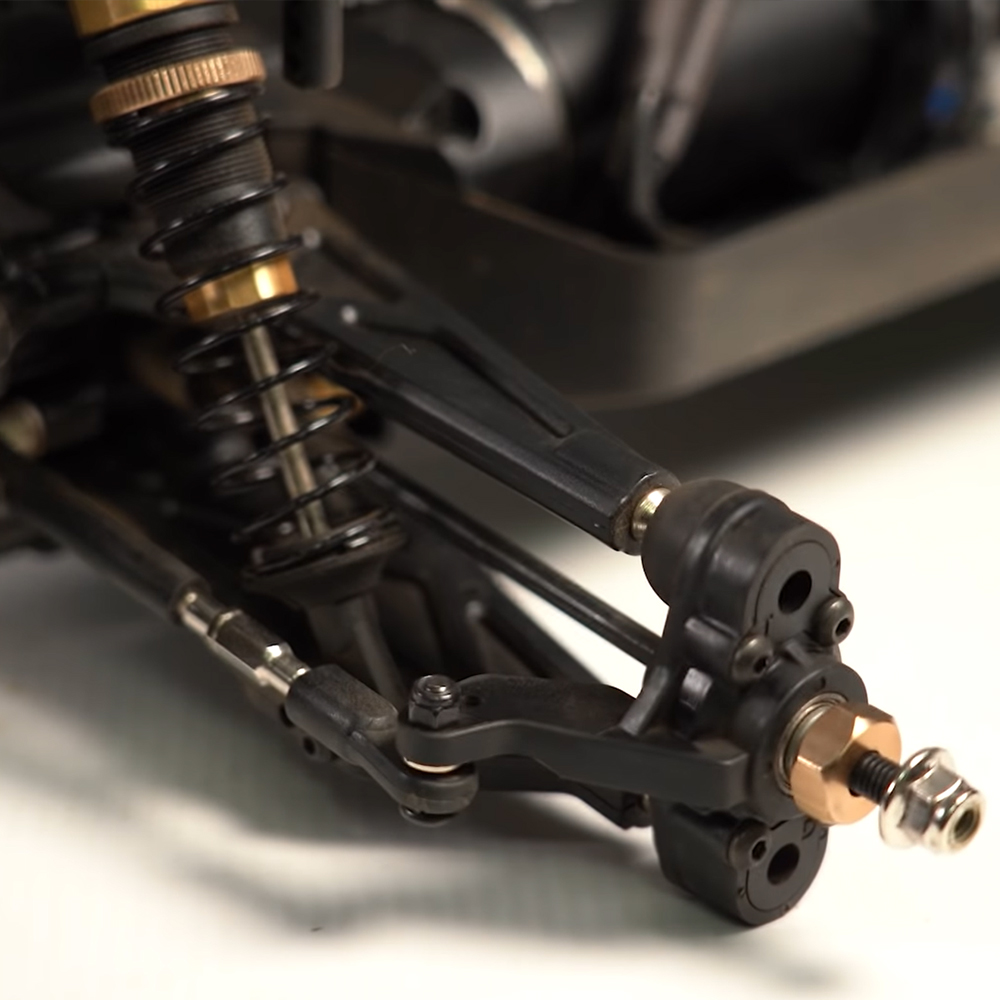
Check the Shocks
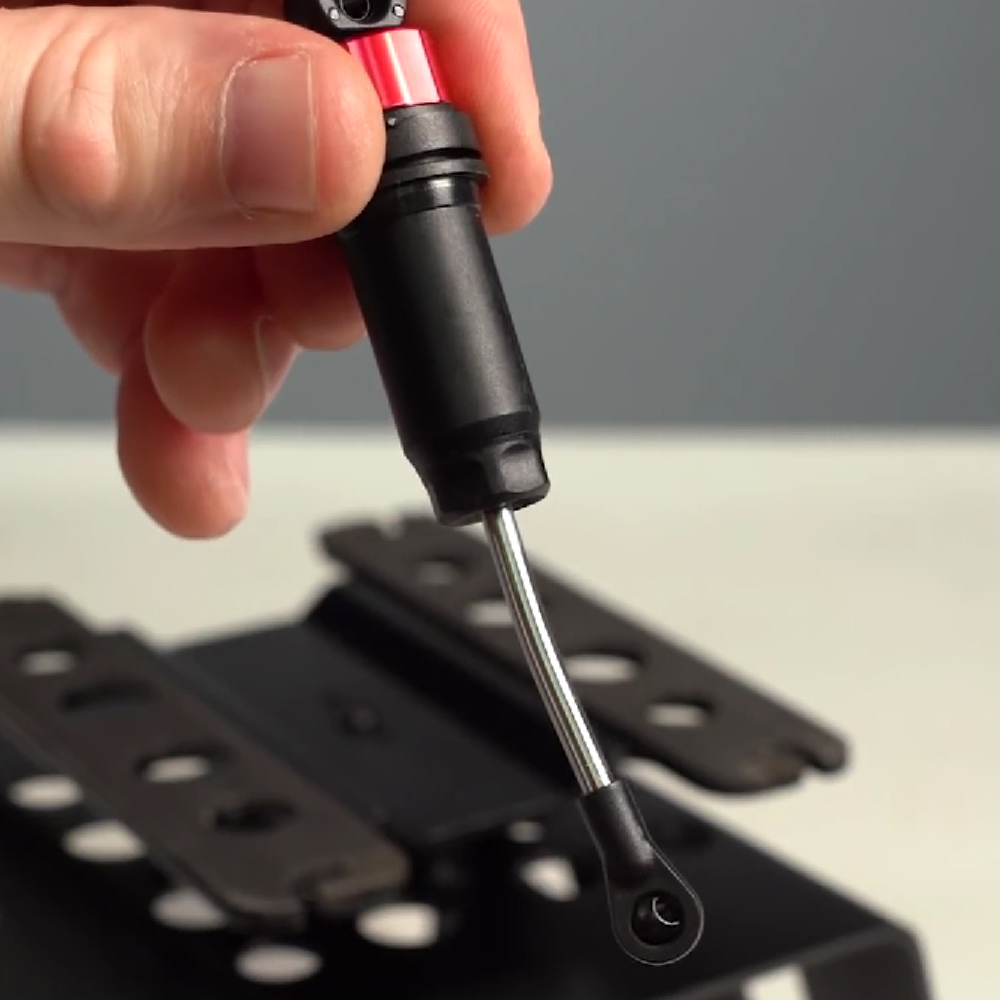
Check the shocks next by grabbing a shock and removing the bottom spring perch to remove the spring. Now push the shock shaft in and out to ensure it moves smoothly and freely. Also, visually inspect the shock shaft to ensure it is straight and true. It's uncommon to bend a shock shaft, but it can happen, and if it does, it could prevent the shaft from fully compressing or extending back out, which would bind up your suspension. If you have a bent shock shaft, it needs to be replaced with a brand new one.
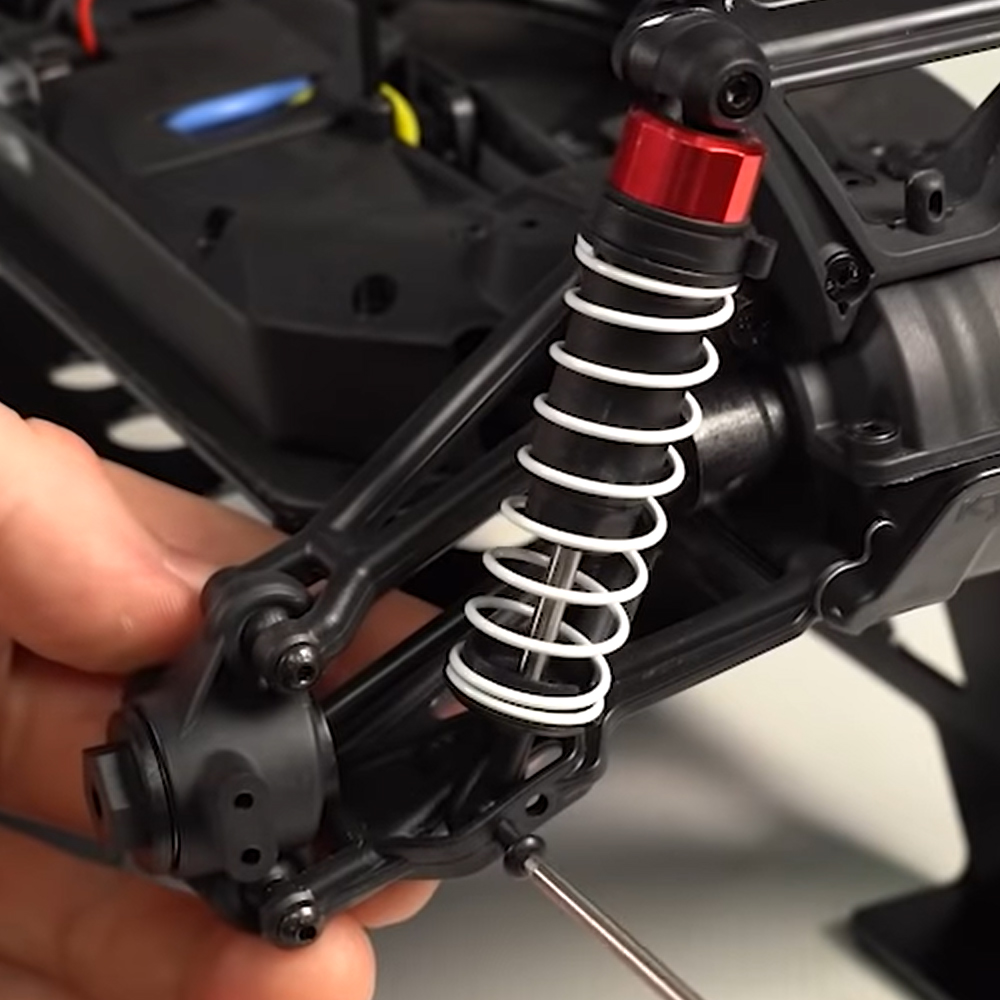
If all shocks are smooth and free of binding, put them back together and reinstall them on your vehicle. But be sure not to over-tighten the top and bottom mounting points. The shock should have a little wiggle movement at the top and the bottom, allowing it free movement to pivot at these points. Once you're done with that, you can put the tires back on and go have fun. But if you did have binding, this is how you fix it.
How to Fix Your RC Suspension Binding Issue
If your shocks are fine, but you have some binding in the mechanical suspension parts, you will need to do a little troubleshooting to pinpoint precisely where the binding is.
Adjust Your Sway Bars
If your vehicle has sway bars, disconnect them from the suspension arms and ensure the bar moves up and down freely. If it's bound and tight, you will need to adjust the attachment screws until the bar moves freely.

Replace Your Hinge Pins
Often, with independent suspensions, the binding is due to a bent hinge pin. Hinge pins need to be straight and true to allow the other parts to rotate on them. Because of this, replace any bent hinge pins with brand new ones. Sometimes you'll find the hole for the hinge pin is too small, making it tight, leading to binding. This can happen on a suspension arm or a hub.
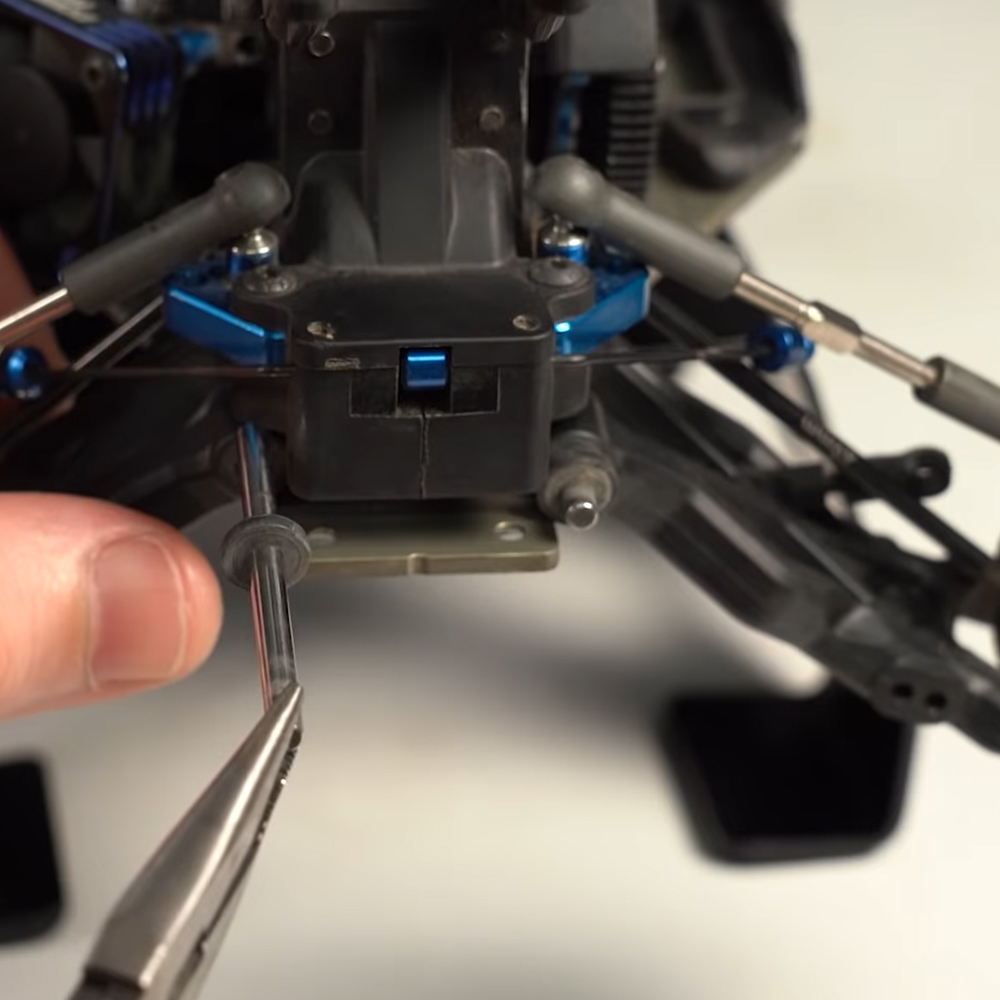
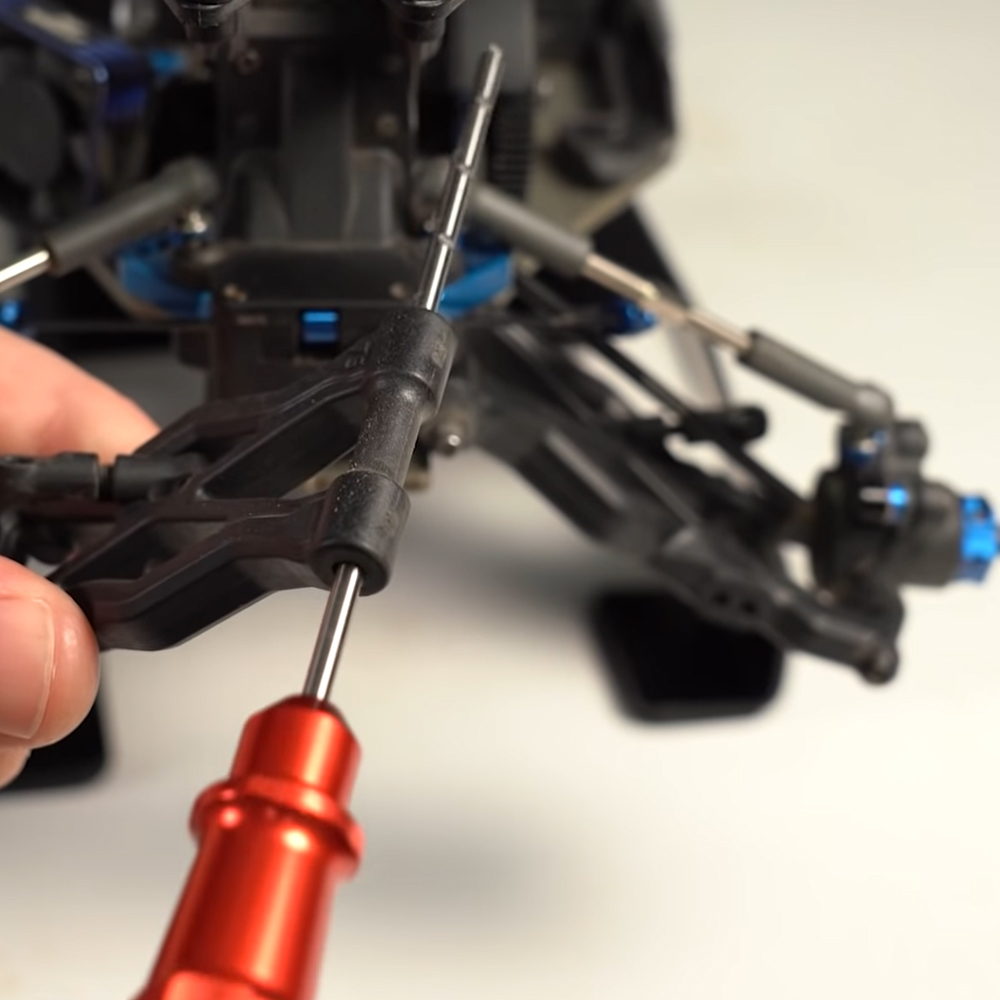
To help with this, you can pick up a hole reamer that will clean out any debris from the hole and open it to the exact size of your hinge pin. You can also use a drill bit, but it must be the same size as your hinge pin. Otherwise, you'll make the hole too big, leading to suspension slop—and we don't want that. You only want the hole big enough to allow the pin to slide in and out without friction and no bigger.
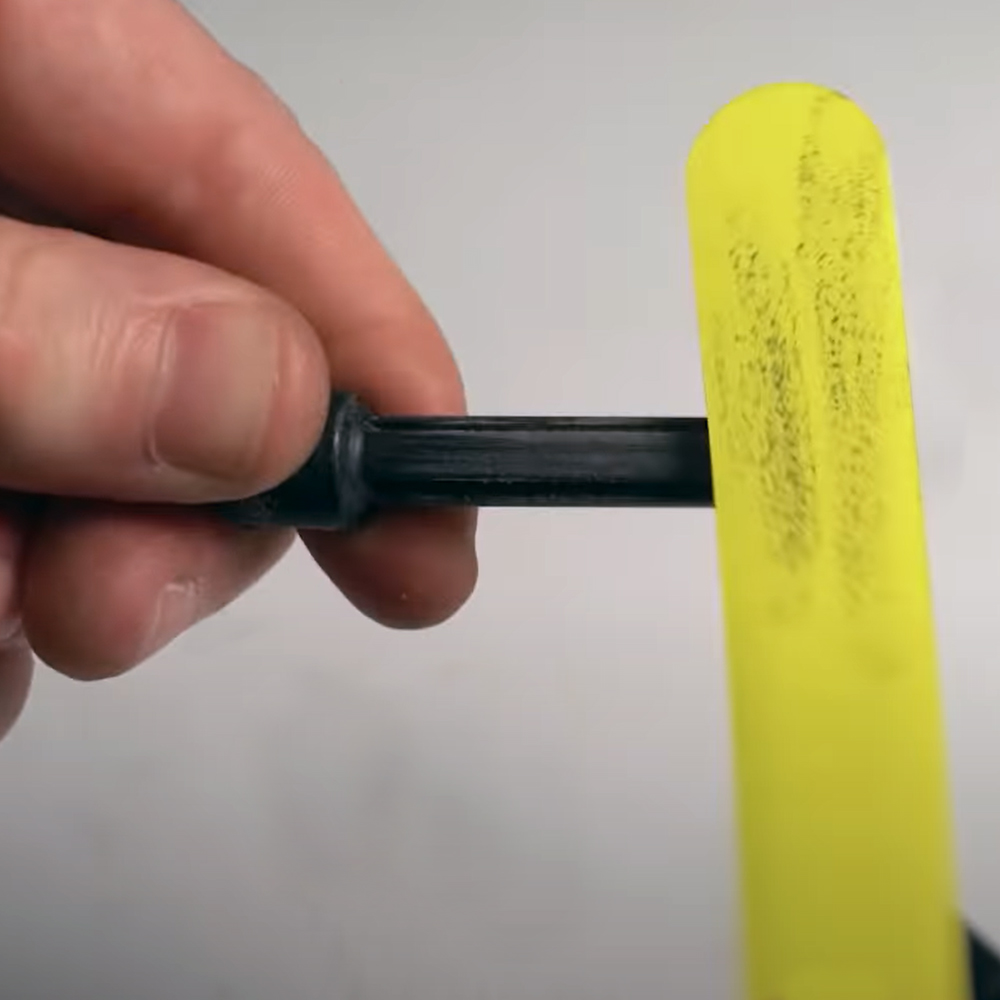
Asymmetrical Plastic Parts
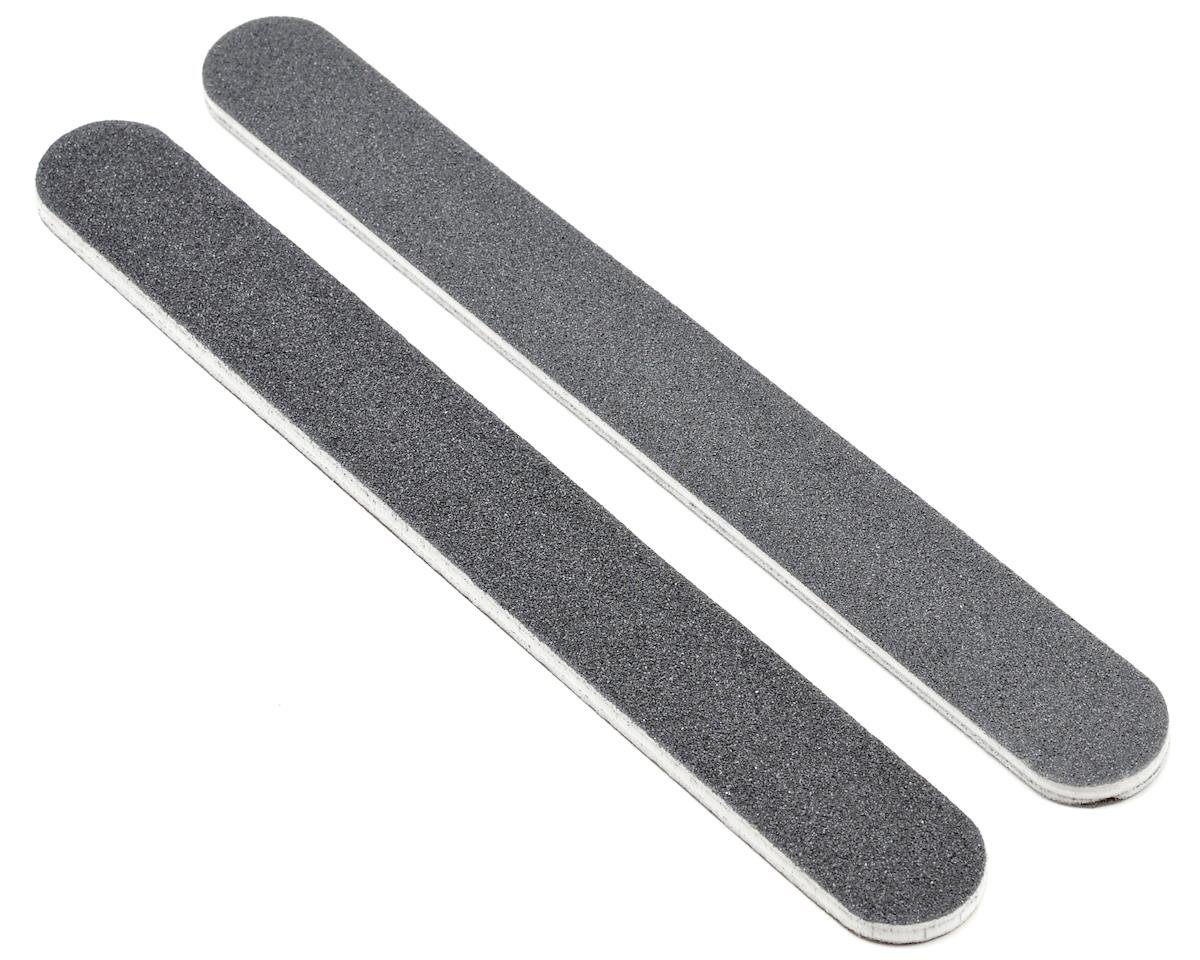
Another common area of suspension binding is when two plastic pieces are slightly off size. As a result, their tolerances aren't quite right, so it leads to a fitment that's too tight. For example, this top arm binds on its mouth because the two pieces do not fit properly together. To fix this, we'll take sandpaper or a sanding stick and sand down the inside of the arm very slightly. Of course, you could also sand down the mount, but the arm is just easier to access.
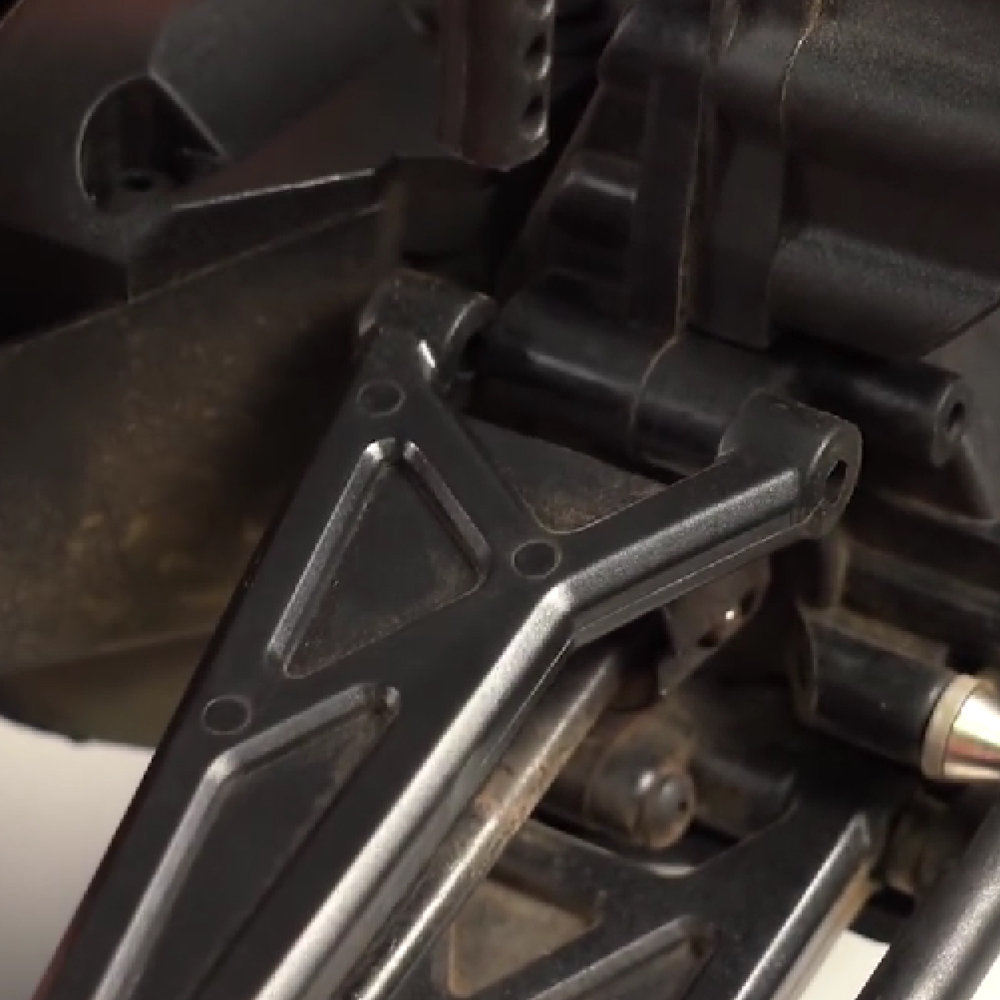
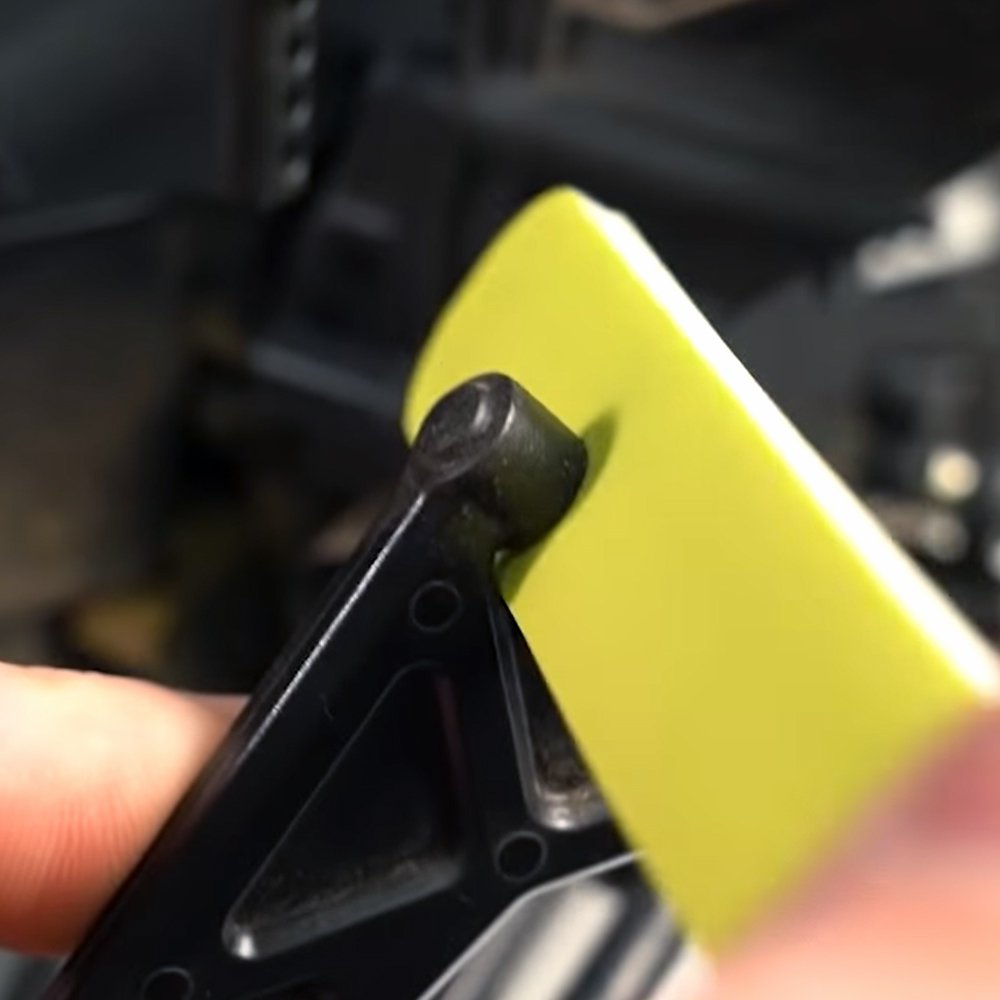
After some light sanding, we'll refit the pieces to test their movement and then repeat this process as necessary until they mate together with no friction. This type of binding can also happen between the hub and the arm and even with steering pieces.
Pro Tip:
When sanding, be careful you don't sand too much, or you will have suspension slop.
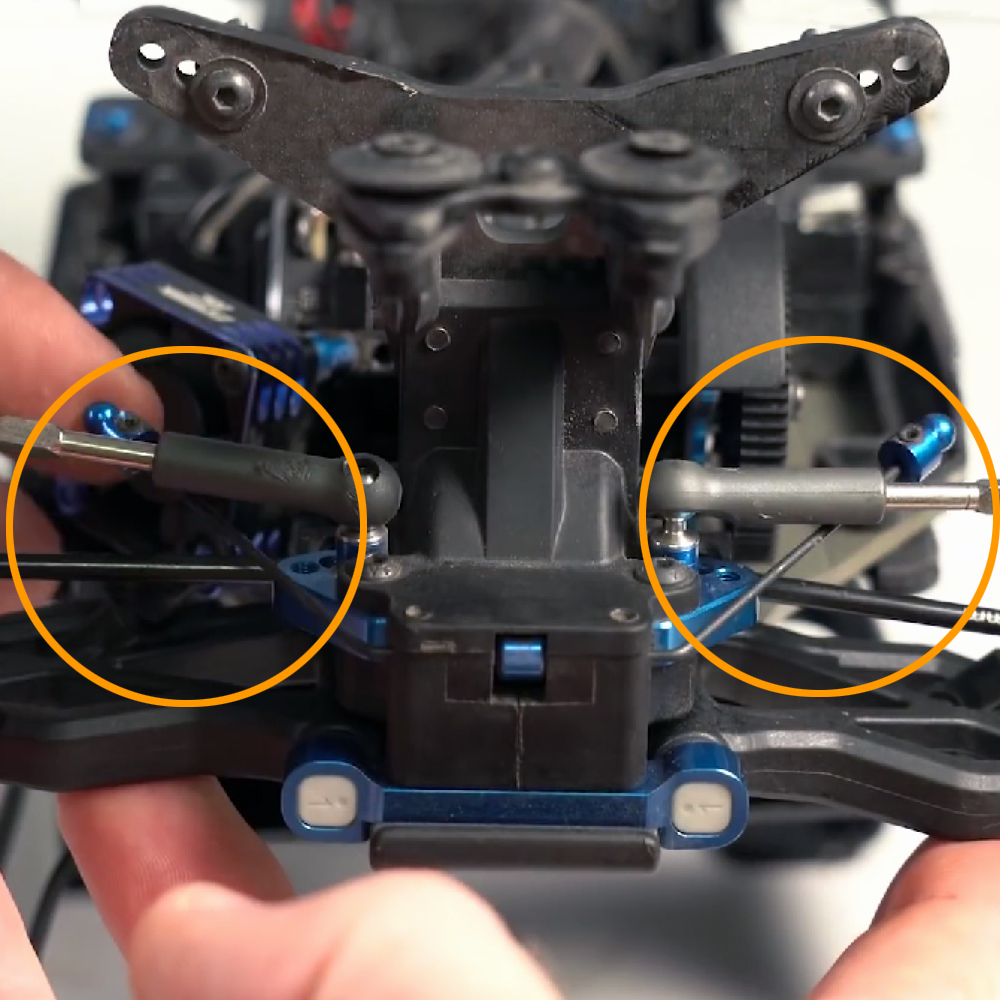
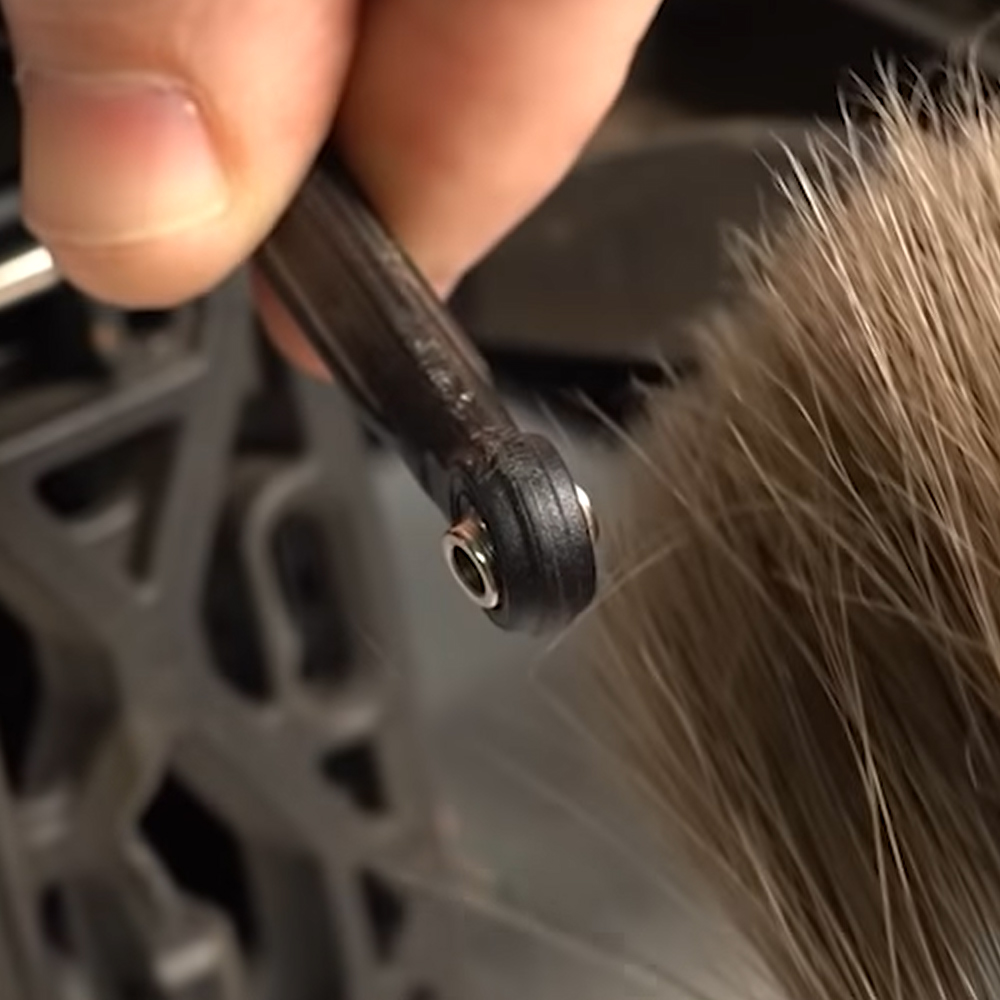
Clean and/or Repair the Turnbuckles and Ball Studs
Other uncommon areas that might be causing you to bite are the turnbuckles and ball studs. First, give the ball cup a wiggle. It should move a little on the ball stud. If it's tight and bound, remove the ball cup and clean the inside and the top—sometimes dirt can collect in there. You can also try replacing the ball cup with a new one if the turnbuckle has been overtightened—it can go through and hit the ball stud.
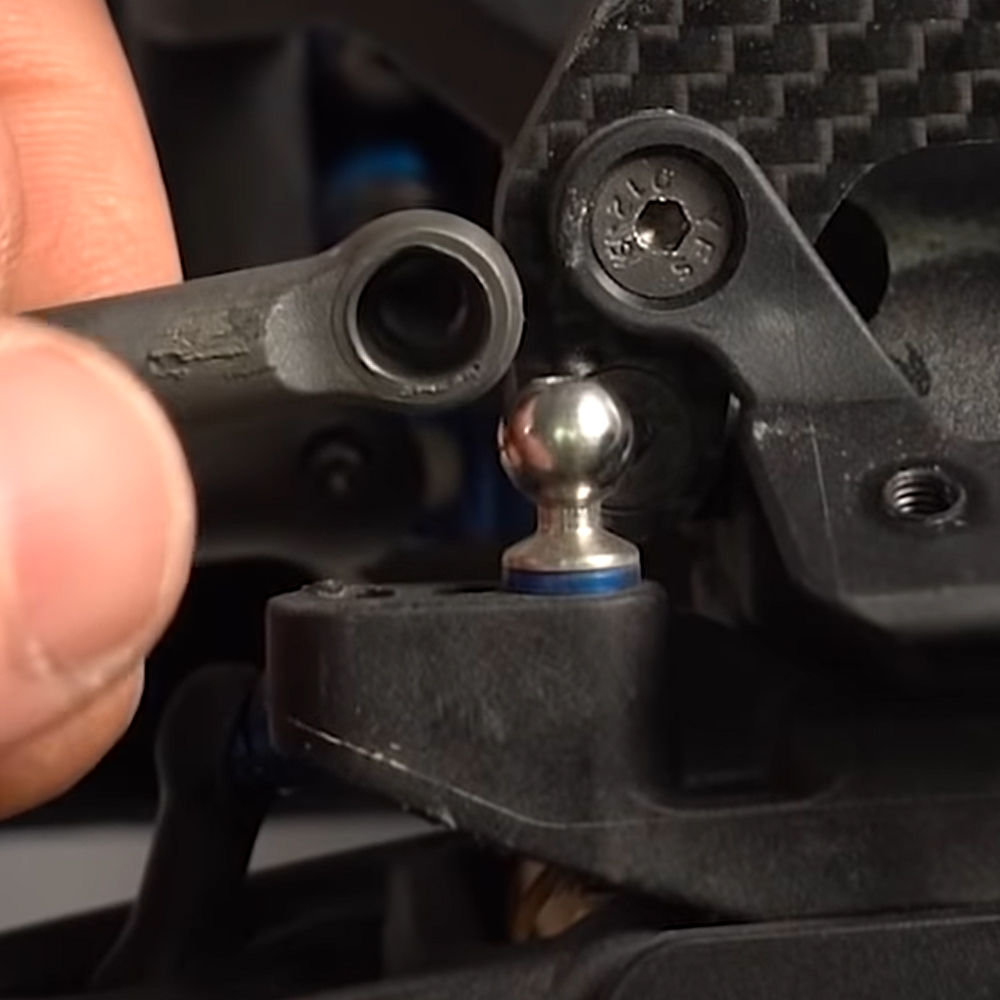
If this is the case, loosen the turnbuckle or replace it with a shorter one. If nothing else works, maybe the tolerances with the ball cup are just off slightly, so you can try pinching the ball cup a little, and that may help loosen it if it's overly tight.
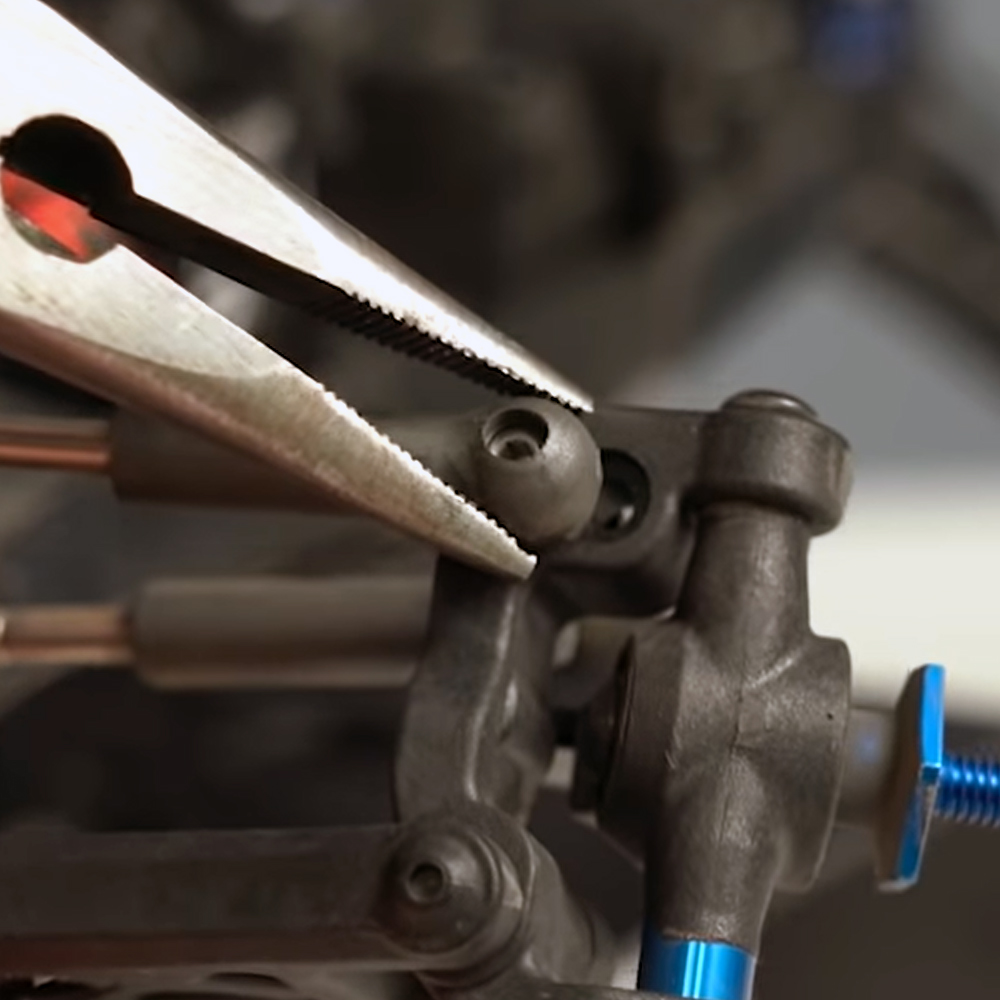
Don't Over Tighten
With turnbuckles that use a captured rod end and pillow ball, it is possible to over-tighten the turnbuckles, so you know what to do. It's also likely that the two pieces are dirty, so clean them out. But, be careful not to over-tighten the screw when attaching the link, and always ensure it wiggles a little when you're done attaching it. This is important for rock crawlers with link suspension and vehicles with trailing arms.
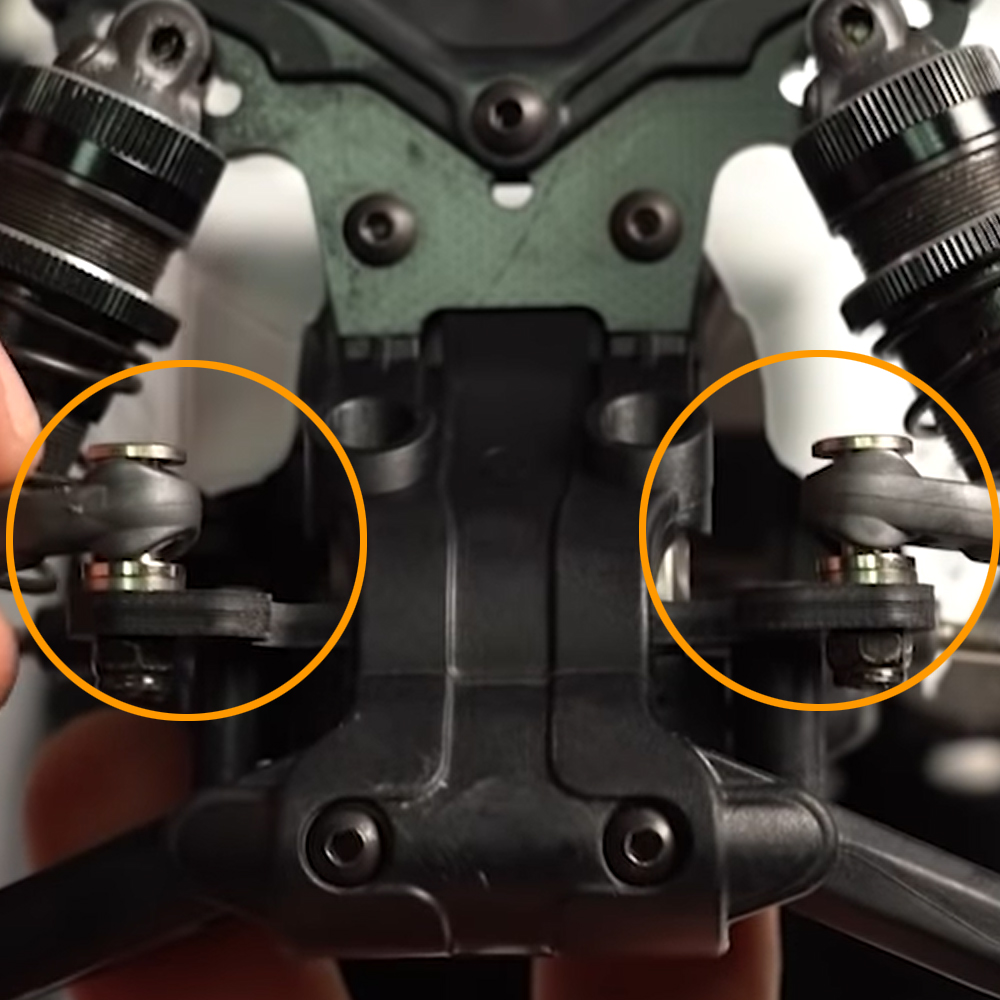
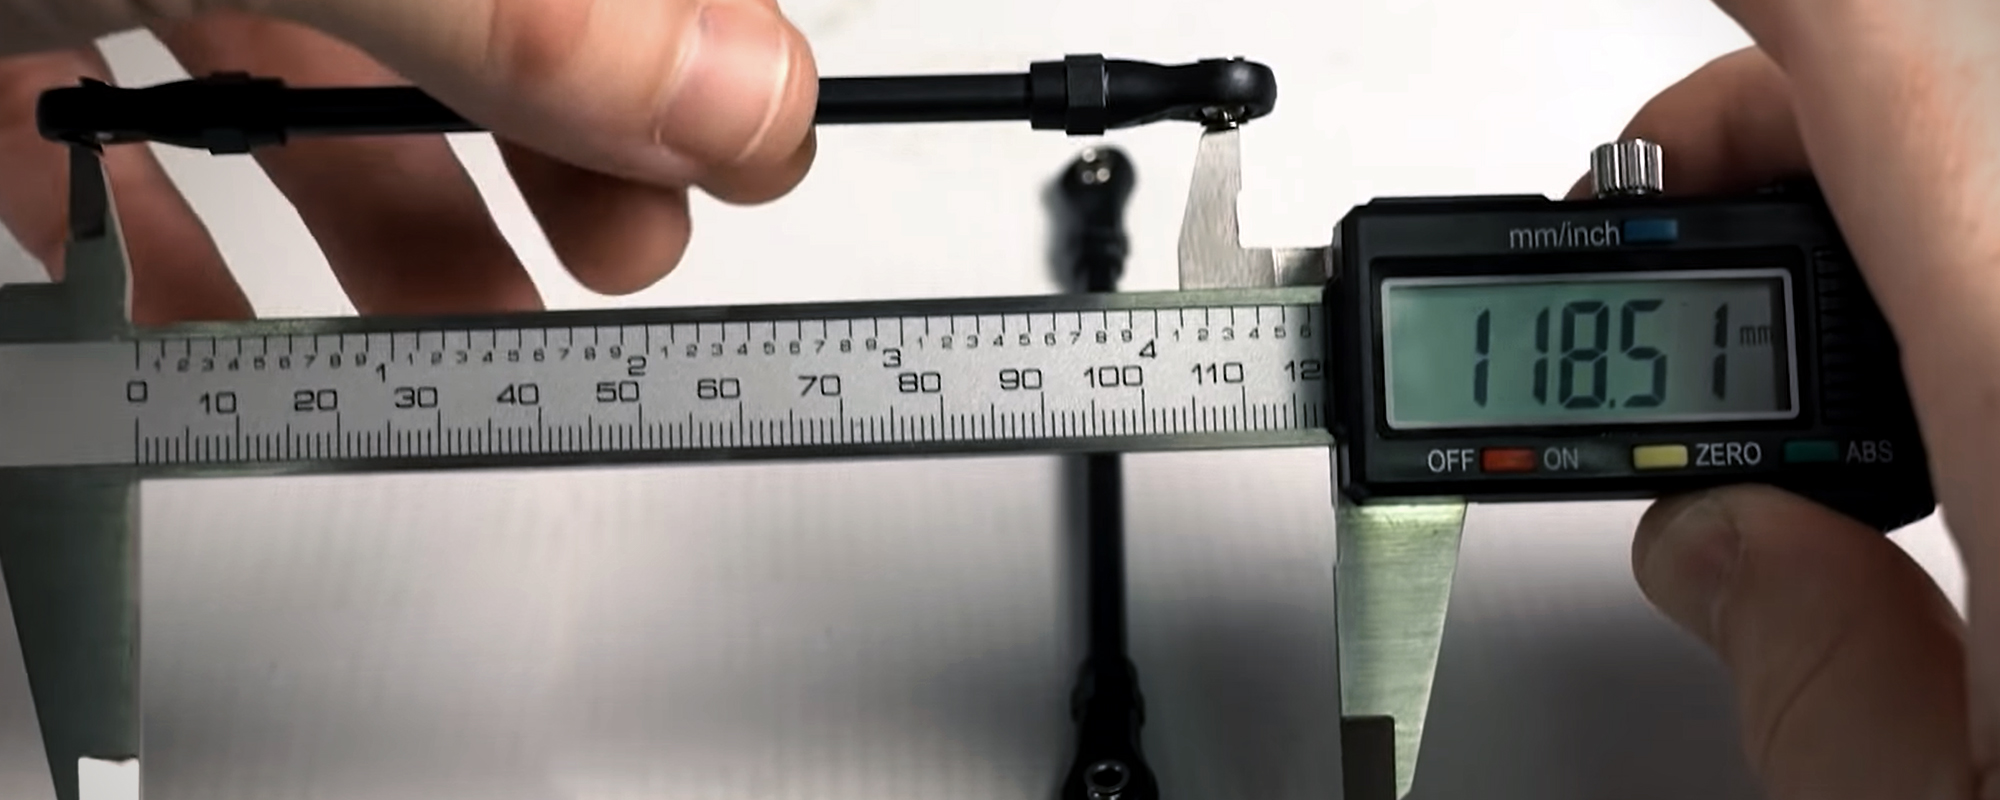
Measure Accurately
The link suspension on a rock crawler could be bound up if the links are not a symmetrical size left to right. In that case, you can use calipers or link measuring tools like the Link Master to measure and reset the link size correctly.
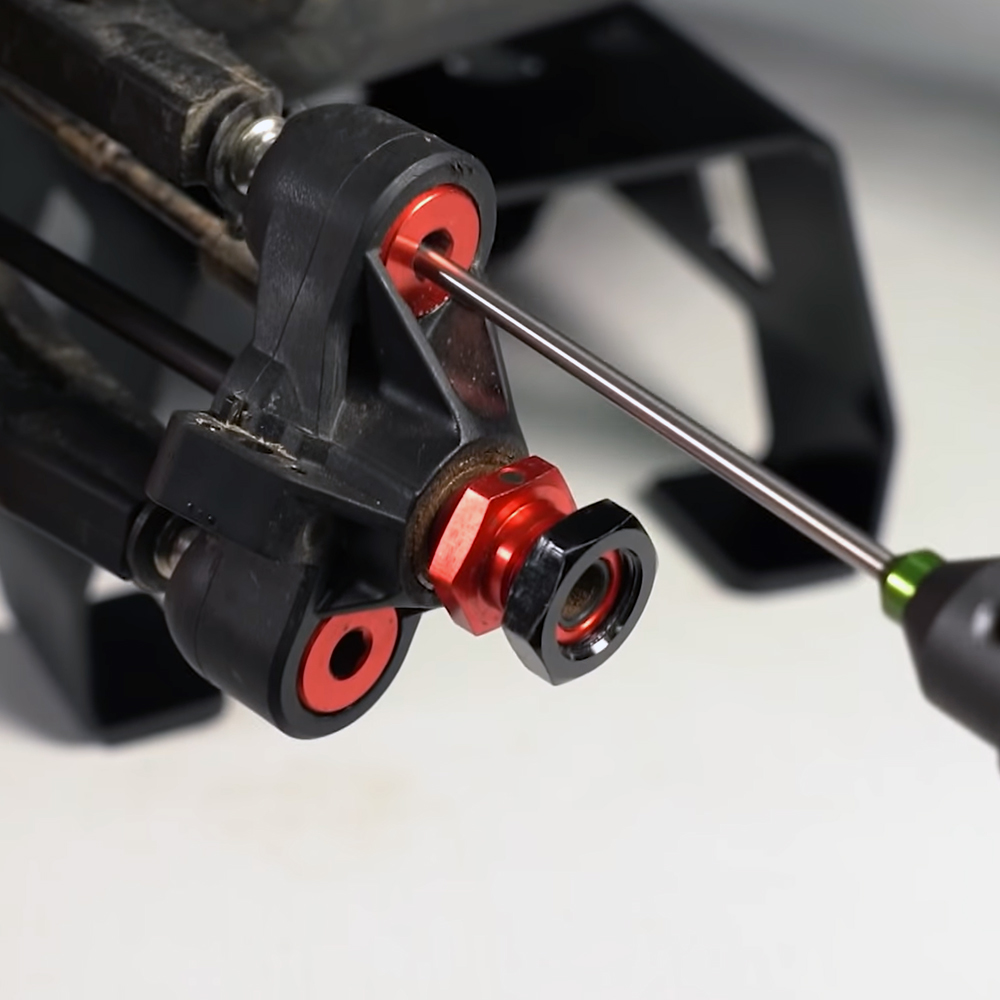
Allow a Little Play with the Pillow Ball
Vehicles that use a pillow ball hub may experience binding if the ball is too tight. When tightening the pillow ball nut that's inside the hub, tighten it down all the way, but then back it out maybe half a turn. The pillow ball should have a little play inside the hub to move freely and drop under its weight.

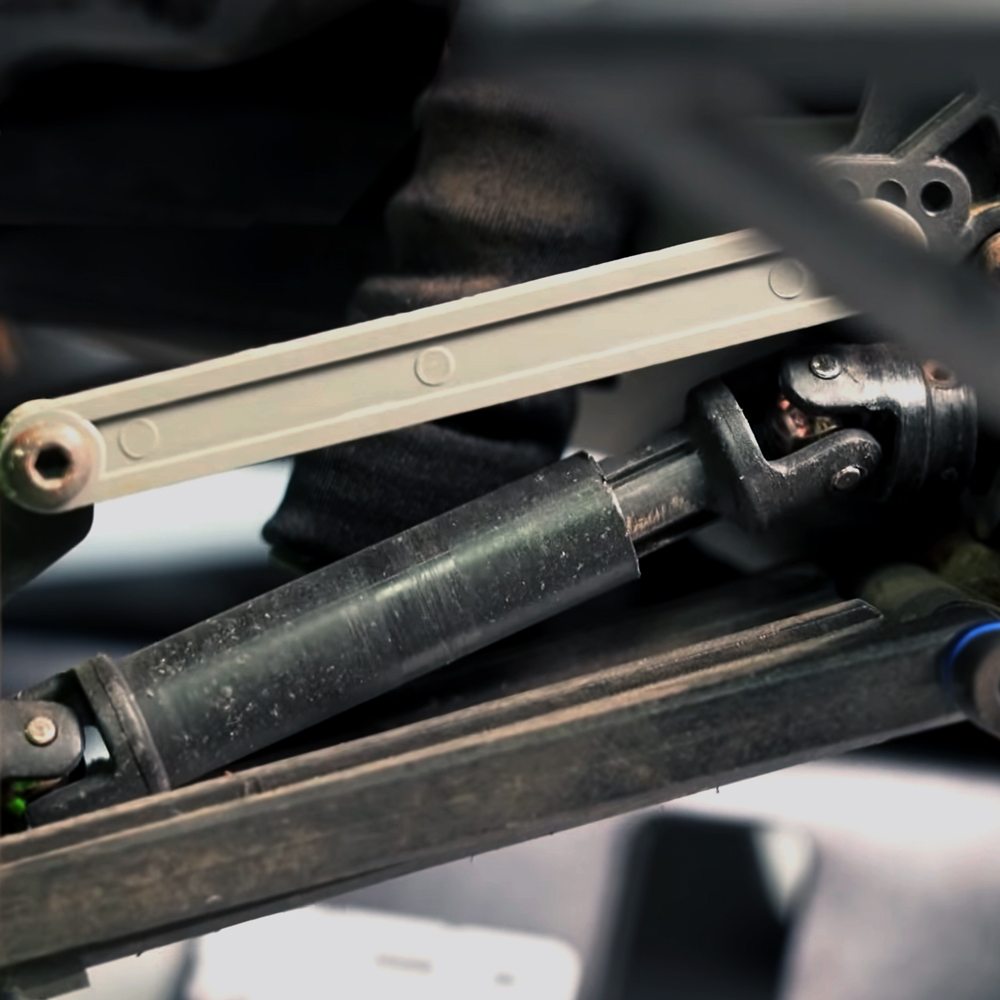
Telescoping Driveshafts May Be the Culprit
Lastly, although uncommon, another area of binding is plastic telescoping driveshafts. If these drive shafts don't slide in and out smoothly, they may cause binding as your suspension moves up and down. To fix this, sand down the outside of the metal piece slightly and then test the fitment. The two pieces should slide together without any friction. Just repeat this process as necessary but be sure you don't sand too much.
Summary
We know this seems like a lot to check but always look at the suspension pins first. We like to go from the inside and then work our way out, and then if we still haven't found it, we'll go up top to the link or upper arm. When reassembling, be careful not to over-tighten any screws, especially the two shock mounting points. Give them one last wiggle when you're all done, and you should be bind free.
Watch Brett's Review
How to Check & Fix R/C Suspension Binding
Watch "How to Check & Fix R/C Suspension Binding" on our YouTube channel, and while you're there, be sure to check out more how to and product review videos.
Featured Items
ProTek RC "TruTorque SL" Metric Hex Driver Set PTK-8416
EcoPower Rotating 1/10 & 1/8 Aluminum Car Stand w/Shock Holder ECP-3001
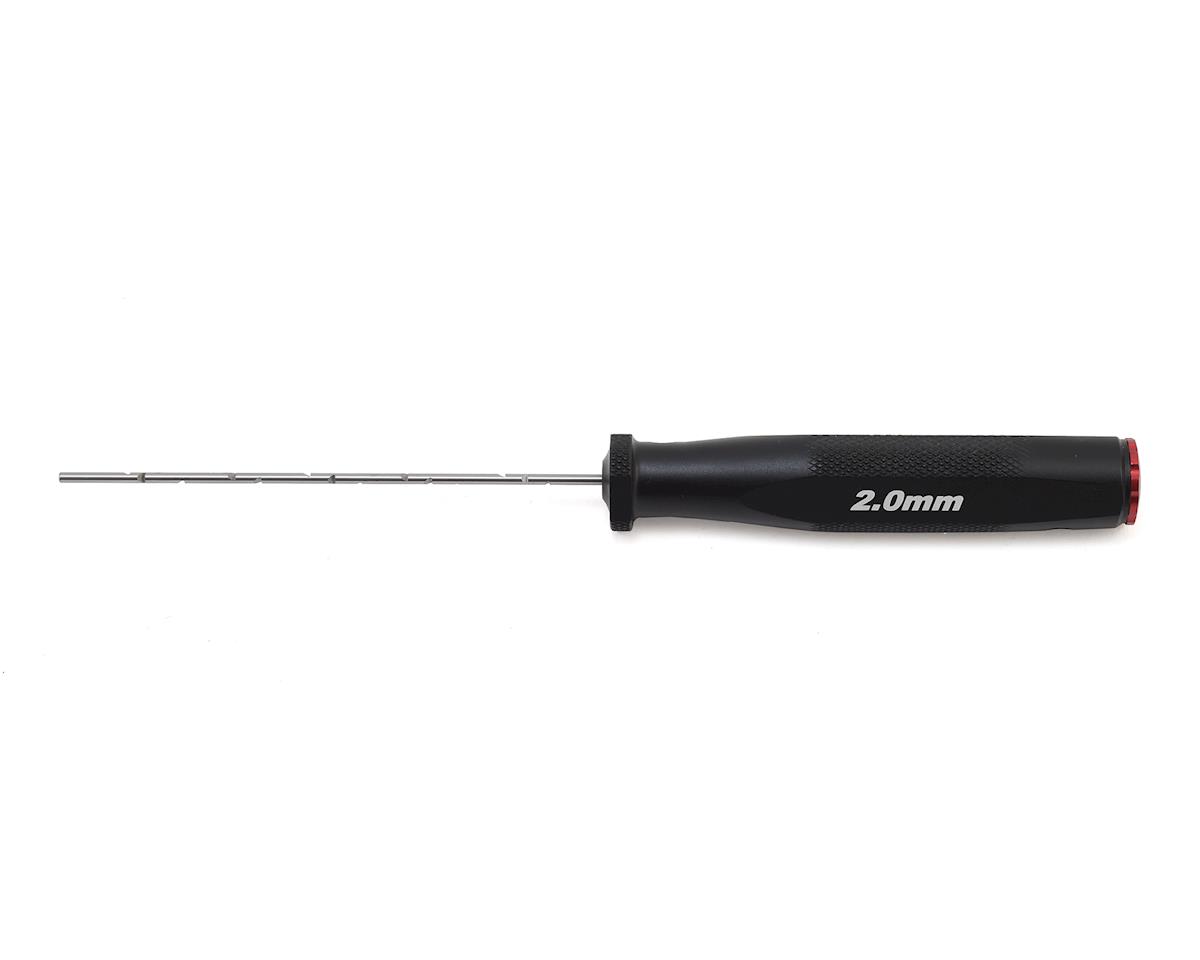
Kyosho KRF Arm Reamer (2.0mm) KYO36132
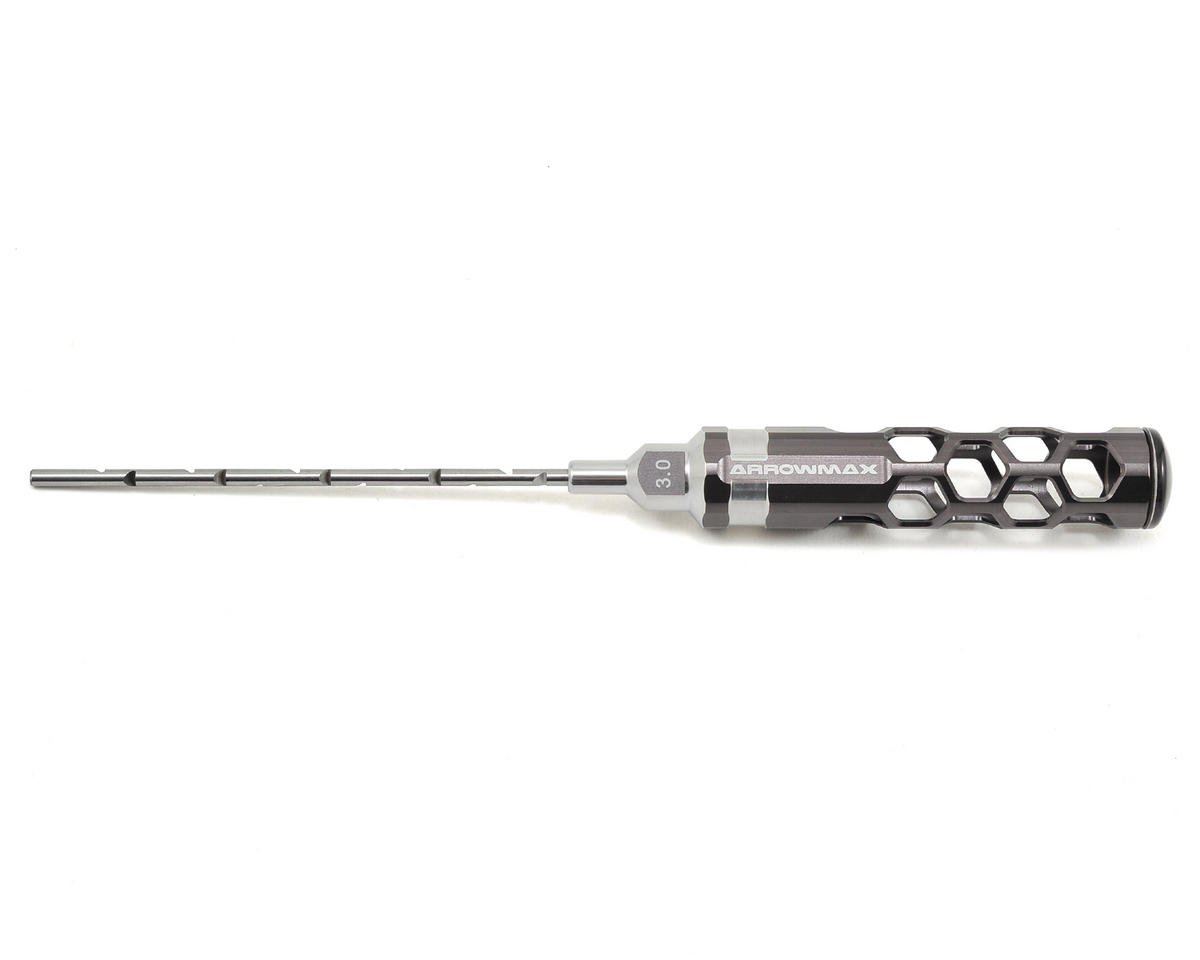
AM Arrowmax Honeycomb Arm Reamer (3.0mm) AMX-490021
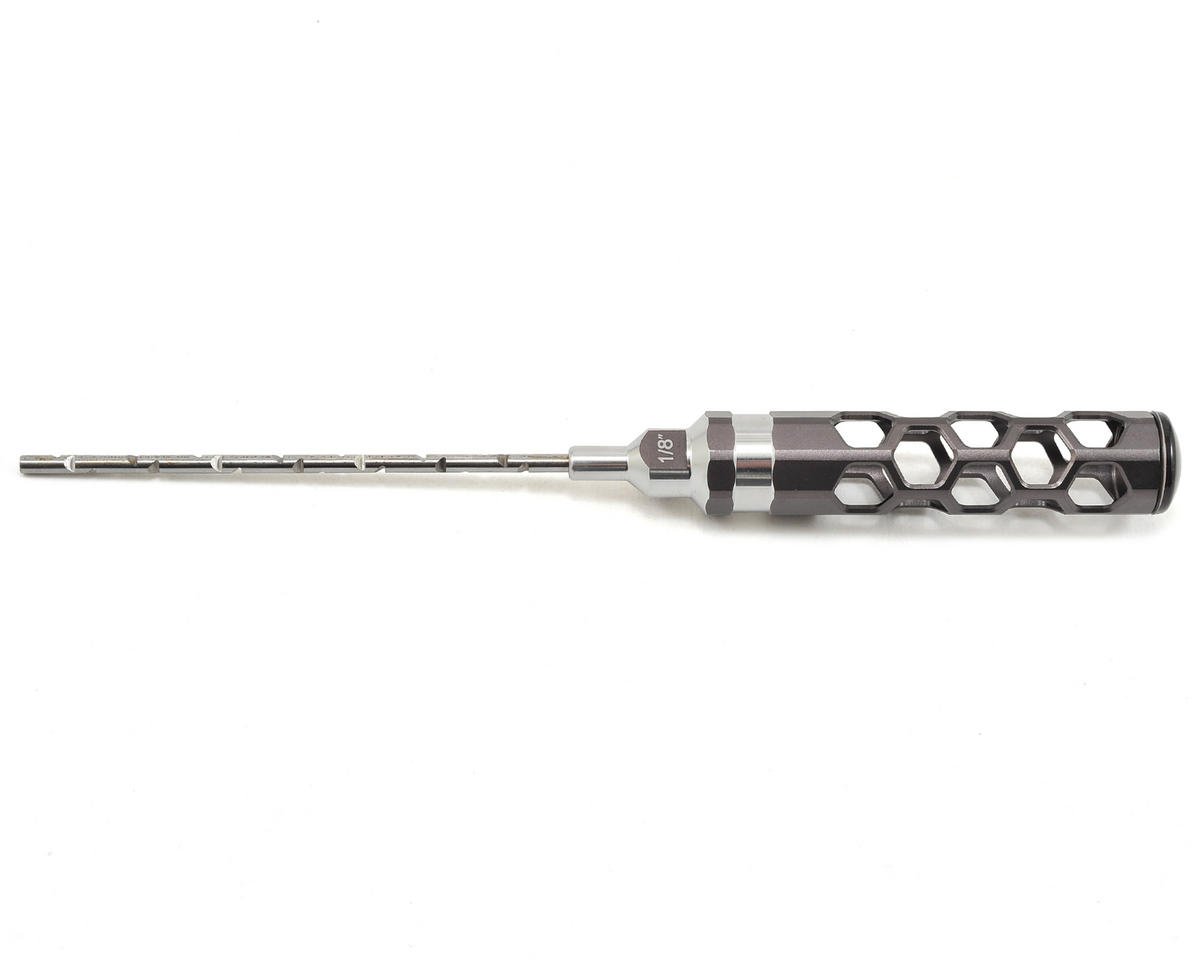
AM Arrowmax Honeycomb Arm Reamer (1/8") AMX-490024
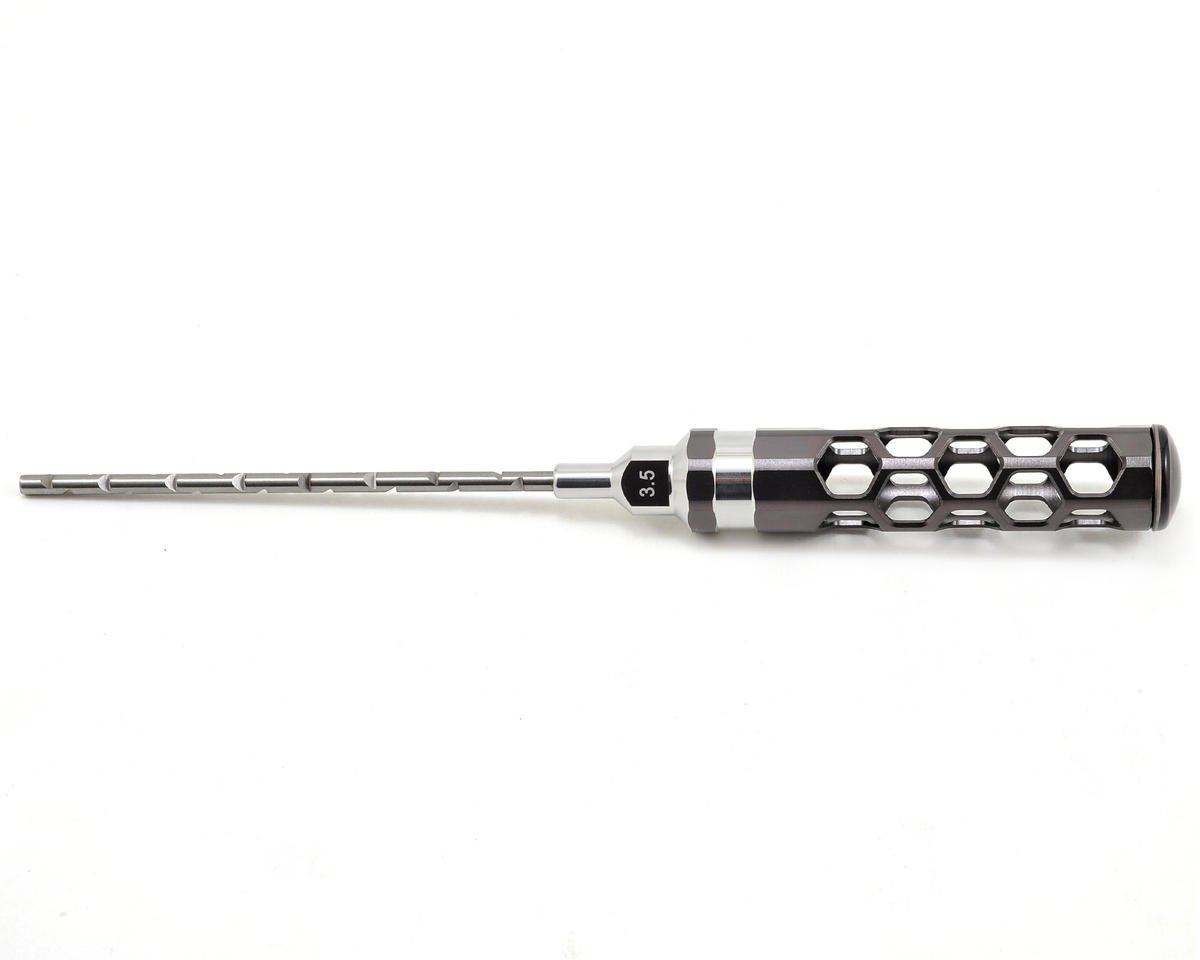
AM Arrowmax Honeycomb Arm Reamer (3.5mm) AMX-490022
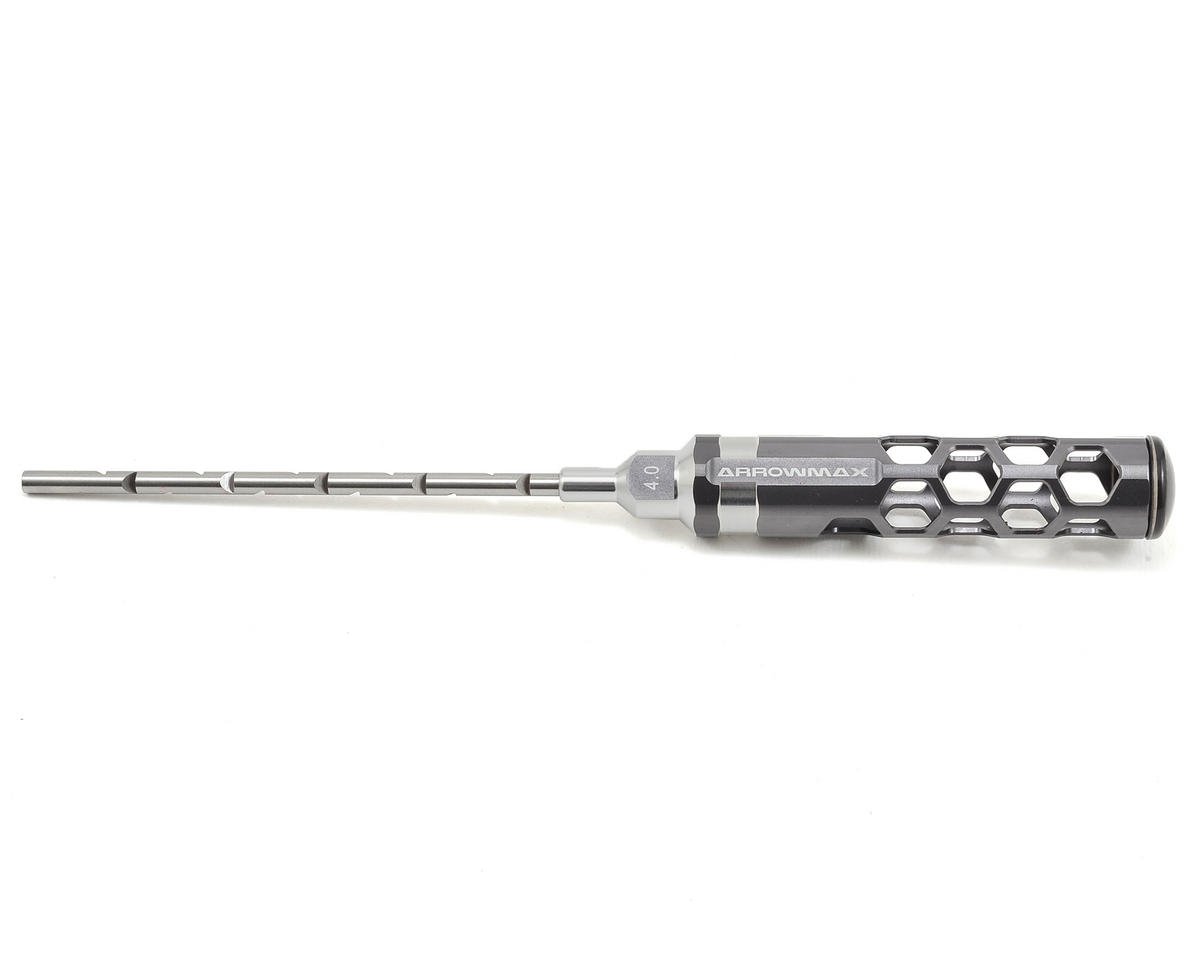
AM Arrowmax Honeycomb Arm Reamer (4.0mm) AMX-490023
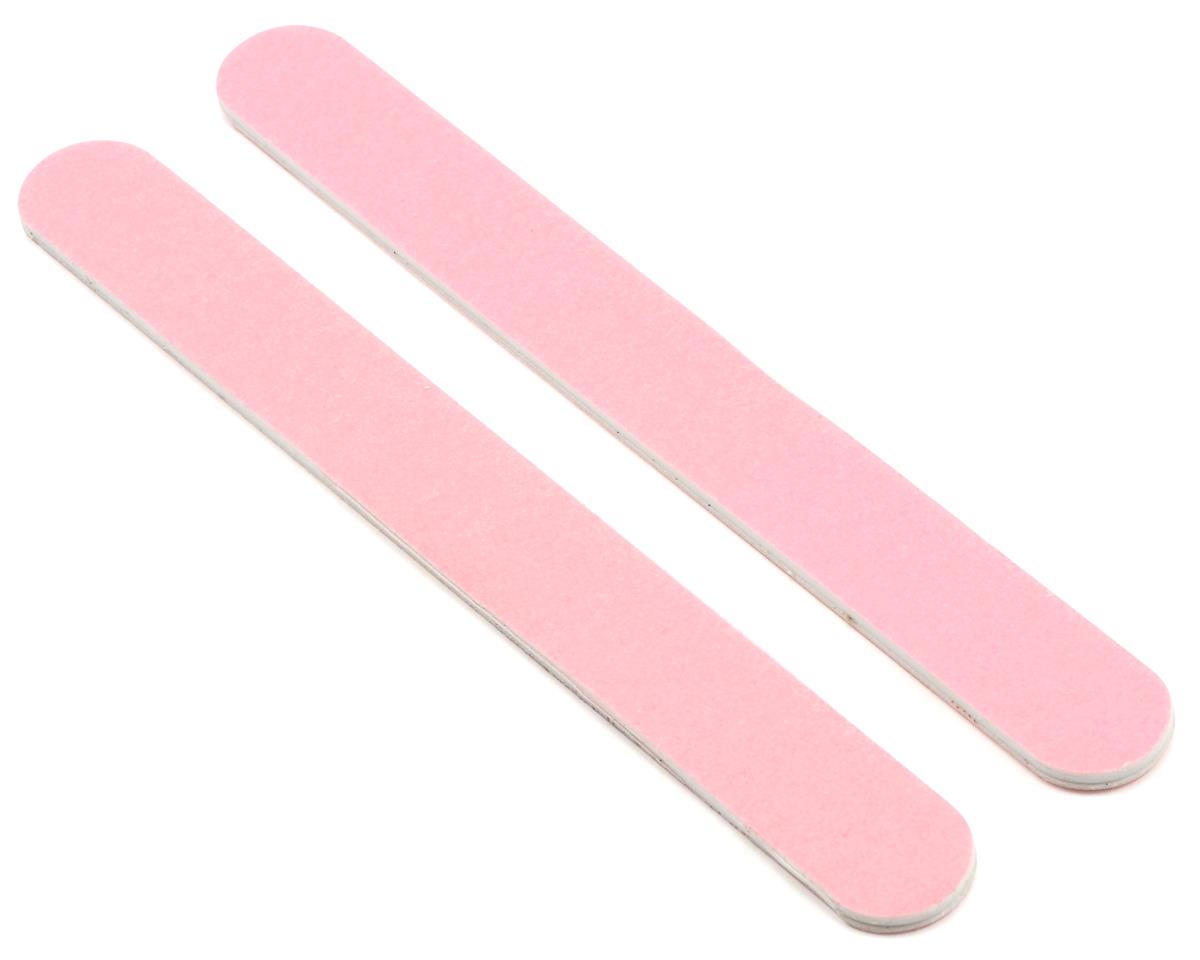
DuraSand Sanding Sticks (2) (Fine) DSN21003
DuraSand Sanding Sticks (2) (Medium) DSN21002
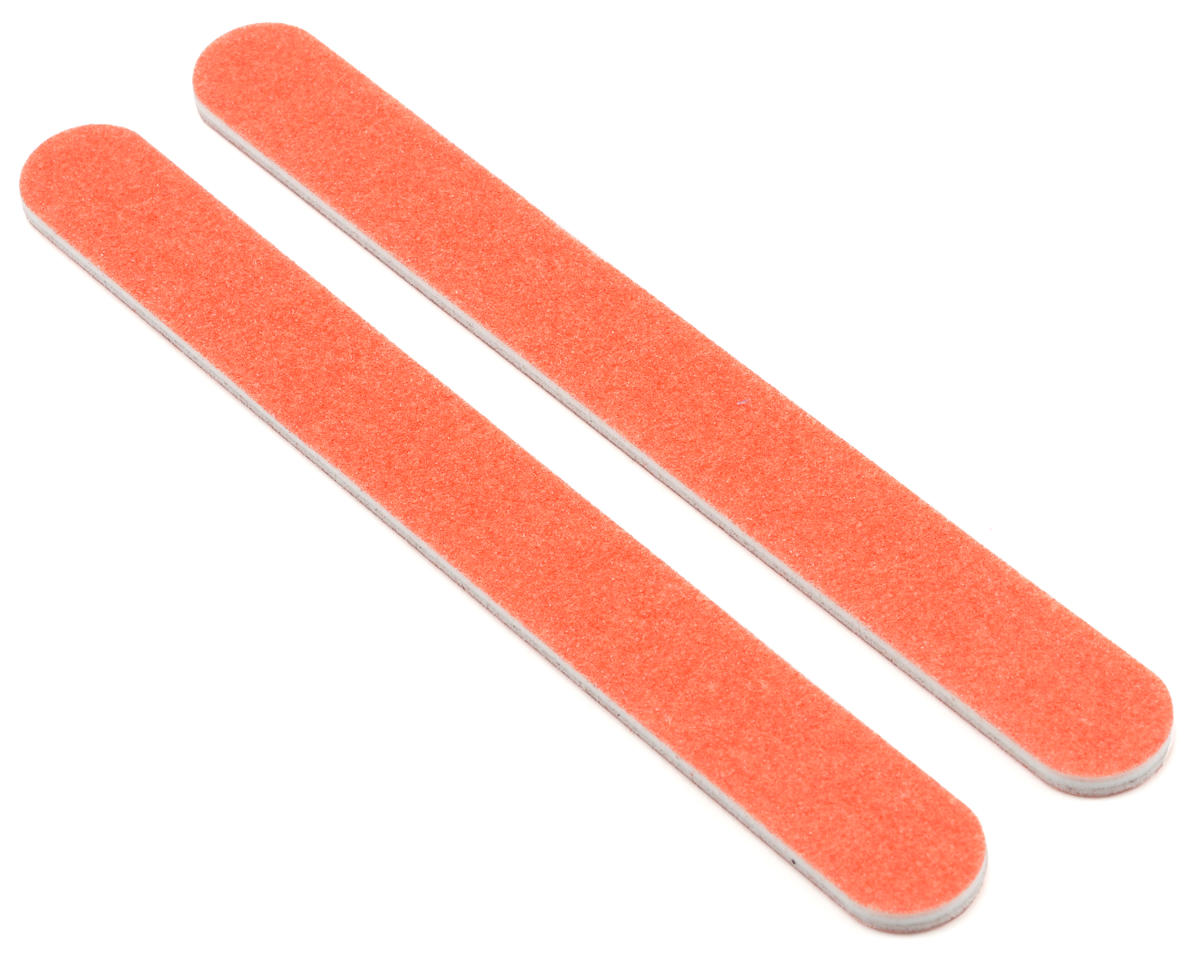
DuraSand Sanding Sticks (2) (Coarse) DSN21001
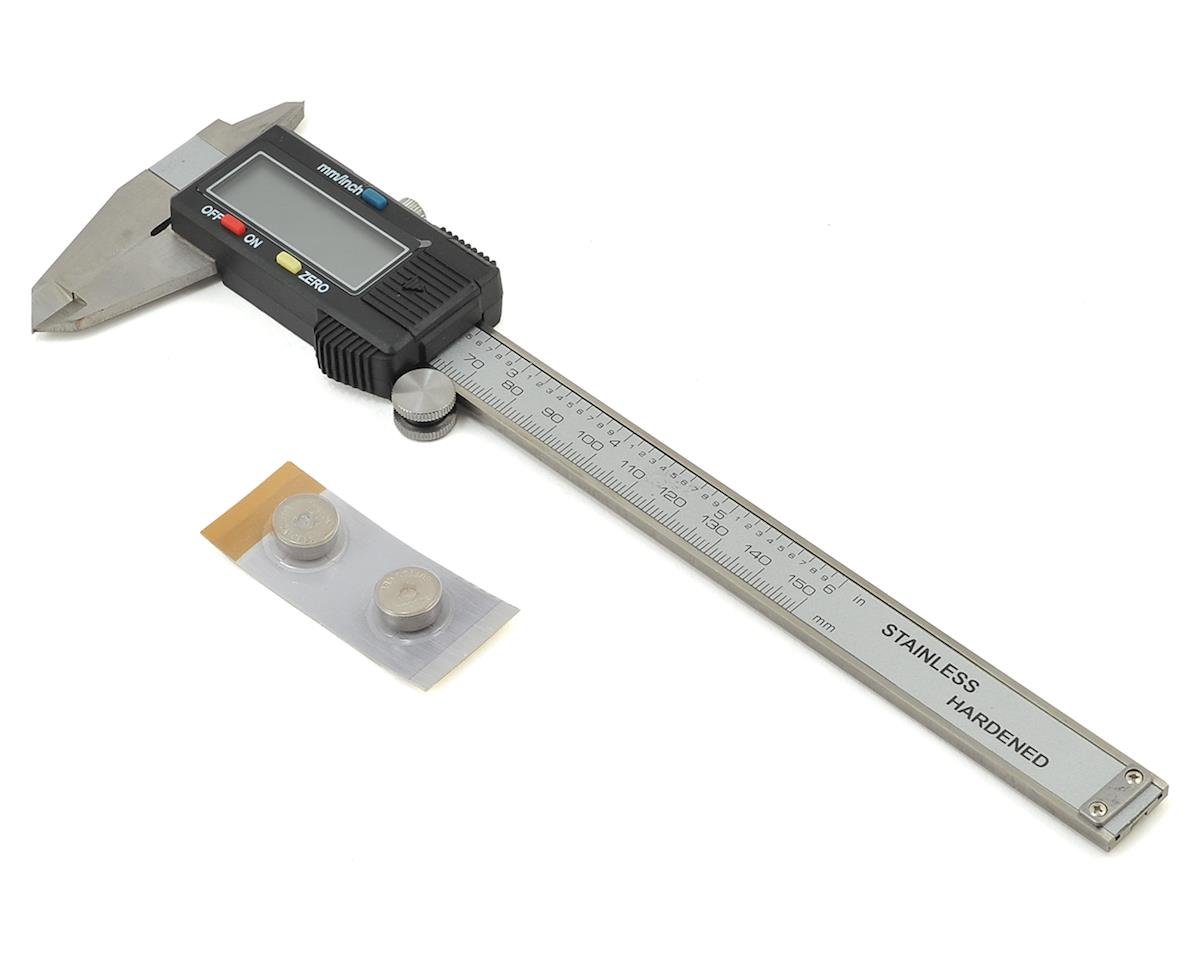
ProTek RC 6" Digital Caliper w/LCD Display & Hard Case PTK-8290
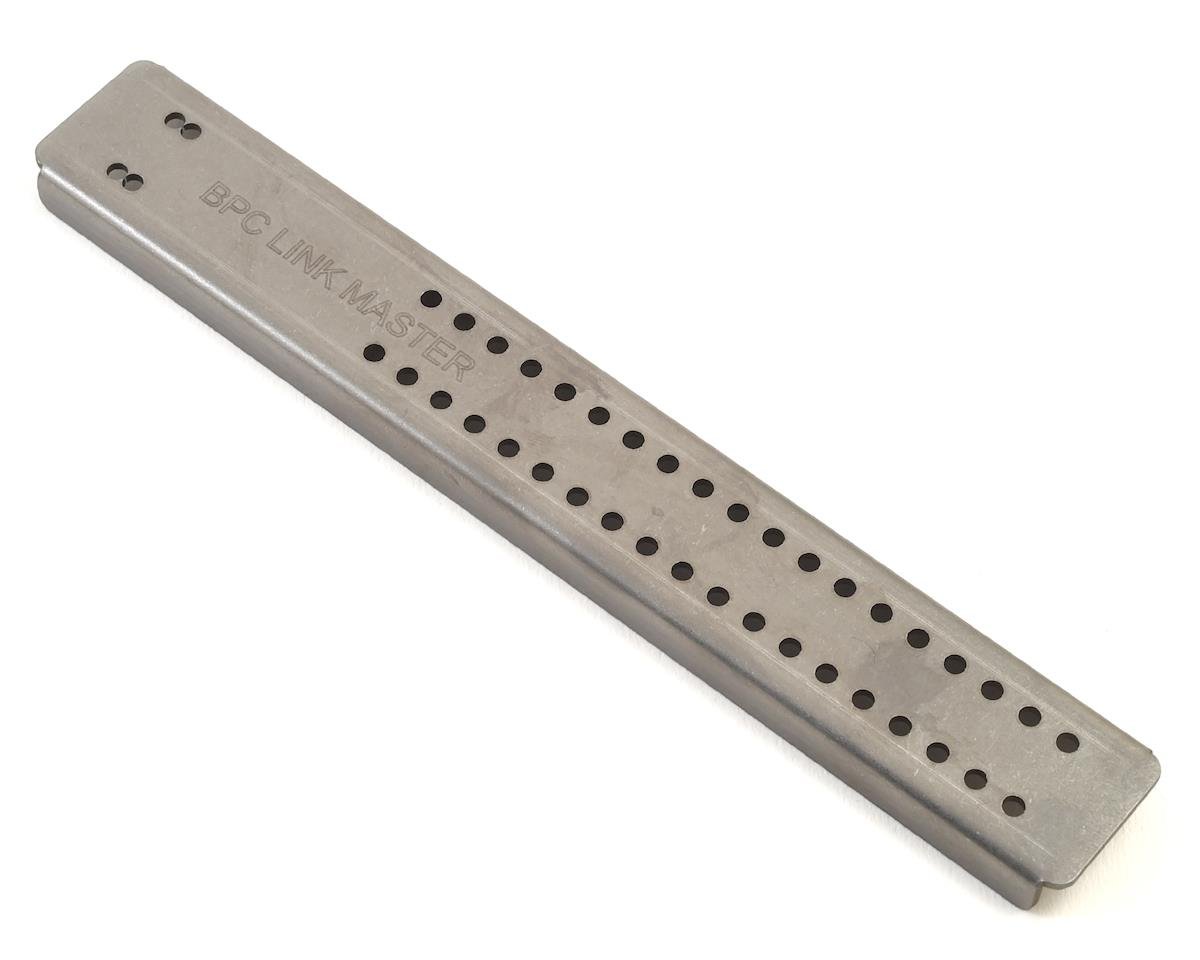
BP Custom Link Master Link Building Measuring Tool BPCLM